
You fire up your Traeger for a weekend cookout, set the temperature, and wait. Ten minutes pass with no smoke. You check the display—it’s stuck at “Igniting” or shows a temperature far below your setting. The culprit? A silent hopper where the auger motor should be clinking and feeding pellets. When your Traeger auger motor stops working, your grill transforms from a precision cooking machine into an expensive paperweight. This failure causes 70% of “Traeger won’t heat” issues, but here’s the good news: 9 out of 10 times, you can diagnose and fix it yourself without calling a technician. Skip the $150 service call—this guide walks you through proven troubleshooting steps to revive your pellet flow, from clearing stubborn jams to replacing a dead motor, using only basic tools you likely own.
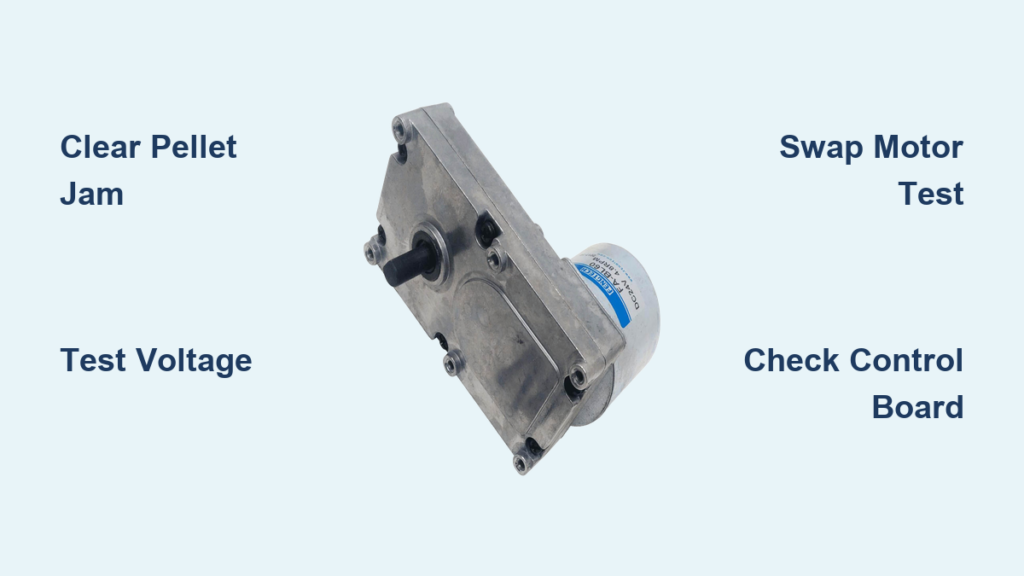
How to Clear a Traeger Auger Jam in 5 Minutes (Most Common Fix)

Stop right now if you hear grinding or clicking from the hopper—this signals a pellet jam threatening to burn out your motor. Ignoring it risks permanent damage. Here’s how to safely clear it:
- Unplug immediately and let the grill cool completely. Never work on a hot or plugged-in grill.
- Remove all pellets from the hopper. Check for “bridging”—a dome-shaped void where pellets cling to the sides instead of falling into the auger intake. Break up clumps with your fingers.
- Access the fire pot: Slide out the grease tray, then remove the fire pot cover and fire pot itself. If packed with unburned pellets, this confirms a jam backup.
- Clear the auger tube: Locate the access panel near the hopper base (usually 3-4 screws). NEVER use metal tools—they’ll scratch the auger tube and cause future jams. Instead, insert a wooden dowel matching the tube diameter (typically 1/2″ for Pro Series/Ironwood models) and gently twist to break up compacted pellets. Work from the fire pot end backward toward the hopper.
- Vacuum residual fines: Use a shop vac with a narrow nozzle to suck ash and pellet dust from the fire pot cavity and auger tube entrance. One tablespoon of fines can halt pellet flow.
Pro Tip: After clearing, run the grill on “Smoke” mode for 10 minutes to burn off residual debris before cooking. If pellets jam repeatedly, switch to premium hardwood pellets with <5% fines—avoid bargain brands that swell when humid.
Why Pellet Jams Happen (and How to Prevent Them)
Jams occur when moisture-swollen pellets or excessive sawdust (“fines”) compact in the auger tube. Cheap pellets contain up to 15% fines versus 3% in quality brands. Store pellets in airtight Gamma Seal buckets with silica gel packs. For chronic bridging, install a hopper grate accessory—it breaks pellet clumps before they reach the auger intake, cutting jams by 80%.
Diagnosing Electrical Failures: Voltage Testing Made Simple
If clearing jams doesn’t restore operation, test for power at the motor—this eliminates guesswork. You’ll need a $15 multimeter:
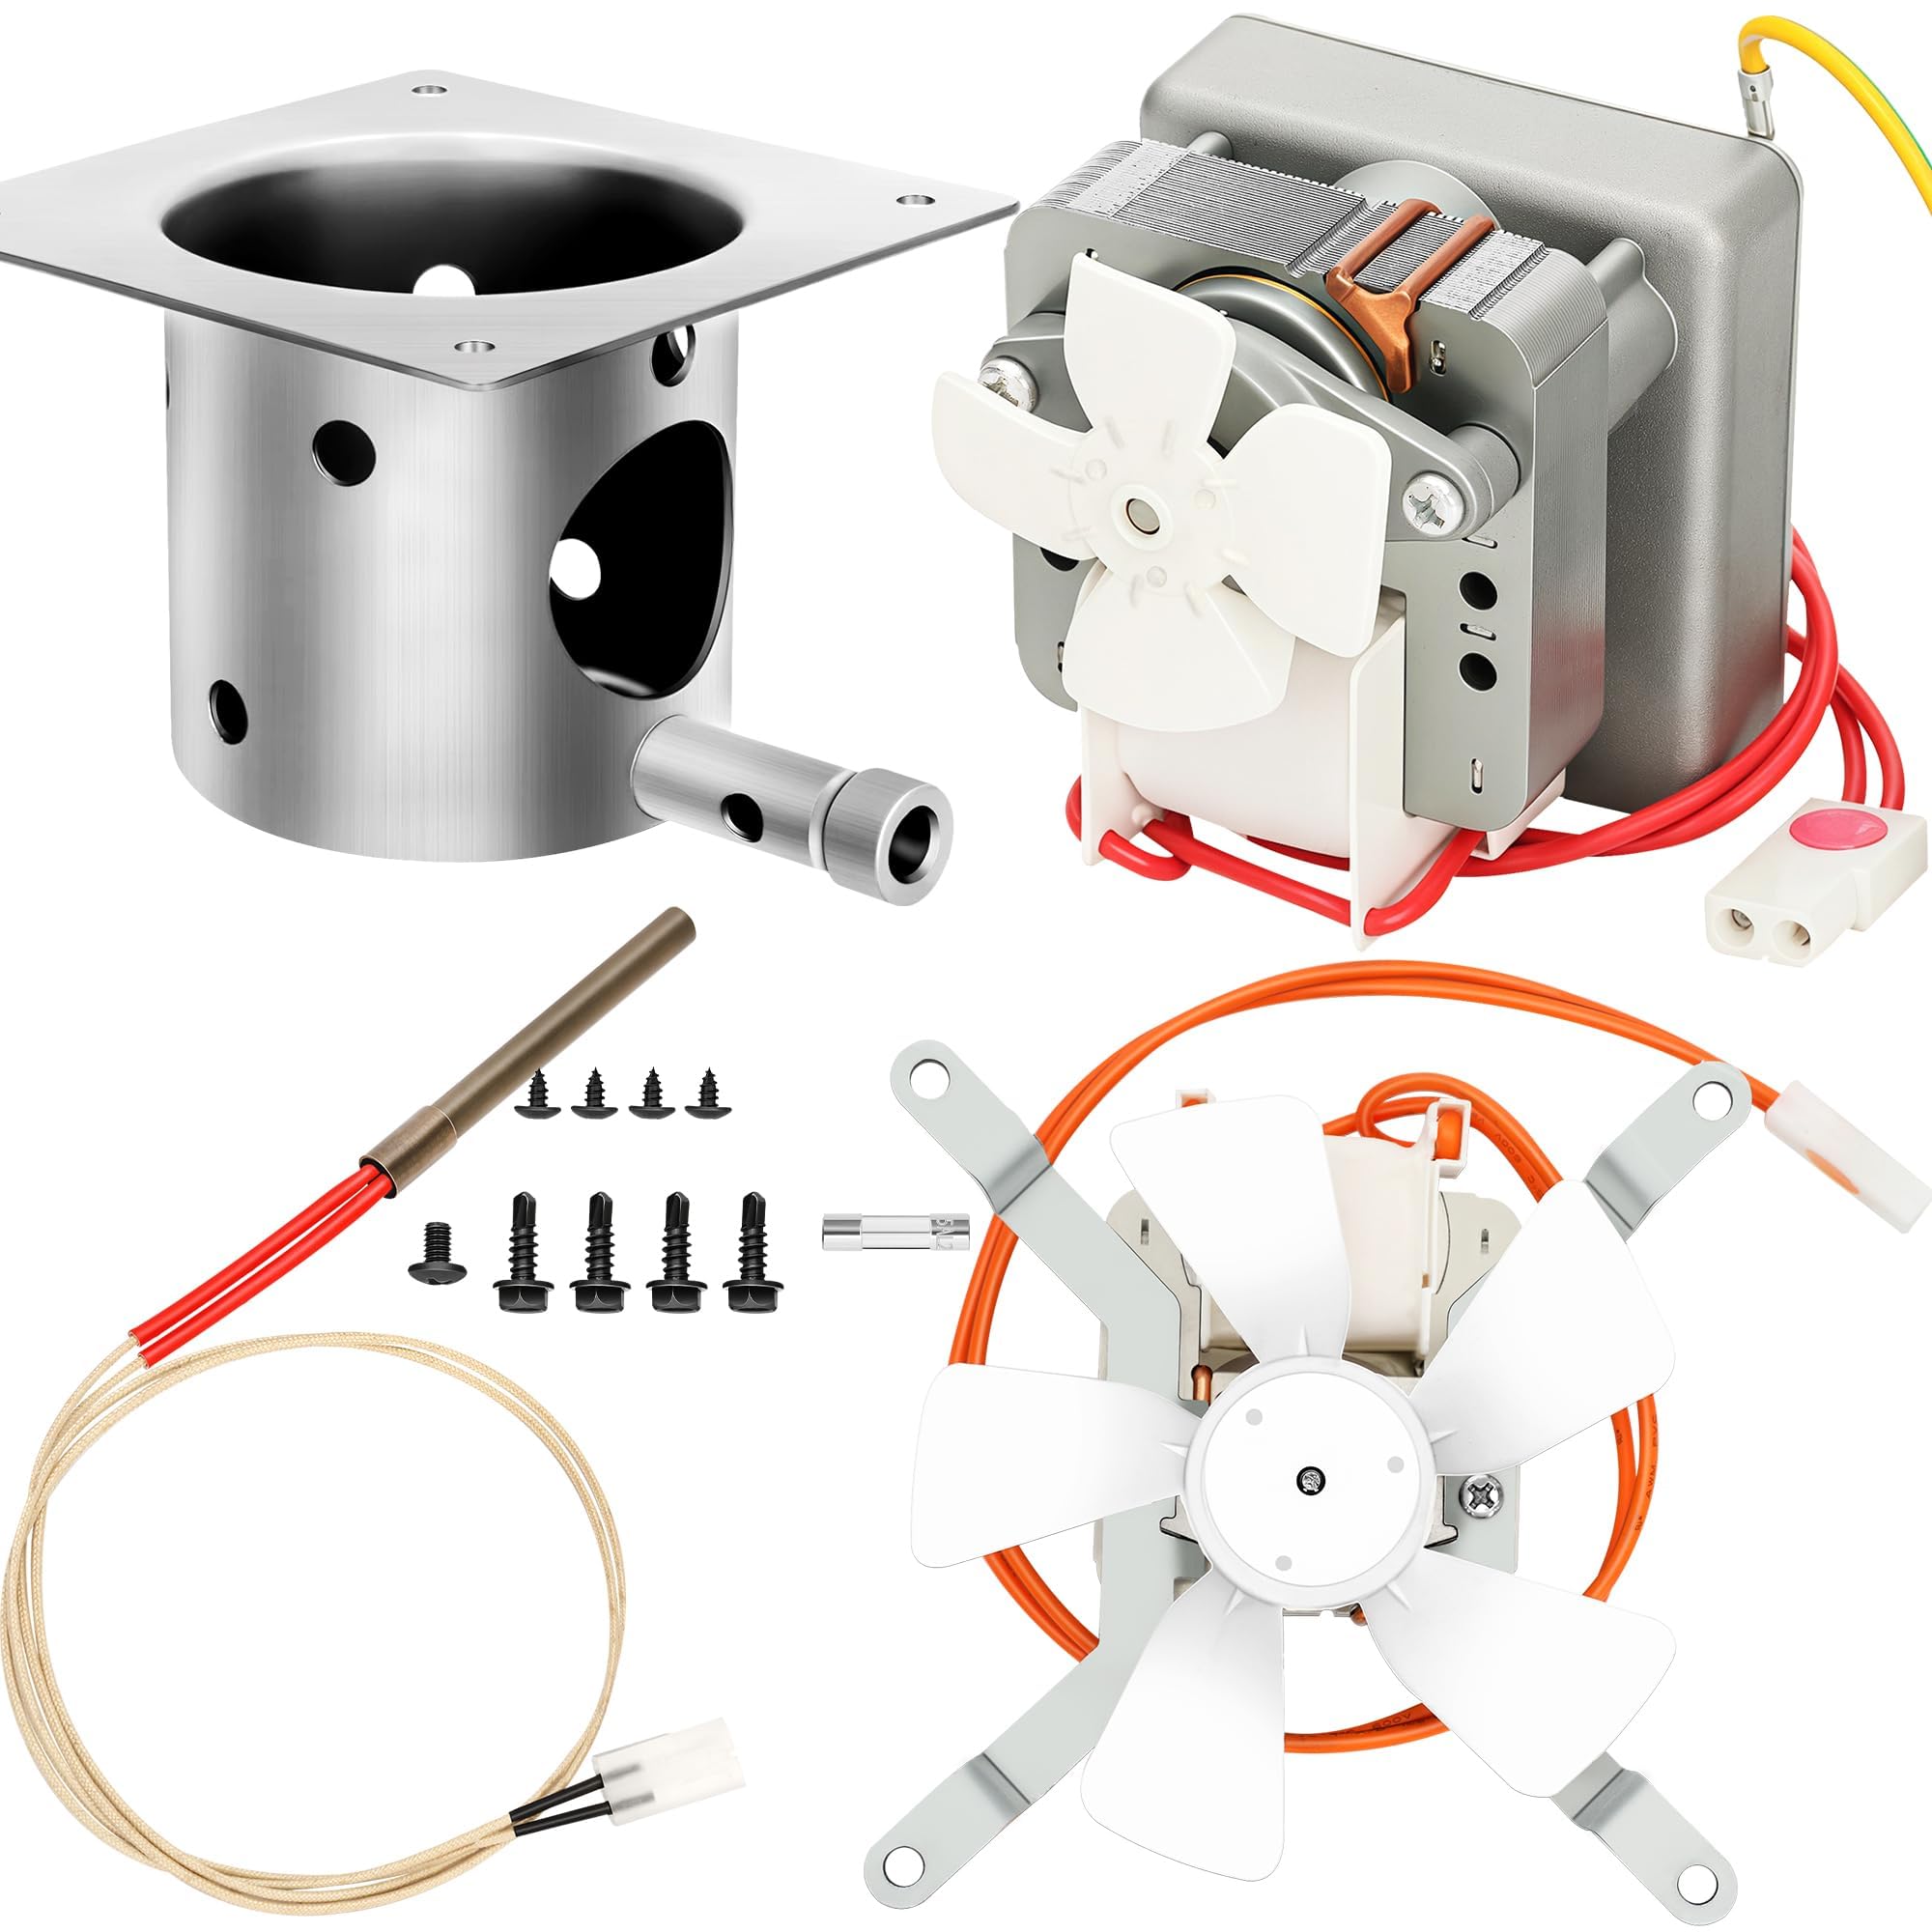
- Unplug the grill and locate the auger motor (cylindrical unit mounted to the hopper base with two wires).
- Set your multimeter to DC voltage (20V range). Plug the grill back in and set the controller to 350°F.
- Probe the motor wires while the grill calls for heat. You must see a pulsing 18-24V DC reading. No voltage? The problem is upstream. Voltage present but motor silent? The motor is dead.
Critical Insight: If voltage reads below 10V, the control board isn’t sending a strong signal—often due to a failing MOSFET transistor. If it pulses correctly but the motor won’t turn, skip to the motor swap test below.
Performing the Definitive Motor Swap Test (Step-by-Step)
This $0 test isolates motor vs. control board failure using identical components already on your grill:
- Unplug the grill—non-negotiable for safety.
- Find the control board (typically behind the controller panel). Identify the two-wire connectors for the auger motor (usually white) and the fan motor (black).
- Swap the connectors: Unplug both and cross-connect them—fan wires to auger port, auger wires to fan port.
- Power up and initiate startup:
- If the FAN spins when auger should run: Control board is good → replace auger motor.
- If FAN stays dead: Control board output is faulty.
- If ORIGINAL AUGER spins when fan should run: Motor is functional → control board issue.
Warning: If the swapped auger motor runs but makes grinding noises, it’s mechanically damaged—replace it immediately to avoid tube damage.
Troubleshooting 4 Critical Electrical Failures (Beyond the Motor)

Blown Control Board Fuse: The Silent Killer
Most Traeger models (Pro 575, Timberline) hide a 5A glass fuse on the main control board. A power surge during storms often blows it, killing auger function while the display works.
- How to check: Unplug grill, remove control board cover. Locate the 1″ glass fuse near the power input. Shine a light through it—a visible gap or blackened interior means it’s blown.
- Fix: Replace with identical 5A 3AG fuse (RadioShack part# 270-1062). If it blows again, inspect wiring for shorts—rodents often chew cords under the grill.
Faulty RTD Temperature Sensor: The False Overheat Trigger
A damaged RTD probe tricks the controller into thinking the grill is overheating, forcing it to shut off the auger—even when stone cold.
- Diagnosis: Unplug RTD connector at the control board. Measure resistance across pins with a multimeter. Should read 1080Ω ±50Ω at room temperature (70°F). Deviation >100Ω means replace the probe.
- Quick test: Temporarily unplug the RTD. If the auger runs continuously (display shows “Err”), the sensor is faulty.
Corroded Wiring Harness: The Hidden Break
Moisture and grease corrode connector pins over time, especially on models stored outdoors (like Tailgater).
- Check: Unplug all harness connectors between control board and motor. Inspect pins for green corrosion or bent contacts. Wiggle wires while testing voltage—intermittent readings indicate a break.
- Fix: Clean contacts with electrical contact cleaner and a toothbrush. Replace damaged harness sections using heat-shrink butt connectors (not tape!).
Failed Control Board Output: When All Else Checks Out
If voltage is absent at the motor connector but present at the control board output, the board’s auger driver circuit is dead—a common failure on older Pro Series grills.
- Confirm: Perform the motor swap test. If neither motor works on the auger port, the board is faulty.
- Solution: Replace the entire control board (Traeger part# T007-0000-A). For tech-savvy users, soldering a new IRFZ44N MOSFET transistor costs $2 but requires electronics skill.
Prevent Your Next Auger Failure: 3 Non-Negotiable Maintenance Steps
- Execute the “Shutdown Cycle” religiously: After cooking, set your Traeger to “Smoke” for 15 minutes. This burns residual pellets in the fire pot, preventing ash buildup that jams the auger tube.
- Vacuum the fire pot weekly: Use a shop vac with a 1/2″ nozzle extension to remove ash before it hardens into clinkers. Skip this, and clinkers will jam your auger within 10 cooks.
- Install a hopper grate: This $15 accessory (Traeger part# 00862) sits atop pellets, breaking up clumps and preventing bridging. It’s the single most effective jam prevention tool.
When to Call a Professional vs. DIY Repair
- DIY Immediately: Jams, blown fuses, or confirmed dead motors (swap test positive). Motor replacement takes 12 minutes with a Phillips screwdriver.
- Call Traeger Support: If the control board fails within warranty (2+ years on most models). Out-of-warranty board replacement costs $85 vs. $150 service call.
- Never Attempt: High-voltage repairs near the AC power supply—leave this to certified technicians.
Final Note: A Traeger auger motor not working is rarely a catastrophic failure. By methodically checking for jams first, then verifying power with a multimeter, you’ll solve 95% of issues without professional help. Remember: Always clear jams before testing electrically—forcing a jammed motor burns it out instantly. Keep quality pellets dry, perform weekly fire pot vacuums, and your auger will outlast the grill itself. Now fire it up—you’ve got ribs waiting.


