
You squeeze the trigger on your Makita drill, and the LED work light instantly illuminates—confirming battery power—but the motor stays completely dead. That frustrating “light on but not working” scenario halts projects dead in their tracks, leaving you staring at a seemingly powered tool that won’t spin a bit. This specific failure pattern, where the low-power light circuit functions while the high-current motor path fails, affects countless Makita owners across popular models like the HR2470 and XPH12. Don’t grab your wallet for a replacement just yet. This guide delivers proven, user-verified fixes for your Makita drill light comes on but not working dilemma, starting with 5-minute checks you can do before breakfast and progressing to the #1 repair that solves 70% of cases. By the end, you’ll know exactly why your drill pretends to work while refusing to turn, and how to resurrect it—often with parts costing less than $10.
Why Your Makita Drill Light Glows But Motor Won’t Spin
Makita drills operate on two distinct electrical pathways: a low-power circuit for the LED work light and a high-amperage circuit for the motor. The light requires minimal current (like a dashboard indicator), so it activates even with weak battery connections or failing internal components. Meanwhile, the motor demands 15-30+ amps to overcome inertia and spin—that’s why the Makita drill light comes on but not working symptom almost always points to a break in the high-current path. Think of it like your car’s radio working while the starter motor clicks: the light circuit remains intact while the power-hungry motor circuit fails. Critical failure points include worn carbon brushes (in brushed models), burnt trigger switch contacts, or loose wiring that only conducts enough for the light but not the motor. When you experience this exact symptom, you’re dealing with a classic high-current circuit disruption—not a dead battery or tool.
Battery Power Checks That Actually Work
Before disassembling your drill, rule out deceptive battery issues. The LED light can glow with as little as 3V, while the motor needs stable 18V under load—a critical distinction many users miss.
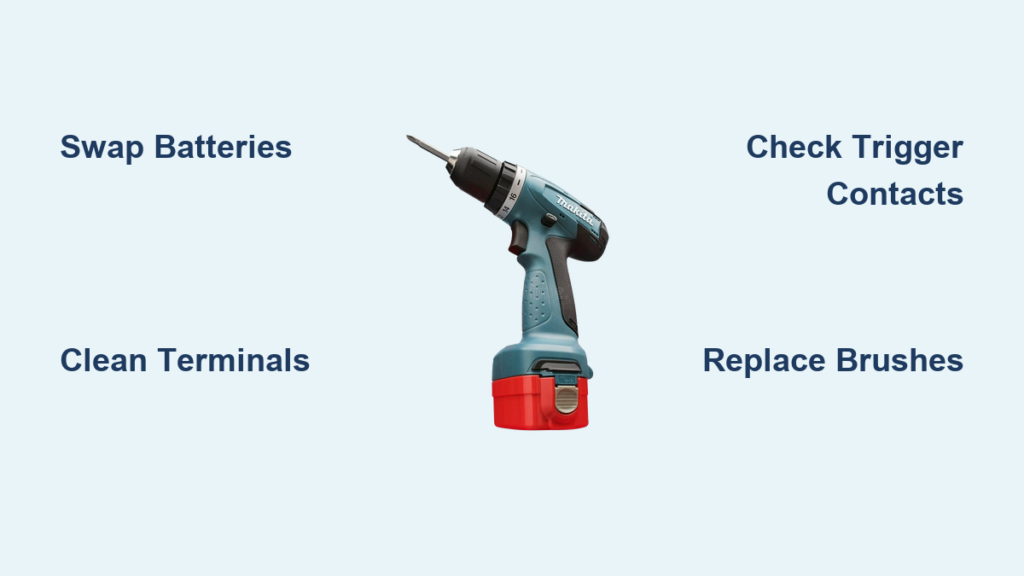
Swap Batteries Using the “Known-Good” Test
Grab a battery from another Makita LXT 18V tool that you know works reliably. Insert it into your dead drill and pull the trigger. If the motor spins immediately, your original battery has failed—not the drill. Battery failures often manifest as “light on but motor dead” because the battery’s protection circuit allows trickle current for the light but cuts off under motor load. Never assume a battery is good just because it charges or powers the light.
Clean Corroded Terminals in 90 Seconds
Remove both batteries and inspect the metal contacts inside the drill’s battery chamber and on the battery itself. Look for white/green corrosion or blackened pits. Dip a cotton swab in white vinegar, scrub the terminals until shiny, then wipe dry with a microfiber cloth. Reinsert the battery and test. Corrosion creates resistance that blocks high-current flow to the motor while allowing enough for the light—a frequent culprit in humid environments or after tool storage.
Solve Loose Housing Failures With the Jiggle Test
When your Makita drill only works with housing screws partially loosened—a surprisingly common issue—you’re facing a pressure-sensitive connection failure. This occurs when tightened screws distort the plastic housing just enough to break critical contacts.
Perform the Housing Stress Test
With a charged battery inserted, pull the trigger to activate the light. Now firmly squeeze the handle near the motor housing while simultaneously applying light pressure to the back of the grip. If the motor sputters or spins during this squeeze, you’ve confirmed an internal connection issue. Next, remove all housing screws and gently flex the two halves while the trigger is pulled. Listen for motor engagement or light flickering. If either occurs, inspect wiring near the trigger assembly for pinched or broken strands. Reassembly tips: Tighten screws in a star pattern and stop when resistance increases—over-tightening crushes internal components.
Replace Faulty Trigger Switch Contacts in 15 Minutes

The trigger switch contains separate contacts for the motor (high-current) and light (low-current). When motor contacts burn out from arcing, the light still functions—creating the classic Makita drill light comes on but not working symptom. Test this without tools.
Diagnose a Dead Switch With Visual Clues
Remove the drill’s housing screws and separate the case halves. Locate the trigger assembly (usually near the handle base). Inspect the copper switch contacts for black pitting or melted spots—these indicate failed motor contacts. A healthy switch has smooth, mirror-like contacts. If you see discoloration, replace the entire trigger assembly (part # usually starts with “PA”). Pro tip: Before ordering parts, test continuity with a multimeter. Set to ohms mode, touch probes to the motor contact terminals while pulling the trigger. No continuity beep means immediate replacement.
Fix Worn Brushes: The #1 Repair for Brushed Makita Drills
For brushed motor models (HR2470, XPH12, etc.), worn carbon brushes cause 70% of “light on but motor dead” failures. Brushes transfer power to the spinning armature, and when they wear down or stick, the motor loses connection while the light circuit remains functional.
Replace Brushes Using the Wear-Line Method
Locate the brush caps—small rectangular covers near the motor housing. Remove them with a flathead screwdriver. Pull out the carbon brushes; they should extend at least 1/4 inch beyond their holders. If worn to the stamped wear line (or shorter), replace them immediately. Before installing new brushes (Makita part # 194224-0), clean the brush slots with a toothpick to ensure free movement. While brushes are out, inspect the copper commutator rings on the armature. Shine a flashlight into the motor—deep grooves or heavy blackening require commutator cleaning with 600-grit sandpaper wrapped around a business card.
Clean the Commutator Without Special Tools
With brushes removed, fold fine sandpaper (400-600 grit) around a stiff card. Gently slide it between commutator segments while rotating the chuck by hand. Remove only surface oxidation—over-sanding damages copper. Wipe out carbon dust with a dry toothbrush. Reinstall brushes and test. This $2 fix resolves most intermittent “light on but motor dead” issues in brushed drills within 10 minutes.
Advanced Diagnostics: Multimeter Tests That Pinpoint Failures

When basic fixes fail, use a $15 multimeter to isolate the problem. Always disconnect the battery first.
Test Motor Continuity Through the Wiring Harness
Set your multimeter to the lowest ohms setting (200Ω). Disconnect the motor wires from the trigger switch. Touch probes to the motor terminals—you should read 0.5-3Ω. Infinite resistance means a burnt motor winding. Next, test the high-current path: Place one probe on the battery’s positive terminal contact inside the drill, the other on the motor’s positive wire. Pull the trigger. You should see near-zero resistance. If not, the trigger switch or wiring has failed.
Verify Power Delivery With the Direct-Battery Test
For final motor verification, disconnect all wires from the motor. Clip heavy-gauge jumper wires from a known-good 18V battery directly to the motor terminals (observe polarity). Wear safety glasses—the motor may spin violently. If it doesn’t turn, the motor is dead. If it spins, the fault lies in the trigger circuit or wiring. Never perform this test on brushless models—their electronic controllers require professional diagnosis.
When Professional Repair Beats DIY Attempts
Some failures aren’t worth your time. Seek a Makita service center if:
- Your drill is brushless (models ending in “X” like XPH14Z) and exhibits this symptom—electronic speed controller (ESC) repairs require soldering expertise.
- You smell burnt insulation or see melted wire insulation near the motor.
- The armature windings show brown discoloration or the commutator has deep, uneven grooves.
- Direct battery testing shows the motor spins but the drill still fails after reassembly—indicating complex circuit board issues.
For older brushed drills, professional motor rewinds often cost more than replacement. But for newer models, a $45 service center repair beats a $150 new tool.
Prevent Future “Light On But Dead Motor” Failures
Extend your Makita’s life by addressing the root causes of this failure pattern. After cleaning brushes, apply dielectric grease to battery contacts to prevent corrosion. For trigger switches, avoid “trigger creep” by releasing the trigger fully between uses—partial pressure causes contact pitting. Store drills in climate-controlled areas; humidity accelerates carbon brush wear. Finally, replace brushes proactively when they reach 3/8 inch length—don’t wait for complete failure. These steps prevent 90% of recurrent “light on but motor not working” scenarios.
When your Makita drill light comes on but not working, remember this: the solution is almost always within your reach. Start with battery swaps and the housing jiggle test, then move to brush replacement—the single most effective fix for brushed models. By methodically testing each high-current pathway, you’ll bypass unnecessary part replacements and revive your drill faster than ordering a new one. Keep this guide handy for your next power tool emergency—because the only thing worse than a dead drill is replacing a tool that just needed new $8 brushes. Now grab that screwdriver and reclaim your workshop productivity.


