
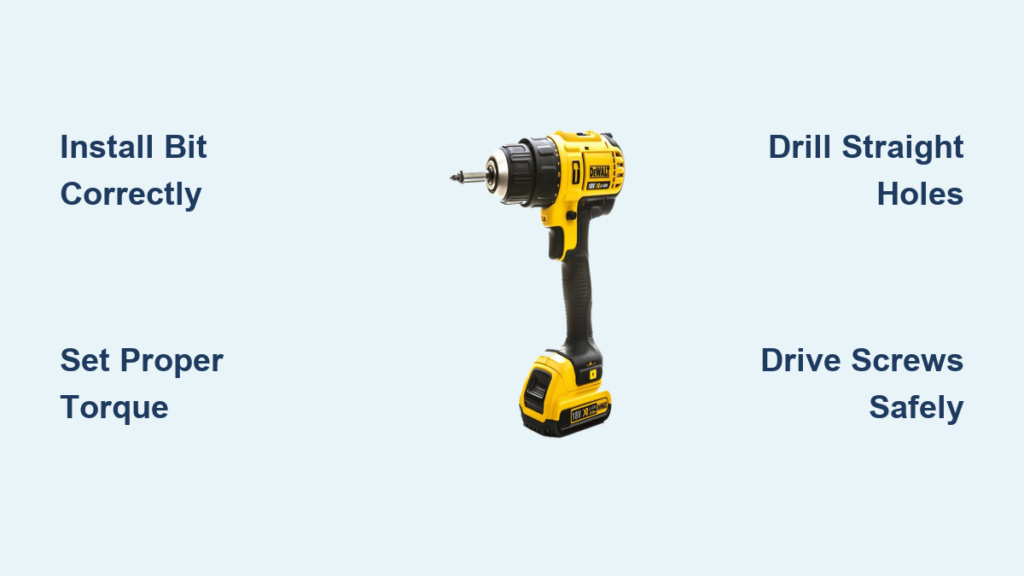
Your Dewalt drill sits ready in your hands, but that first trigger squeeze can feel intimidating if you’ve never used power tools before. Whether you’re hanging shelves, assembling furniture, or tackling your first home renovation project, knowing how to use a Dewalt drill properly transforms frustrating failures into clean, professional results. This comprehensive guide cuts through the confusion to give you precise, actionable steps that work on any Dewalt corded or cordless model—no prior experience required. By the time you finish reading, you’ll confidently select the right bits, set proper torque, drill straight holes, and drive screws without stripping heads.
Essential Safety Steps Before Powering Your Dewalt Drill
Skip these safety steps and you risk injury, damaged materials, or a ruined project before you even start drilling. Always wear ANSI-approved safety glasses to protect your eyes from flying debris—wood chips, metal shavings, or concrete dust can cause permanent eye damage in an instant. Secure your work area by clamping materials firmly to prevent movement during drilling, which causes crooked holes and potential kickback. Remove loose jewelry, tie back long hair, and avoid baggy sleeves that could catch in the spinning chuck. For corded models, ensure the power cord runs clear of your work path to prevent accidental unplugging or tripping hazards. Your Dewalt drill’s variable speed trigger responds instantly, so establish a stable stance with feet shoulder-width apart before pulling the trigger.
Why Proper Workspace Setup Prevents 90% of Drill Mishaps
Most beginners blame their drill when holes go crooked or screws strip, but workspace preparation causes most issues. Position your material so you can maintain a perpendicular drilling angle without contorting your body. Lightly sand rough wood surfaces at your drill point to prevent bit wandering. For metal work, apply masking tape over your mark to reduce slippage and create cleaner holes. Keep a firm two-handed grip: one hand on the handle for control, the other supporting the drill body near the chuck for stability. This positioning gives you maximum control when the bit engages the material and starts cutting.
Installing Drill Bits Correctly: The #1 Mistake DIYers Make

Improperly secured bits wobble, create oversized holes, and can even eject from the chuck during operation. Your Dewalt’s chuck requires specific handling based on whether you have a keyless or keyed model. For keyless chucks (most modern Dewalt drills), hold the drill body firmly with one hand while rotating the black sleeve counter-clockwise with the other until fully open. Insert the bit shank all the way into the chuck jaws—partial insertion causes slippage and uneven wear. Hand-tighten the chuck by rotating the sleeve clockwise with firm, even pressure on all sides. Never use the drill’s rotation to tighten the chuck, as this damages internal mechanisms over time.
How to Verify Your Bit Is Securely Installed
After tightening, give the bit a firm tug in multiple directions—it shouldn’t move at all. Run the drill at low speed briefly while holding it away from your body to check for vibration. Excessive vibration means the bit isn’t seated properly or the chuck isn’t tight enough. If using a keyed chuck (older Dewalt models), insert the key into each of the three holes and tighten in sequence, moving to the next hole after each quarter turn. Always remove the chuck key immediately after use—leaving it inserted causes damage when the drill starts.
Mastering Drill Settings for Different Materials
Your Dewalt’s clutch collar and speed settings make the difference between clean holes and disaster, yet most users leave them on default positions. The numbered clutch ring (typically 1-20) controls torque output—lower numbers for delicate work, higher for tough materials. For driving #8 screws into softwood, set the clutch to 5; for #10 screws in hardwood, use 12. The drill symbol setting bypasses the clutch entirely for maximum torque when drilling holes. Masonry bits require the hammer drill function (if your model has it), while wood and metal drilling use standard rotation.
Speed Selection Guide for Common Materials
| Material | Recommended Speed | Bit Type | Pro Tip |
|---|---|---|---|
| Softwood | High (1,500+ RPM) | Twist bit | Start slow until bit bites, then increase speed |
| Hardwood | Medium (800-1,200 RPM) | Brad point bit | Apply steady pressure without forcing |
| Metal | Low (400-800 RPM) | Cobalt bit | Use cutting oil and back out frequently to clear chips |
| Masonry | Low-Medium | Carbide-tipped | Let hammer action do the work—don’t force |
Drilling Straight Holes Without Wandering
The most common frustration for beginners is drill bit “walking” away from the intended spot, creating crooked or misplaced holes. Prevent this by making a starter dimple with a center punch or nail—this gives the bit a secure starting point. Place the drill perpendicular to your work surface and apply firm, consistent pressure as you slowly squeeze the trigger. Let the drill’s rotation cut the material rather than forcing it forward. For deep holes, periodically pull the bit out to clear debris that can cause overheating and binding. When drilling through wood, place scrap wood underneath to prevent tear-out on the exit side.
How to Drill Perfect Pilot Holes for Screws
Pilot holes prevent wood splitting and ensure screws drive straight. Select a bit diameter 70-80% of your screw’s shank width (not including threads). For a #8 screw, use a 3/32″ bit; for #10, use 7/64″. Drill to the same depth as the screw’s threaded portion—use tape on the bit as a depth guide. In hardwoods or near edges, make your pilot hole slightly deeper than the screw length to reduce splitting risk. Always verify your clutch setting matches the screw size before driving.
Driving Screws Without Stripping Heads
Stripped screw heads waste time and materials, but proper technique prevents this common issue. Start with the clutch set to a low number (3-5) for small screws in soft materials. Position the screwdriver bit squarely in the screw head—any angle increases stripping risk. Begin driving at slow speed with firm downward pressure to seat the screw. As resistance increases, the clutch will disengage with a distinct clicking sound, preventing over-tightening. For countersunk screws, stop driving when the head is just below the surface—don’t rely on the clutch to stop at flush.
Removing Stubborn or Stripped Screws
When faced with a stripped or stuck screw, switch your Dewalt to reverse mode and set the clutch to maximum torque. Place a rubber band between the bit and screw head for extra grip on damaged heads. For severely stripped screws, use a specialized removal bit that cuts into the screw head. Apply firm downward pressure while squeezing the trigger slowly—rushing causes further damage. If the screw won’t budge, drill a small hole in the center and use an extraction tool.
Dewalt Drill Maintenance That Extends Tool Life
Proper care after each use prevents 80% of common drill problems. Always remove the battery or unplug the drill before cleaning. Use a soft brush or compressed air to clear dust from vents and the chuck mechanism—built-up debris causes overheating. Wipe the chuck and body with a dry cloth to remove moisture and oils. Store bits in a dedicated case to prevent damage to cutting edges. For cordless models, remove batteries when not in use for extended periods and store at room temperature. Never leave batteries in direct sunlight or freezing conditions.
Troubleshooting Common Dewalt Drill Issues
- Drill won’t start: Check battery charge level or outlet power; verify trigger function isn’t obstructed
- Excessive vibration: Inspect for loose chuck, damaged bit, or worn bearings
- Overheating: Allow proper cooling time between uses; clean ventilation ports
- Clutch slipping prematurely: Increase clutch setting; check for worn clutch components
- Hammer function not engaging: Ensure selector switch is properly positioned; clean mechanism
Critical Mistakes That Damage Your Dewalt Drill
Using the wrong bit for the material destroys cutting edges and risks tool damage—never use standard twist bits on masonry. Forcing the drill instead of letting it cut at its natural pace strains the motor and creates poor results. Attempting to drill large holes (over 1/4″) in metal without proper lubrication overheats bits instantly. Ignoring the clutch setting when driving screws strips countless heads and damages materials. Most critically, skipping safety glasses puts your vision at risk—permanent eye injuries occur in seconds with no warning.
Pro Tips for Professional Results on Your First Try
Mark your drill depth with painter’s tape wrapped around the bit at your target depth—this creates a visual guide without marring your work. When drilling overhead, use a piece of masking tape on the drill body as a sight line to maintain perpendicular positioning. For clean entry holes in tile or glass, start with the lowest speed setting and apply light pressure until the bit bites. Keep a small container of cutting oil nearby for metal work—it dramatically extends bit life. Most importantly, practice on scrap material first to dial in your speed, pressure, and settings before working on your actual project.
Mastering your Dewalt drill unlocks countless DIY possibilities while saving time and frustration on every project. By following these precise techniques for bit selection, torque settings, and drilling methods, you’ll achieve professional results that make your work stand out. Remember to always prioritize safety with eye protection and proper setup, as these habits prevent most common accidents. Keep this guide handy until these techniques become second nature—soon you’ll be tackling projects with the confidence of a seasoned professional. Your next step? Grab some scrap wood and practice these methods until they feel natural—perfect drilling skills come with deliberate practice, not just theory.


