

Your Black & Decker cordless drill sits ready in your garage or workshop, but are you truly unlocking its full potential? Too many homeowners treat this versatile tool as nothing more than a fancy screwdriver, missing out on precision drilling capabilities that could transform DIY projects from frustrating to flawless. Mastering how to use Black and Decker cordless drill techniques properly means the difference between cracked wood, stripped screws, and damaged surfaces versus professional-looking results every time.
This isn’t just about pulling the trigger—it’s about understanding the subtle interplay between torque settings, bit selection, and hand positioning that separates beginners from confident users. Whether you’re hanging shelves, assembling furniture, or tackling more complex home improvements, the right drill technique ensures cleaner holes, perfectly seated screws, and significantly less frustration. In the next few minutes, you’ll discover the exact methods professionals use to get perfect results with their Black & Decker cordless drills, starting with what 90% of beginners get wrong with battery installation.
Securing Your Battery and Loading Bits for Immediate Operation

A fully charged battery is your drill’s lifeline, but improper installation causes more power failures than low charge levels. To maximize runtime, firmly press the battery into the handle until you hear a distinct click—don’t just rest it loosely in the slot. Wiggle the battery afterward to confirm it’s locked; a loose connection creates intermittent power that damages both the battery and motor over time. For optimal performance in cold weather, store your battery at room temperature for 30 minutes before use—lithium-ion cells deliver significantly less power when chilled.
Loading Drill Bits Without Damaging the Chuck
Most Black & Decker models feature keyless chucks, but users still make critical errors when inserting bits. Hold the chuck collar with one hand and rotate the drill body counterclockwise until the jaws open to their maximum width—forcing a bit into a partially open chuck wears down the mechanism. Insert your bit at least 15mm deep (about half an inch) to ensure proper grip, then hold the collar stationary while squeezing the trigger to rotate the chuck clockwise for 2-3 seconds. You should feel resistance when trying to twist the bit by hand; if it spins freely, repeat the tightening process.
Decoding Direction Switches and Safety Locks for Accident Prevention

Your drill’s three-position switch does more than just change directions—it’s your primary safety mechanism. The forward position (marked “F” or with a clockwise arrow) provides standard drilling and screw-driving capability, while reverse (“R” or counterclockwise arrow) extracts screws and backs the bit out of stuck holes. The center position isn’t just “off”—it actively locks the motor to prevent accidental starts when storing or transporting your drill. Never rely solely on releasing the trigger; always return the switch to center when setting the tool down.
When to Use Reverse for Problem Solving
Reverse mode becomes essential when your drill bit binds in dense material. Instead of forcing the tool forward and risking stripped gears, switch to reverse and gently back the bit out while maintaining light forward pressure. This technique works wonders when drilling into unexpected knots in wood or encountering hidden nails in walls. For stubborn screws, apply brief reverse pulses—no more than 2 seconds at a time—to break corrosion without damaging the screw head.
Essential Safety Gear Checklist Before You Pull the Trigger
Skipping eye protection causes more DIY injuries than any other single mistake with cordless drills. Standard prescription glasses don’t provide adequate coverage—invest in ANSI Z87.1-rated safety glasses that wrap around the sides to block flying debris from all angles. When drilling overhead or into masonry, add a dust mask rated N95 or higher to prevent inhaling harmful particles. For extended use, noise-canceling earmuffs protect against the 85+ decibel whine that causes cumulative hearing damage.
Securing Workpieces to Prevent Dangerous Movement
Clamping your material isn’t optional—it’s critical safety protocol. A spinning workpiece can wrench the drill from your hands with enough force to cause serious injury. Use at least two clamps positioned close to your drilling area, and for small pieces, sandwich them between larger sacrificial boards. When drilling into walls, always locate studs and electrical wiring first with a reliable stud finder that detects both wood and live wires—never assume based on standard stud spacing.
Mastering Variable Speed Triggers and Torque Settings
The variable speed trigger requires finesse most beginners lack. Start every drilling operation at 25% trigger pressure to create a guide dimple—this prevents bit wandering that leads to crooked holes. Gradually increase pressure as the hole deepens, but never exceed 75% pressure even in soft materials; full trigger pull reduces your control and increases tear-out. Practice on scrap wood to develop muscle memory for different materials: wood requires lighter pressure than metal, while masonry needs consistent moderate pressure.
Setting Perfect Torque for Different Screw Types
The torque collar’s numbers represent inch-pounds of rotational force, not arbitrary settings. For standard #8 wood screws in pine, start at setting 5; for #10 screws in oak, jump to 12. When the clutch clicks and stops turning, it’s doing its job—don’t override it by holding the trigger. For delicate materials like cabinet doors or drywall, use the lowest setting where the screw seats fully without sinking below the surface. Test on scrap material first; proper torque prevents both stripped heads and sunken screws that weaken joints.
Selecting Drill Bits and Speed Settings for Specific Materials
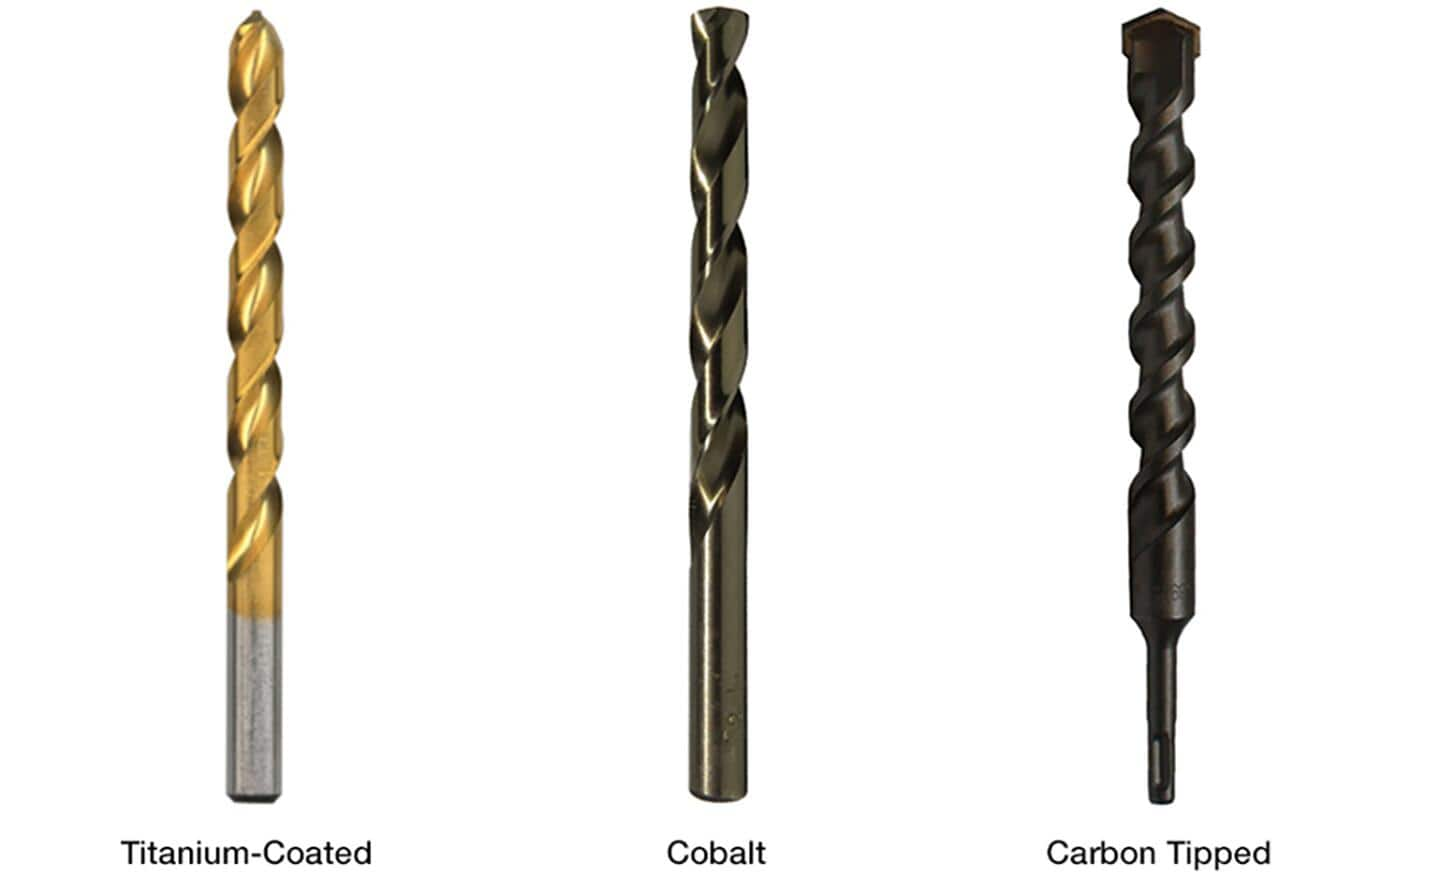
Using the wrong bit for your material wastes time and damages both tool and workpiece. For wood projects requiring clean holes, brad point bits create precise entry points with minimal wandering. When drilling metal, apply cutting fluid liberally and start with a center punch mark—begin at low speed (gear 1) with a small pilot hole before switching to your final bit size at higher speed (gear 2). Masonry requires carbide-tipped bits specifically designed for hammer action; standard twist bits will shatter under the stress.
Matching Speed Settings to Bit Diameter
Black & Decker’s two-speed gearbox isn’t just for power—it’s for precision. As a rule of thumb, use low speed (gear 1) for bits larger than 1/4 inch or when driving screws, and high speed (gear 2) for bits smaller than 1/4 inch in wood or metal. Larger bits require more torque but less rotational speed to prevent overheating; smaller bits need higher RPMs to cut effectively. When in doubt, start slow—you can always increase speed, but you can’t undo a melted plastic hole or stripped screw head.
Step-by-Step Guide to Drilling Clean Pilot Holes Every Time
Pilot holes prevent wood splitting but most DIYers drill them incorrectly. Measure your screw’s unthreaded shaft diameter (not the threads), then select a bit 75% of that size—for a 3/16″ shaft, use a 5/32″ bit. Drill only through the top board when joining pieces, not through both. Maintain perpendicular alignment by placing a carpenter’s square against your workpiece as a visual guide. For hardwoods, apply beeswax to the bit to reduce friction and heat buildup that can burn the wood.
Preventing Tear-Out on Delicate Surfaces
When drilling through the back side of finished wood, place sacrificial scrap wood underneath at the exact drilling point. The bit exits into this waste piece rather than tearing out your project’s visible surface. For laminate or veneer, drill through with extremely light pressure at the lowest speed setting, or use a specialized brad point bit with a non-tearing spur design. Stop drilling when you feel the bit break through the back surface—continuing causes blowout.
Pro Maintenance Tips to Extend Your Drill’s Lifespan
Weekly chuck cleaning prevents the #1 cause of reduced performance. Fully open the chuck, then use a stiff-bristled brush (an old toothbrush works perfectly) to dislodge sawdust and metal shavings from the jaws and collar mechanism. Wipe the chuck exterior with a dry microfiber cloth—never use oil or lubricants inside the chuck. For stubborn debris, use compressed air at 30 PSI or less, directing airflow away from the motor housing.
Battery Care Secrets for Maximum Runtime
Lithium-ion batteries degrade fastest when stored at full charge or complete discharge. For long-term storage, maintain a 40-60% charge level in a cool, dry place. Never leave batteries on the charger after they’re full—this creates “trickle stress” that reduces overall capacity. When working on large projects, rotate between two batteries to allow each to cool down between uses; excessive heat is the silent killer of battery lifespan. Replace batteries showing reduced runtime after 2-3 years of regular use.
Mastering how to use Black and Decker cordless drill techniques transforms this common tool from a source of frustration to your most reliable workshop ally. By implementing these specific techniques—proper bit loading, torque calibration, and material-specific approaches—you’ll achieve cleaner holes, perfectly seated screws, and significantly faster project completion. Start with one technique today, like perfecting your pilot hole drilling method, and notice the immediate improvement in your results. Your next DIY project doesn’t have to be another lesson in frustration—it can be the first of many perfectly executed tasks with your newly mastered cordless drill. Keep this guide handy until these techniques become second nature, and you’ll wonder how you ever managed without them.


