
That new Ryobi drill sitting in your garage probably feels equal parts exciting and intimidating. You’ve watched DIY videos where pros zip through projects, but when you grip your drill for the first time, it’s easy to freeze—wondering which knob controls what or why your drill bit keeps slipping. You’re not alone; most beginners struggle with the clutch settings, bit selection, and basic safety steps that separate clean holes from stripped screws. This guide cuts through the confusion with actionable steps straight from Ryobi’s engineering specs, so you’ll confidently drill your first hole or drive your first screw by lunchtime. We’ll focus on the exact controls, settings, and beginner-friendly projects that transform your Ryobi from a confusing tool into your most trusted workshop ally.
Find and Master Your Ryobi Drill’s 4 Critical Controls

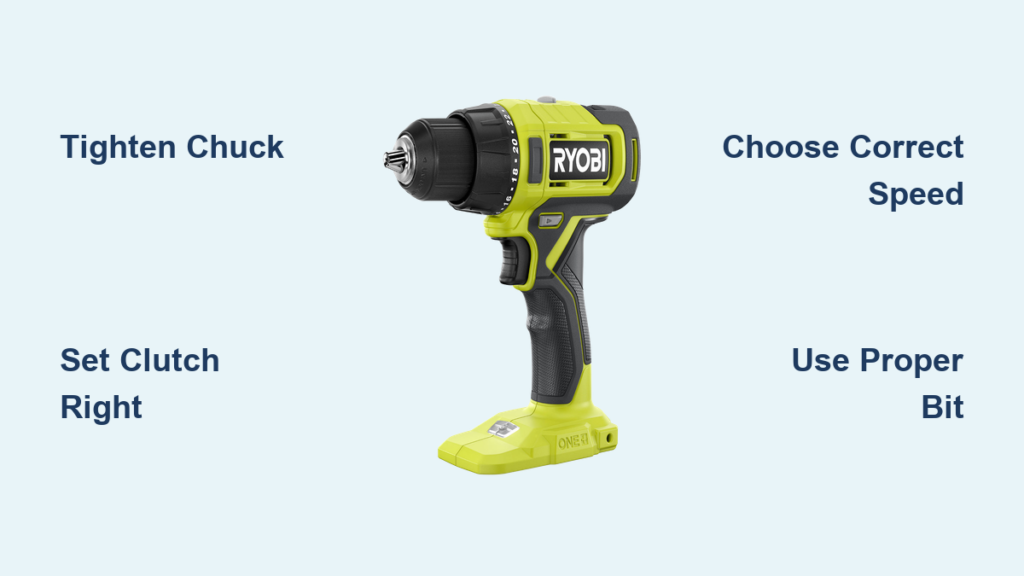
Before touching any material, you must control these four elements—missteps here cause 90% of beginner frustrations. Your Ryobi’s keyless chuck (the black collar at the front) replaces old-school chuck keys. To insert a bit: hold the grooved collar steady with your non-dominant hand while twisting the ribbed lower section counterclockwise to open the jaws. Slide in your bit shank, then twist clockwise until fully tight—you should feel resistance without straining. Never operate with a loose bit; it’ll slip mid-drill and damage your workpiece.
Set the Clutch for Screws vs. Drilling Holes
The numbered torque collar behind the chuck is your secret weapon against stripped screw heads. For drilling holes, rotate the collar to the drill icon (usually at 11 or 12 o’clock). This disables the clutch for maximum torque. When driving screws, start at setting 4 for small screws (#6-#8) or 8 for larger ones (#10+). Test on scrap wood: if the screw sinks too deep, lower the number; if it won’t drive flush, increase it slightly. The clutch will “click” when torque is reached—this isn’t a malfunction, it’s your drill protecting your project.
Choose Between Speed 1 and Speed 2 for Your Project
Flip the gear switch near the trigger to match your task. Speed 1 (tortoise symbol) delivers high torque at low RPM—essential for driving deck screws or drilling large holes (1/2″+). Speed 2 (rabbit symbol) gives faster rotation with less power, ideal for pilot holes or thin metal. Never use Speed 2 for lag bolts; the low torque will strip heads. For wood drilling, always start at low speed to prevent bit “walking,” then switch to high speed once the hole is established.
Drill Perfect Holes in Wood: Step-by-Step Technique

Skipping this preparation causes crooked holes that ruin shelves or furniture. Start by marking your spot with a pencil, then create a “dimple” using a nail and hammer—tap firmly to make a 1/16″ indentation. This guides the bit precisely. For hardwoods or critical projects, upgrade to a center punch for deeper, more reliable starting points. Without this step, even sharp bits will skate across surfaces under pressure.
Avoid Bit Walking: 2 Techniques for Straight Holes
Hold the drill with both hands—dominant hand on the trigger, other on the auxiliary handle (if equipped). Press the bit tip firmly into your dimple, then start at slow speed while applying steady downward pressure. If the bit veers off course:
– For shallow holes: Pause, reposition the tip in the dimple, and restart.
– For deep holes: Drill a 1/8″ pilot hole first with a small twist bit, then switch to your final size.
Never force the drill; let the bit’s rotation do the work. If smoke appears, stop immediately—you’re pushing too hard or using a dull bit.
Drive Screws Without Stripping: Set Your Ryobi Clutch Correctly
Mismatched bits destroy screws in seconds. Match the driver bit exactly to your screw head: a #2 Phillips bit for standard screws, Torx (TX) for star-shaped heads, or square (Robertson) for deck screws. Insert the bit into the chuck until it clicks, then tighten the chuck firmly. Test bit grip by trying to wiggle it—if it moves, retighten. Worn bits with rounded tips cause instant stripping; replace them at the first sign of wear.
Test Clutch Settings on Scrap Wood First
Beginners often set torque too high, sinking screws below wood surfaces. Grab a scrap wood piece identical to your project material. Set the clutch to 5, drive a screw, and check:
– If the head sits proud (above surface), increase torque by 1-2 settings.
– If the head sinks too deep, decrease torque.
– If the clutch clicks prematurely, the setting is too low.
Repeat until the screw stops flush with the wood. This 60-second test saves ruined projects.
Select the Right Drill Bit for Wood, Metal, or Concrete

Using the wrong bit causes splintered edges or broken tips. Twist bits (HSS) work for wood and thin metal but dull fast in masonry. For concrete, use masonry bits with carbide tips—identify them by the arrow-shaped tip and coarse flutes. In wood, brad point bits deliver cleaner holes than twist bits thanks to their sharp center spur. For large holes (1″+), spade bits cut faster but require low speed to avoid splintering.
Masonry Bit Tips for Concrete Walls
Drilling into brick or concrete demands patience. Set your Ryobi to Speed 1 and the drill icon (no clutch). Start with light pressure—let the carbide tip grind through the surface. Every 10 seconds, pull the bit out to clear dust (this prevents overheating). If the bit stops cutting, stop immediately; forcing it cracks the carbide tip. For deep holes, use a hammer drill mode if your Ryobi has it, but most beginner models require manual “pecking.”
Critical Safety Steps Before Using Your Ryobi Drill
Safety glasses aren’t optional—wood chips or metal shavings can cause permanent eye damage in milliseconds. Always wear them, even for “quick” tasks. Next, secure your workpiece with clamps or a vise. Holding wood with your hand risks kickback that slams the drill into your fingers. Finally, remove the battery before changing bits; accidental trigger pulls while tightening the chuck cause serious injury.
3 Must-Wear Safety Gear Pieces (Especially #1)
- ANSI-approved safety glasses (wrap-around style blocks side debris)
- Hearing protection for extended drilling (Ryobi drills hit 90+ dB)
- Dust mask when drilling concrete or treated wood
Never skip step #1—70% of DIY eye injuries happen during drilling tasks. Keep glasses within arm’s reach of your work area.
3 Beginner Projects to Practice Your Ryobi Drill Skills
Start with these low-risk builds to cement your skills. For the picture frame project, drill 1/8″ pilot holes through wall studs using a brad point bit. Set clutch to 3 and drive #6 screws—this prevents drywall cracks from over-tightening. Measure twice, mark with a level, and use your dimple technique for invisible holes.
Build a Simple Shelf in Under 30 Minutes
Cut two 1×4 boards to 24″ lengths (top/bottom) and two to 10″ (sides). Drill countersunk pilot holes through the top/bottom pieces into the sides using a step bit (creates recess for screw heads). Set clutch to 6 and Speed 1. Drive #8 screws until flush—no sinking, no stripping. This project teaches depth control and bit selection in one go.
Fix Common Ryobi Drill Problems in 60 Seconds
Bit slippage usually means a loose chuck or worn jaws. Retighten the chuck clockwise until it won’t turn further. If bits still slip, inspect the chuck jaws for cracks or debris—clean with a toothbrush and light oil. For smoking drills, the culprit is almost always excessive pressure. Stop, let the motor cool for 2 minutes, then restart with lighter pressure. If it persists, your bit is dull; replace it immediately.
Why Your Drill Won’t Start (and How to Fix It)
Check these three culprits before assuming battery failure:
1. Trigger lock engaged: Slide the safety switch (usually near the trigger) to “unlock.”
2. Neutral reverse position: Ensure the forward/reverse lever isn’t centered—it must click firmly left (forward) or right (reverse).
3. Dead battery: Plug in a known-working battery; if the drill runs, your original battery needs charging.
Never force a stuck chuck—tap it gently with a rubber mallet while rotating the collar.
Extend Your Ryobi Drill’s Life: Battery and Maintenance
Ryobi 18V ONE+ batteries hate two things: full discharges and hot garages. Always recharge batteries after use—never let them hit “zero.” Store them at 40-80°F; extreme heat degrades cells in weeks. For monthly maintenance, wipe the chuck with a dry cloth and apply 1-2 drops of lightweight oil to the jaws. Never lubricate the motor housing—this attracts sawdust that gums up gears.
Store Batteries Correctly to Avoid Damage
Remove batteries when storing the drill for over 2 weeks. Charge them to 50% first—fully charged batteries degrade faster in storage. Keep them in the original case away from metal objects (like nails or tools) that could short the terminals. If a battery won’t hold a charge after 18 months, recycle it; forcing continued use risks swelling or fire.
Mastering your Ryobi drill starts with controlling four key elements: chuck tightness, clutch settings, speed selection, and bit matching. Practice these on scrap wood before tackling real projects, and you’ll avoid the top beginner pitfalls that lead to stripped screws or crooked holes. Start with hanging a picture frame this weekend—use the dimple technique, set clutch to 3, and drive screws slowly. In just one hour, you’ll gain the confidence to move to shelves or furniture assembly. Remember: great DIYers weren’t born with these skills; they started exactly where you are now, one perfect hole at a time. Your next project is waiting—grab that Ryobi and make it happen.


