
You’ve inherited a battle-scarred Makita hammer drill from a retired tradesperson, but that stubborn collar won’t budge into hammer mode. Or maybe you’re staring at a modern Makita’s digital display, confused about which icon activates the hammer function for your concrete patio project. Thousands of DIYers and contractors face this exact frustration daily—especially with Makita’s transition from mechanical collars to digital controls across model generations. This guide cuts through the confusion by revealing exactly how to engage hammer mode on both vintage corded beasts and newer cordless models. You’ll learn the precise collar-twisting technique for 20-year-old workhorses, decode modern mode buttons, and master pressure control to drill clean holes in brick or concrete without destroying your bit. Most importantly, you’ll avoid the #1 mistake that ruins Makita hammers: accidentally using hammer mode on wood.
Locating and Activating Hammer Mode on Vintage Makita Drills
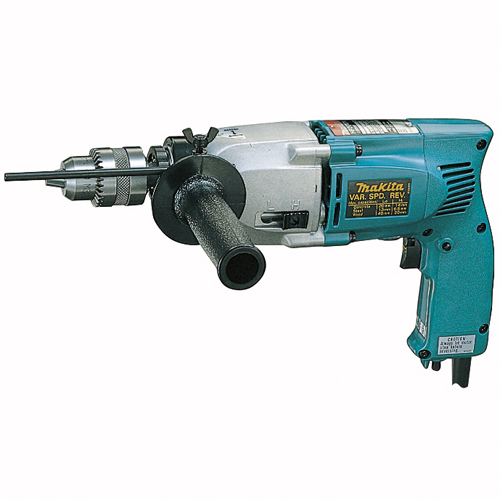
Older Makita hammer drills like the HP2010N—the “absolute beasts” electricians swear by after 20 years of hard use—rely on a physical collar system, not electronic buttons. If your drill only shows low/high speed settings, you’re missing the critical ring just ahead of the handle. This knurled metal or black oxide collar sits between the chuck (bit holder) and your grip, often overlooked because it resembles part of the housing.
Twist the Front Collar to Engage Hammer Action
Grip the ridged ring firmly and rotate it from the drill-bit symbol toward the hammer icon. You’ll feel a distinct mechanical click as the ratchet-based hammer mechanism locks into place—this isn’t a digital switch but a physical gear engagement. Never force it; if resistance feels excessive, stop immediately. As one electrician notes, decades of concrete dust can seize this collar, making smooth operation impossible without intervention.
Freeing a Stuck Hammer Collar with WD-40
When your vintage Makita’s collar won’t budge, apply penetrating oil like WD-40 directly into the seam between the collar and drill body. Let it soak for 15 minutes to dissolve hardened debris, then reattempt the twist. Avoid excessive force—these collars snap if pried with pliers. After freeing, wipe excess oil away to prevent slippage during operation. Remember: This collar only controls hammer engagement; speed settings remain separate via the trigger or gear switch.
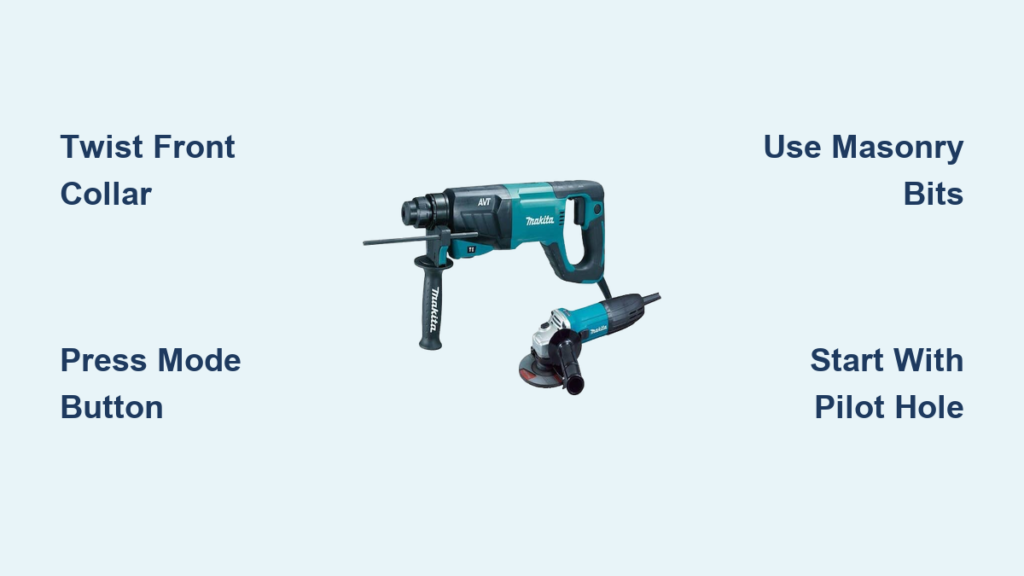
Operating Modern Variable-Speed Makita Hammer Drills
Newer Makita models like SDS-Plus cordless drills replace mechanical collars with multifunction electronic controls. The absence of a twist ring confuses many users accustomed to older designs, but the process is simpler once you know where to look.
Cycle Through Modes Using the Function Button
Press the dedicated “Mode” or “Function” button (usually near the trigger) to toggle between three critical icons:
– Drill symbol (single rotation arrow): Standard drilling for wood/metal
– Hammer symbol (hammerhead icon): Hammer-drill mode for masonry
– Hammer + line symbol: “Hammer only” mode for light chiseling (bit doesn’t rotate)
Each press cycles through these options, with an LED display confirming the active mode. Never assume the mode—always verify the symbol before starting. The variable-speed trigger works identically in all modes: gentle squeeze for precision, full press for maximum power. The forward/reverse collar remains above the trigger for direction control.
Avoid the “Hammer Only” Trap for Drilling
A common error occurs when users accidentally select “hammer only” mode (the third icon) for drilling. This delivers pulsing impacts without bit rotation, causing bits to jam in concrete. For standard masonry drilling, you must select the pure hammer symbol. Reserve “hammer only” for tasks like breaking tile grout or chipping mortar—not creating holes.
5 Critical Steps to Drill Concrete Without Damaging Your Makita

Using hammer mode correctly separates clean, efficient holes from broken bits and overheated drills. Follow these steps precisely for professional results.
Wear Essential Safety Gear Before Powering On
Always start with ANSI-rated safety goggles—concrete dust causes irreversible eye damage. Add a N95 mask for indoor work and hearing protection for corded models. Clamp your workpiece securely; handheld masonry drilling risks dangerous kickback. Never skip this step: Makita’s hammer action generates violent vibrations that amplify if the drill slips.
Select the Correct Bit Type and Shank
Masonry bits are non-negotiable. Standard twist bits shatter under hammer impacts. For SDS-Plus Makitas (most modern models), use SDS bits with two retaining grooves that click securely into the chuck. For older 3-jaw chuck models, choose carbide-tipped masonry bits with straight shanks. Match bit diameter to your task—never exceed the drill’s rated capacity (check manual page 7 for models like HP2010N).
Create a Pilot Hole to Prevent Bit Wandering
Mark your spot with a center punch, then start in drill-only mode (no hammer action). Squeeze the trigger gently to drill a 1/8″ deep guide hole. This anchors the bit, preventing it from skating across smooth concrete. Only after this pilot hole is established should you engage hammer mode. Skipping this causes uneven holes and snapped bits.
Apply Steady Pressure—Never Lean Into the Drill
Rest the drill’s weight against your hip or shoulder, applying firm but consistent forward pressure. Let the hammer mechanism do the work; excessive force overheats the bit and strains the motor. If dust stops clearing from the hole, pull the bit out completely to let debris escape—jammed holes cause binding and motor burnout. For deep holes, pause every 2 inches to clear dust.
Immediately Disengage Hammer After Drilling
The moment drilling stops, switch back to drill-only mode. Leaving the hammer engaged while changing bits or drilling wood/metal accelerates wear on internal ratchets. This single habit extends your Makita’s lifespan by years. Always verify the mode collar or display before next use.
Concrete Drilling Speed and Pressure Secrets

Soft brick requires high speed with light pressure to avoid pulverizing the material. For dense concrete, reduce speed (use lower gear on dual-speed models) and increase pressure slightly—but never enough to stall the motor. Pilot holes are mandatory for holes over 1/2″ diameter; start with a 3/16″ bit to create a guide path. If the bit smokes, you’re pushing too hard or moving too slowly. Stop immediately to prevent carbide tip damage.
Fixing 4 Common Makita Hammer Drill Failures
No Hammer Action Despite Correct Mode Setting
Double-check that the collar clicked fully into place on older models—partial engagement mimics failure. For modern drills, cycle the mode button three times to reset the system. If hammer action remains absent, verify the battery is fully charged; low voltage disables hammer functions on cordless models as a safety feature.
Drill Spins But Hammer Mechanism Is Silent
You’re likely in “hammer only” mode. Press the mode button until the pure hammer symbol appears (not the hammer+line icon). This mistake causes bits to bind in concrete since rotation is essential for dust removal.
Weak Hammering Power on Cordless Models
A depleted battery is the culprit 90% of the time. Swap in a fresh, fully charged Makita 18V battery. If power remains low, clean ventilation slots with compressed air—clogged vents overheat the motor. Never operate a cordless Makita hammer drill on concrete with less than 75% battery.
Bit Slips in Chuck During Hammering
For SDS models, ensure the bit clicks twice when inserted. For 3-jaw chucks, tighten the chuck collar clockwise until firm—overtightening cracks the chuck. Replace worn chucks immediately; hammer action magnifies any play.
Extend Your Makita Hammer Drill’s Lifespan by 5+ Years
Give your drill 2-minute cooldown breaks every 10 minutes during concrete work—continuous hammering overheats the mechanism. After each use, blow dust from the chuck and vents with an air compressor; concrete grit destroys bearings over time. Never use hammer mode for wood or metal drilling; the ratchet system isn’t designed for those materials. Finally, store with the collar in drill-only position to relieve spring tension. These Makitas last decades when treated right—many electricians still rely on 20-year-old corded models because they mastered these fundamentals.
Mastering your Makita hammer drill starts with knowing its specific activation method—whether twisting a stubborn collar or cycling digital modes. By following these concrete-tested techniques, you’ll drill cleaner holes faster while protecting your investment. Remember the golden rule: Hammer mode only for masonry, verified every single time. For model-specific details like the HP2010N’s settings, always consult page 7 of your manual. Now tackle that patio anchor project with confidence—your drill (and your wrists) will thank you.


