
You’re drilling into hardwood, sweat dripping down your temple, when suddenly your drill bit jerks free and clatters to the floor. Frustrating? Absolutely. But this isn’t a drill malfunction—it’s almost always a missed step in how you’re using your keyless chuck. That distinctive click you hear when tightening isn’t accidental; it’s your drill’s locking mechanism begging to be engaged. Skip it, and you’ll battle bit slippage on every project. This guide reveals the exact 3-step tightening sequence professionals use to lock bits securely, prevent wobble, and avoid dangerous projectile bits. You’ll never wonder “why won’t my drill bit stay tight?” again.
Why Your Keyless Chuck Isn’t Locking (And How to Fix It)
Most DIYers stop tightening the moment the chuck feels “hand-tight,” but that’s precisely why bits slip during drilling. Keyless chucks contain a hidden ratcheting lock that only activates when you rotate the chuck sleeve ⅓ to ½ turn past initial hand-tight resistance. Without this final motion, torque from drilling forces the chuck to rotate backward, loosening the grip on your bit. The telltale sign? That sharp click and slight resistance increase as internal teeth engage. If you’re not hearing it, you’re operating with a false sense of security—one heavy-duty screw or hardwood hole away from a flying bit disaster.
The Critical Difference Between Hand-Tight and Lock-Tight
Hand-tightening alone creates only surface friction against the bit shank. Under drilling pressure, this grip fails as vibration and rotational force overwhelm the chuck’s jaw tension. Lock-tightening, however, physically locks the chuck assembly using interlocking teeth that resist counter-rotation. Think of it like a seatbelt versus a locked car door: one slows you down, the other stops you cold. This mechanism is engineered into every quality keyless chuck but remains useless if you never trigger it.
How to Instantly Identify a Disengaged Lock
Your chuck is not locked if:
– You can rotate the chuck sleeve backward with light finger pressure
– The bit wobbles visibly when held up to light
– You feel smooth, continuous resistance (no “bump” or click) when tightening
– Bits loosen within 30 seconds of drilling into dense material
The Exact 3-Step Tightening Sequence That Works Every Time
Forget vague “turn until tight” instructions. This foolproof method works on Milwaukee, DeWalt, Makita, and all major brands. Perform these steps with the drill unplugged or battery removed to prevent accidental trigger activation.
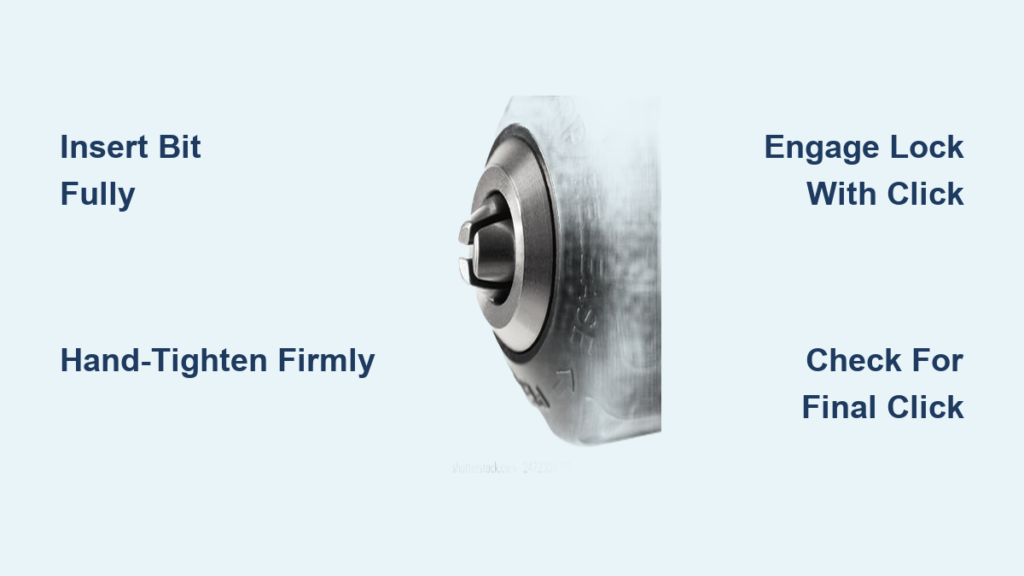
Step 1: Insert the Bit Fully and Center It
Hold the drill firmly in your non-dominant hand. Rotate the chuck sleeve counter-clockwise until jaws open wide enough to accept the bit shank. Slide the bit in until it bottoms out against the chuck’s internal stop—usually ¾ to 1 inch deep. Crucial check: Sight down the bit shaft. If it’s tilted toward one jaw, nudge it straight. An off-center bit guarantees wobble, even when locked.
Step 2: Hand-Tighten Until Initial Resistance Builds
While stabilizing the bit with your thumb and forefinger, rotate the chuck sleeve clockwise with your dominant hand. Tighten until you feel firm resistance—about 70% of your hand strength. Warning: Do not use pliers, channel locks, or hammer taps here. Forcing it now strips the ratcheting teeth, making future locking impossible. If resistance feels uneven, withdraw the bit and clean debris from the jaws first.
Step 3: Engage the Lock With the Final Click Turn
This is the non-negotiable step 80% of users skip. Maintain clockwise pressure and rotate the sleeve another ⅓ to ½ turn. You’ll feel distinct “bumps” followed by a sharp click as the ratcheting teeth engage. Stop immediately after the click—overtightening can crack the chuck housing. Pro verification: Try rotating the sleeve backward with light pressure. If locked correctly, it won’t budge.
Stop Using Channel Locks on Your Chuck (4 Deadly Mistakes)

Forcing a keyless chuck with tools seems logical when bits slip, but it destroys the precision mechanism inside. These errors cause 90% of premature chuck failures:
❌ Hammering the Chuck Sleeve to Loosen Stuck Bits
Metal hammers deform the chuck’s outer sleeve, misaligning the ratcheting teeth. Fix: Use a rubber mallet for light taps only. Place the drill on a workbench, grip the chuck sleeve firmly, and tap sideways (not downward) to break corrosion.
❌ Storing Your Drill With the Chuck Fully Closed
Moisture and temperature changes cause metal to expand/contract. A tightly closed chuck can seize overnight, especially in humid climates. Fix: After use, open the chuck 2-3 turns before storage. This relieves spring tension on the locking mechanism.
❌ Lubricating With WD-40 or Oil-Based Products
Petroleum oils attract sawdust and metal shavings, creating grinding paste inside the chuck. Fix: Use silicone-based lubricant sparingly on chuck threads once monthly. Wipe excess with a microfiber cloth.
❌ Ignoring Bit Shank Contamination
A single wood shaving on your bit shank prevents full jaw closure. Fix: Wipe bit shanks with isopropyl alcohol before insertion. Check for nicks—if light catches on a burr, replace the bit.
Pro’s Double-Click Method for Hole Saws and Heavy-Duty Bits
Standard tightening fails with aggressive bits like 1¼” hole saws or Forstner bits. The violent torque can still overcome the lock. Master this contractor technique:
- Tighten using the standard 3-step sequence until you hear the first click
- Loosen the chuck exactly ¼ turn (no more)
- Re-tighten clockwise until you hear a second distinct click
This “seats” the bit deeper into the jaws while maximizing tooth engagement. Critical: Only use this for high-torque applications. Overuse wears the ratcheting teeth.
Monthly 2-Minute Chuck Tune-Up That Prevents Failures

Skip this routine, and your chuck loses locking power within months. Do it right after your drill’s battery dies:
- Clean: Remove bits, then use a stiff-bristled brush (old toothbrush works) to dislodge debris from jaw grooves. Rotate the sleeve while brushing to access all angles.
- Inspect: Shine a flashlight into the chuck. If jaw teeth look rounded (not sharp-edged), replacement is needed.
- Lubricate: Apply 2 drops of silicone lubricant to the chuck’s threaded collar. Rotate the sleeve 5 times to distribute evenly. Wipe excess.
Pro tip: During inspection, tighten the chuck without a bit until locked. If the sleeve spins freely in both directions, the ratcheting mechanism is broken—time for a replacement chuck.
When Your Chuck Won’t Click: Emergency Fixes
If you’ve followed all steps but hear no click, don’t force it. First, rule these culprits:
- Debris jam: Open the chuck fully. Look for a sliver of broken bit wedged between jaws. Use needle-nose pliers to extract it.
- Worn locking teeth: Visible rounding on the chuck sleeve’s inner teeth means replacement is unavoidable. Continuing to use it risks sudden bit ejection.
- Temperature lock: In freezing conditions, moisture inside the chuck freezes solid. Warm the chuck with a hairdryer for 60 seconds before attempting to loosen.
Never attempt: Using a drill press to force-tighten a hand chuck. The excessive torque shatters the chuck assembly.
Mastering your keyless chuck’s locking mechanism transforms frustrating DIY moments into professional results. Remember: hand-tight is just the starting point—the click is your security checkpoint. By engaging that lock every time, you’ll eliminate 75% of bit slippage issues, protect expensive accessories, and drill with confidence in any material. Keep your chuck clean, store it slightly open, and respect that final turn. Your next project won’t just have cleaner holes—it’ll be safer and faster from start to finish. When in doubt, tighten until you hear that reassuring click. Your drill (and your knuckles) will thank you.


