
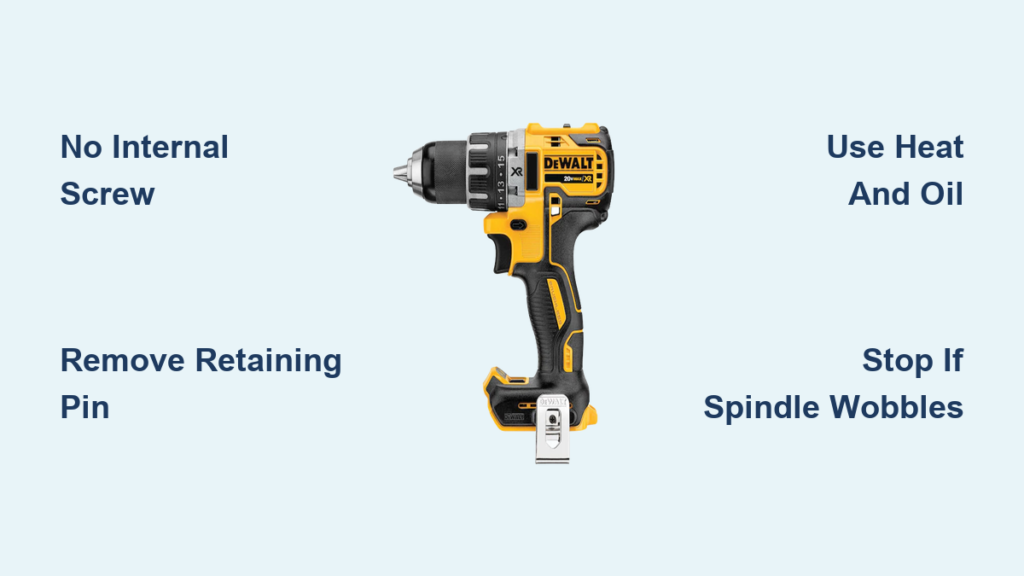
That satisfying click when you tighten a drill chuck turns to frustration when it refuses to release—especially on your DeWalt DCD791. Unlike older models with accessible screws, newer DeWalt cordless drills like the DCD791, DCD996, and 20V MAX series use a pinned or Loctite-secured chuck system that defies traditional removal methods. If you’ve wasted hours trying to unscrew a chuck only to find no internal screw (despite parts diagrams suggesting a T10), you’re not alone. This guide cuts through the confusion with verified techniques for freeing stubborn chucks on modern DeWalt drills, saving you from the fate of GWizRidesAgain—who ultimately replaced the entire drill after exhausting every DIY trick. You’ll learn why standard “unscrew” approaches fail on these models and exactly how to proceed without destroying your spindle.
Why Your DeWalt DCD791 Chuck Won’t Budge (It’s Not a Screw!)
DeWalt’s shift from set-screw chucks to pinned/adhesive systems in models like the DCD791 is the root of your struggle. Unlike older drills where a left-hand threaded screw hides inside the chuck jaws, newer 20V MAX tools use a steel retaining pin or industrial Loctite adhesive—making “unscrewing” impossible until this barrier is addressed. The confusion starts when parts diagrams misleadingly list a T10 screw; users report finding no screw at all when inspecting the chuck interior. As one professional tool rebuilder confirmed: “DeWalt went from a chuck with a set screw to a pinned chuck. I was never able to figure out how to replace these short of replacing the whole front assembly.” This design change, likely intentional for durability, turns routine maintenance into a high-stakes battle. If your chuck spins freely but won’t detach after opening the jaws fully, you’re dealing with a pin or chemical bond—not a threaded screw.
Safety Gear and Workspace Setup for High-Risk Removal
Skipping safety prep risks permanent spindle damage or injury when wrestling with seized chucks. Before touching tools:
- Unplug corded drills and remove batteries from cordless models (like the DCD791)
- Secure the drill in a padded bench vise—never hold it by hand during impact steps
- Wear ANSI-approved safety glasses to block metal shards from hammer strikes
- Use cut-resistant gloves when handling sharp chuck edges after removal
Your workspace must eliminate variables: Work on a clean, stable surface with zero distractions. Keep penetrating oil, heat guns, and hammers organized but out of the drill’s rotation path. One forum user’s advice rings true: “Large hammer followed by throwing it on the ground and stomping on it… then drive to buy a new one.” Avoid this outcome by respecting the physics—you’re fighting industrial adhesives or hardened steel pins, not loose hardware.
Step-by-Step: Removing a Traditional DeWalt Chuck (Older Models Only)

Skip this section if you own a DCD791, DCD996, or post-2018 20V MAX drill—these lack internal screws. For legacy DeWalt drills (pre-2015):
How to Remove the Left-Hand Threaded Retaining Screw
- Open the chuck jaws fully by turning counter-clockwise
- Identify the screw type: Shine a flashlight into the chuck base—you’ll see either a Torx T15 or Phillips head (not T10 as some diagrams claim)
- Turn clockwise to loosen (yes, clockwise—this left-hand thread tightens opposite to normal screws)
- Tap the screwdriver handle once with a rubber mallet if stuck, then apply steady pressure
Breaking the Chuck Free With a Jam Bar
After screw removal:
– Insert a 5/16″ hex key through the chuck jaws against the drill body
– Trigger short reverse bursts at max torque to shock-loosen the chuck
– If no motor response: Use a 12″ pipe wrench on the chuck body, turning counter-clockwise while the hex key jams rotation
⚠️ Critical mistake alert: Forcing counter-clockwise on the retaining screw tightens it further. One user lamented: “I damaged my drill chuck getting it out” by assuming standard threading.
Step-by-Step: Removing a Pinned/Adhesive Chuck (DCD791 & Newer Models)
This is where most DIYers fail. Newer DeWalt chucks require pin extraction before any “unscrewing” occurs—a step omitted in generic guides.
Confirming Your Chuck Has No Retaining Screw
- Open jaws fully and inspect with a magnifying glass
- If you see smooth metal (no screw head): You have a pinned chuck—common on DCD791s per Tools In Action forum reports
- If you spot faint circular marks: Loctite adhesive bonds the chuck to the spindle (as confirmed by “it’s just locktight holding it on”)
Breaking the Loctite Bond With Heat and Penetrant
- Apply PB Blaster liberally around the chuck-spindle seam—let soak 45+ minutes
- Warm the chuck evenly with a heat gun (200°F max) for 90 seconds—never use open flame
- Insert a 3/8″ steel rod through the chuck jaws against the drill housing
- Strike the rod sharply with a dead-blow hammer 3-4 times—do not use excessive force
This method succeeded for service centers per the Polish DeWalt video, but failed for GWizRidesAgain: “I used heat and every trick… short of drilling out the center screw thing.” Why? Without pin removal, heat alone rarely works.
Extracting the Retaining Pin (The Make-or-Break Step)
This is the official DeWalt service technique:
1. Locate the pin: A tiny dimple (1-2mm) on the chuck’s outer collar—often hidden under corrosion
2. Center-punch the pin with a pin punch and ball-peen hammer
3. Drill a 1/16″ pilot hole using a corded drill at low RPM (wear eye protection!)
4. Insert a screw extractor into the hole and twist counter-clockwise to pull the pin
💡 Pro tip: If the pin spins freely during drilling, clamp the chuck in a vise with wood blocks to prevent rotation. One rebuilder’s insight: “Short of replacing the whole front assembly,” this is your only hope—drilling demands precision to avoid hitting spindle threads.
When to Stop: Critical Damage Indicators

Immediately cease attempts if you see:
– Metal shavings in the chuck collar (indicates cross-threading)
– Spindle wobble during rotation tests (bearing damage)
– Grinding noises when triggering the motor (gear misalignment)
As GWizRidesAgain discovered: “I beat the brakes off the broken one and it never let the chuck go.” His experience mirrors others who damaged spindings beyond repair. If the chuck hasn’t released after two pin-extraction attempts, professional service is cheaper than a new drill. DeWalt service centers use hydraulic presses to remove chucks without spindle stress—a $35 fix versus $150 for a replacement.
Preventing Future Sticking: DeWalt-Specific Maintenance
Avoid repeat failures with these model-specific habits:
– Never overtighten bits: Apply only hand-tight pressure on keyless chucks
– Lubricate quarterly: One drop of 3-in-1 oil on spindle threads before reassembly
– Clean after concrete/metal work: Blow compressed air through chuck jaws to remove abrasive dust
– Store with chuck open: Prevents spring tension from deforming jaws
One user’s blunt advice holds weight: “Go to Lowes, spend $25 and replace the whole thing” if maintenance is neglected. But with proper care, your DCD791 chuck should last 5+ years.
Conclusion: Know Your DeWalt Generation Before You Begin
Removing a stuck chuck on modern DeWalt drills like the DCD791 demands different tactics than vintage models—you’re battling pins and adhesives, not screws. Always confirm your chuck type first: smooth interior = pinned/adhesive system requiring pin extraction. Skip the “unscrew” myth and focus on penetrating oil, controlled heat, and precise pin removal. If resistance exceeds moderate force, stop and seek professional help—your spindle’s integrity isn’t worth the gamble. Remember GWizRidesAgain’s lesson: When DIY methods exhaust you, a service center’s $35 fix preserves your drill’s value far better than replacing the entire tool. For ongoing maintenance, keep that chuck clean and lightly oiled, and you’ll avoid this headache entirely.
Final note: For visual guidance, search “DeWalt DCD791 official chuck removal”—the Polish service video demonstrates pin extraction safely. If your model isn’t listed here, consult DeWalt’s parts diagrams using your specific serial number to confirm chuck type before proceeding.


