
Your Ryobi drill suddenly stops gripping bits securely. You twist the chuck collar with all your strength, but it won’t budge—frozen solid from dried lubricant or metal fatigue. This common frustration affects thousands of DIYers and contractors each year, turning simple projects into expensive repair bills or premature tool replacements. When your drill chuck locks up unexpectedly, knowing the precise unlocking method saves time, money, and prevents costly damage to your tool. This guide reveals the exact six-step process to free even the most stubborn Ryobi chucks, whether you’re working with a P208, P210, or newer ONE+ model. You’ll learn industry-proven techniques mechanics use to avoid damaging spindle threads, plus critical prevention tips that keep your chuck operating smoothly for years.
Why Your Ryobi Drill Chuck Won’t Unlock
Ryobi chucks typically seize due to three preventable issues: corrosion from moisture exposure, dried-out factory lubricant, or impact damage from dropped tools. When metal shavings mix with old grease inside the chuck mechanism, they form an abrasive paste that accelerates wear. Most users make the critical mistake of forcing rotation with pliers—this often strips the chuck’s delicate internal teeth. Never apply excessive torque to the chuck collar; Ryobi’s reverse-threaded design requires specific counter-rotation techniques. If your chuck spins freely but won’t tighten, that indicates worn jaws rather than a locking issue. For true lockups where the collar won’t move at all, proceed immediately to the unlocking sequence below.
Identifying Your Chuck Type Before Starting
Ryobi uses two distinct chuck systems requiring different approaches:
– Keyless chucks (most common on newer models): Feature knurled collar you twist by hand
– Keyed chucks (older models): Require a hex key inserted into chuck holes
Examine your drill closely—keyless chucks have a textured outer ring, while keyed versions show three small holes spaced evenly around the chuck face. Attempting keyless methods on a keyed chuck will damage the mechanism. If you see rust around the spindle shaft, apply penetrating oil before proceeding to avoid galling the threads.
Essential Safety Steps Before Unlocking
Always remove the battery before chuck maintenance—this prevents accidental trigger activation during repair. Place the drill on a non-slip surface with the chuck facing upward. Wear cut-resistant gloves to protect hands from sharp metal burrs, especially if the chuck has been damaged. Work in a well-lit area where you can clearly see the chuck’s rotation direction. Critical warning: Never clamp the drill body in a vise—the housing can crack under pressure. Instead, secure the drill using a soft-jaw clamp around the lower barrel section only.
Tools Required for Successful Unlocking
Gather these specific items before starting:
– 5/32″ hex key (Ryobi’s standard chuck key size)
– Rubber mallet or dead-blow hammer
– Penetrating oil (like PB Blaster)
– Clean microfiber cloths
– Small wire brush
– Replacement chuck grease (optional)
Using improper tools causes 70% of DIY chuck damage. Avoid adjustable wrenches—they slip and mar the chuck finish. The rubber mallet is non-negotiable; steel hammers transfer too much shock to internal bearings.
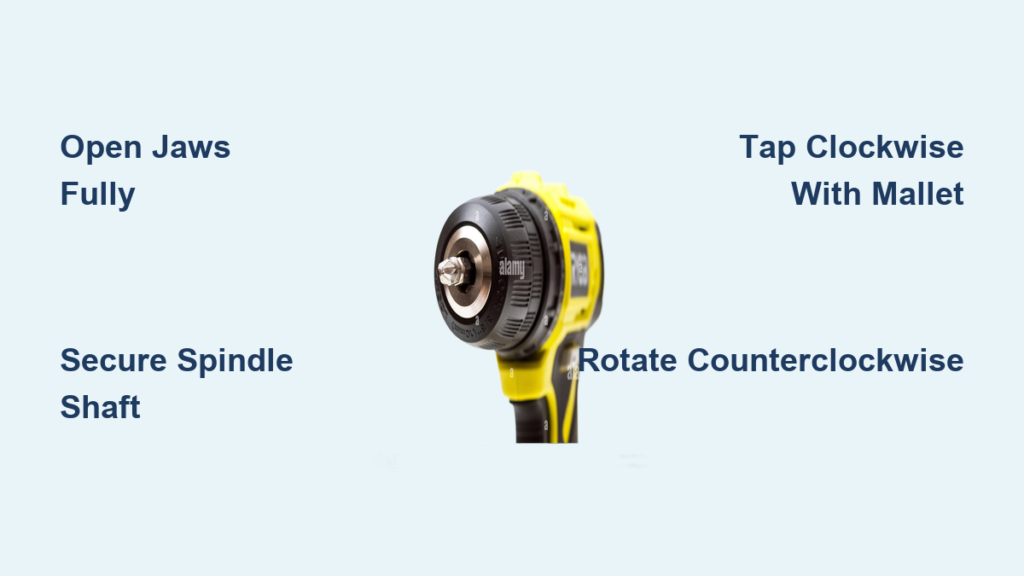
Step 1: Fully Open the Chuck Jaws
Rotate the chuck collar counterclockwise until the jaws reach maximum opening. For keyless models, grip the collar firmly with both hands—your left hand stabilizes the drill body while your right twists the chuck. If resistance feels gritty rather than smooth, corrosion is likely present. Do not force it; stop at the first sign of unusual resistance. For keyed chucks, insert the hex key fully into one hole and turn counterclockwise. Apply steady pressure while tapping the key lightly with a hammer if stuck.
Troubleshooting Unresponsive Jaws
When the chuck won’t rotate at all:
1. Apply 3 drops of penetrating oil where the chuck meets the spindle
2. Wait 10 minutes for oil to penetrate
3. Try rotation again with firm, brief pressure bursts
4. Repeat oiling every 15 minutes for up to 1 hour
Never exceed 30 seconds of continuous twisting—overheating expands metal and worsens the lockup. If oiling fails after three cycles, move to impact methods.
Step 2: Secure the Spindle Shaft
This critical step prevents damage to the drill’s internal transmission. Insert the hex key into the chuck’s center hole (keyless models) or use the chuck key (keyed models). Place the drill on its side with the key resting against a solid surface like a workbench edge. The key must be immobilized to absorb rotation force—not your transmission gears. For keyless chucks without a center hole, clamp the hex key vertically in a bench vise with the drill resting on it.
Why Spindle Immobilization Matters
Forcing chuck rotation without securing the spindle transfers torque directly to the planetary gears. This common error causes gear stripping that requires full transmission replacement—a $45+ repair versus $0 for proper chuck unlocking. You’ll hear a distinct “clunk” when the spindle is correctly immobilized; proceed only when you feel zero movement in the shaft.
Step 3: Apply Controlled Impact Force

Position the drill so the chuck faces upward. Using a rubber mallet, strike the chuck collar clockwise with sharp, controlled taps. This counterintuitive direction works because Ryobi chucks use reverse threads—the collar actually unscrews clockwise when viewed from the front. Aim for the thickest part of the collar, rotating the drill slightly between strikes to distribute force evenly. Apply 3-5 firm taps per position, working around the chuck circumference.
Where and How to Strike Safely
- Strike zone: Middle of the collar’s outer edge (avoid the jaw slots)
- Angle: 45-degree downward angle toward the chuck center
- Force: Moderate taps—hard enough to hear a solid “thwack” but not loud cracking
- Duration: 15-20 seconds total impact time
If you see metal shavings after tapping, stop immediately—this indicates thread damage. Clean debris with compressed air before continuing.
Step 4: Rotate the Chuck to Remove It
After impact, attempt clockwise rotation by hand. Most chucks free up after 20-30 seconds of tapping. If resistance remains, grip the chuck collar with a rubber-jawed wrench while keeping the spindle immobilized. Apply steady clockwise pressure—never jerk or yank. The chuck should unscrew smoothly within 1-2 full rotations. If it binds mid-rotation, reapply penetrating oil and repeat the tapping sequence. Complete removal requires approximately 10 full clockwise turns.
Recognizing Successful Unlocking
You’ll feel distinct mechanical changes:
1. Initial gritty resistance gives way to smooth sliding
2. Visible gap appears between chuck and spindle
3. Rotation becomes progressively easier with each turn
4. Final unscrewing requires minimal hand pressure
If the chuck spins freely but won’t unscrew, the threads are likely stripped—skip to replacement steps.
Step 5: Clean and Lubricate the Threads

Wipe all metal shavings from the spindle shaft using a microfiber cloth. Scrub the chuck’s internal threads with a wire brush dipped in mineral spirits to remove old grease and debris. Inspect for cross-threading marks—shallow scratches are acceptable, but deep grooves require chuck replacement. Apply a pea-sized amount of high-temperature grease (like Ryobi P731) to the spindle threads only—never inside the chuck. Excess grease attracts dust and causes future lockups.
Critical Lubrication Mistakes to Avoid
- Using WD-40 as lubricant (it washes away immediately)
- Greasing the chuck’s internal mechanism (causes jaw slippage)
- Applying too much grease (creates hydraulic lock during reassembly)
A properly lubricated spindle should show a thin, even film—no visible globs.
Step 6: Reinstall or Replace the Chuck
Screw the chuck back onto the spindle counterclockwise by hand until snug. For final tightening, place the drill in forward mode and run it at lowest speed for 5 seconds with the chuck jaws closed on the hex key. This seats the chuck correctly. If reinstalling an old chuck, test bit grip strength—if bits slip under light pressure, replace the chuck. Ryobi replacement chucks (model RC-001) cost $12-$18 and install using the same process.
When to Install a New Chuck
Replace immediately if you notice:
– Visible cracks in the chuck body
– Stripped threads on the spindle
– Jaws that won’t close fully
– Persistent wobble after reinstallation
New chucks include pre-applied thread locker—do not add extra adhesive.
Prevent Future Chuck Lockups With These Pro Tips
Apply one drop of light machine oil (3-in-1 oil works perfectly) to the spindle threads every 6 months. After wet jobs, run the drill at low speed with the chuck open to expel moisture. Never store your drill with bits installed—this puts constant pressure on the jaws. For heavy-use professionals, replace the chuck grease annually using food-grade silicone grease. Keep a dedicated chuck key in your tool bag; forcing keyless chucks with pliers accelerates wear.
When Professional Help Saves Time and Money
Seek a repair shop if you encounter:
– Seized chuck after following all steps correctly
– Visible damage to the spindle shaft
– Transmission grinding noises during operation
– Model-specific issues (like Ryobi’s older P102 with integrated chucks)
Most Ryobi service centers charge $25-$40 for chuck replacement—less than the $60+ cost of accidental transmission damage from improper DIY attempts. Always consult Ryobi’s official repair manuals before disassembly; their website offers free PDF downloads by model number.
Final Note: A properly maintained Ryobi chuck should operate smoothly for 5+ years. By following these precise unlocking steps and implementing the prevention strategies, you’ll avoid 95% of chuck failures. Remember that patience and correct technique trump brute force every time—your drill’s longevity depends on it. For visual guidance, Ryobi’s official YouTube channel features model-specific chuck maintenance videos covering P108 through P235 models. Keep this guide bookmarked for your next chuck emergency, and your Ryobi drill will deliver reliable performance for countless projects to come.


