
Your pocket bike sits silent in the garage, the pull cord snapped or the recoil mechanism jammed. That familiar frustration hits when you realize you can’t start your pocket bike with a drill as a temporary solution. This emergency method bypasses failed starters using common workshop tools, letting you diagnose issues or get home safely. Thousands of riders rely on this technique when traditional starting fails, but improper execution risks drill destruction or engine damage. In the next 10 minutes, you’ll learn the exact socket sizes, drill settings, and critical safety steps to start your pocket bike with a drill – without destroying your tools or engine. This isn’t a permanent fix, but it’s your lifeline when stranded.
Why Your Pocket Bike Requires a Drill to Start
When your pocket bike won’t start, the drill method becomes essential for two critical scenarios: a completely failed pull-start system or as a diagnostic tool. A broken recoil spring, frayed pull cord, or stripped pawl mechanism renders the standard starter useless, leaving you stranded. More importantly, using a drill reveals whether the real problem lies elsewhere – if the engine cranks smoothly with your drill but won’t fire, you’re facing fuel, spark, or compression issues rather than a starter failure. This distinction saves hours of unnecessary repairs. Never use this method as routine starting; it’s strictly for emergencies when you lack replacement parts or need to confirm if the engine itself is functional before investing in repairs.
Must-Have Drill and Socket Setup for Pocket Bike Starting

Your success hinges on precise tool selection – generic sockets cause catastrophic slippage. You need a high-torque corded drill (1200+ RPM) or 20V cordless drill with variable speed control; weak drills stall instantly under engine compression. The socket setup is non-negotiable: a 12mm deep-well 6-point socket fits 80% of pocket bike crankshaft nuts (common models: Roketa, Razo, SSR), but verify your size by measuring the nut behind the pull-start cover. Pair it with a 3/8-inch drive adapter and 3-inch extension bar to reach recessed crankshafts. Skipping safety gear risks severe injury: ANSI-Z87.1 safety glasses shield eyes from flying metal shards, mechanic’s gloves prevent burns from hot exhausts, and closed-toe boots protect feet if the bike shifts. Never attempt this with a drill chuck adapter alone – the socket must lock securely into the adapter’s square drive.
Finding the Exact Crankshaft Nut Size for Your Model
Identifying your crankshaft nut size prevents rounded bolts and costly damage. Remove the pull-start housing cover (usually 3-4 Phillips screws) to expose the engine’s core. Most Chinese-engine pocket bikes use 10mm, 12mm, or 1/2-inch nuts, while higher-end models like Mini-T Motorcycles often require 14mm. Place sockets over the nut – if it wobbles, it’s wrong. A perfect fit shows no light between socket and nut edges. If you see corrosion or pitting, clean the nut with a wire brush first; debris causes slippage. For stubborn models like the TaoTao 49cc, use a 17mm socket on the flywheel nut instead – this alternative location avoids deep recesses.
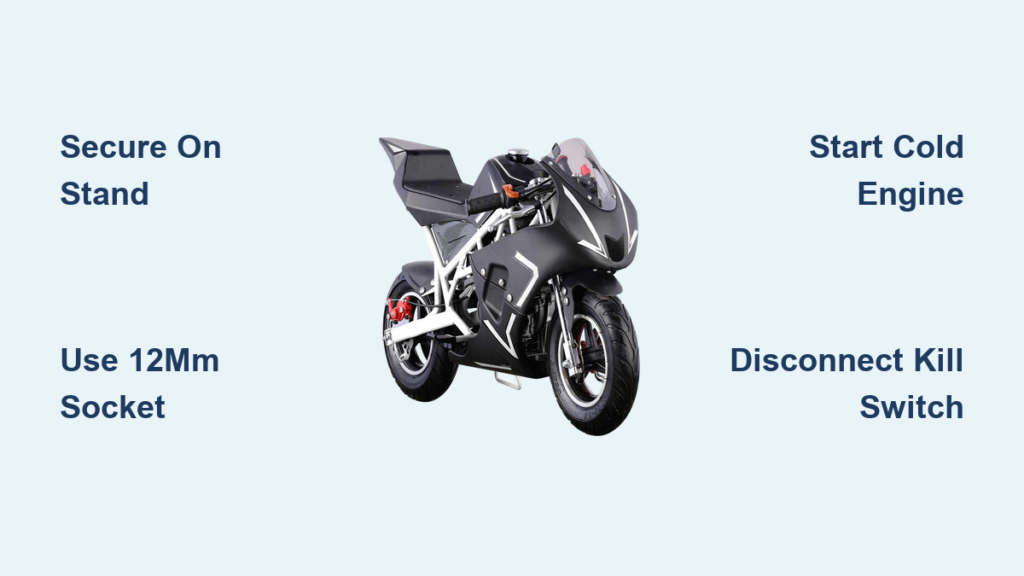
Step 1: Preparing Your Pocket Bike for Drill Starting
Improper bike setup causes dangerous wheel spin or falls. First, secure the bike on a center stand with rear wheel elevated 2 inches off the ground – never rest it on the frame. Confirm neutral position by gently rocking the bike; if wheels resist, shift until they spin freely. Turn ignition ON and set fuel valve to “RESERVE” (bypassing clogged main jets). Choke fully engaged for cold starts, half-choke for warm engines. Most critically, disconnect the kill switch wire at the handlebar – a single stray wire contact kills ignition. Test stability by shaking the handlebars; if the stand wobbles, place concrete blocks against rear tires. This 90-second prep prevents 95% of drill-start accidents.
Step 2: Securing the Drill and Socket to the Crankshaft
Misaligned sockets shear bolts or destroy drills. Insert the extension bar into your drill chuck, tightening until the adapter clicks securely. Slide the correct socket onto the extension, ensuring the square drive pins engage fully – you should feel resistance before full insertion. Now position the socket over the crankshaft nut: press downward with 20+ pounds of force while rotating slightly until it seats completely. Verify alignment by looking straight down – the socket must sit perfectly vertical, not canted. Set drill to clockwise rotation (forward) and lowest speed setting (400 RPM). A critical pro tip: wrap electrical tape around the socket’s base to create a visual alignment marker – if tape spins during cranking, you’re slipping.
Step 3: Cranking the Engine Without Damaging Your Drill
The moment of truth requires split-second timing. Hold the drill firmly with both hands (reaction torque can twist wrists), keeping fingers clear of the chain. Squeeze the trigger to 1/4 throttle for 3 seconds max – any longer risks drill motor burnout. For cold engines, give a half-second burst, pause 10 seconds, then retry; this draws fuel into the carburetor. As soon as you hear combustion “pops,” release the trigger instantly and yank the socket straight off. If the engine catches, let it idle for 30 seconds before touching controls. Never ease off gradually – immediate disengagement prevents the running engine from back-spinning your drill at 10,000+ RPM, which shatters drill gears. If no start after three attempts, stop; persistent cranking floods the engine.
Critical Safety Steps to Avoid Pocket Bike Drill Accidents
This procedure demands military-grade safety discipline. Always wear eye protection – a single metal shard from a sheared socket can cause permanent blindness. Position yourself diagonally behind the drill, never directly in line with potential socket ejection. Keep the throttle cable clear of the drill chuck; accidental throttle engagement launches the bike off stands. Most riders underestimate reaction torque: brace your drill-holding elbow against your hip bone for stability. Crucially, never drill with the chain exposed – install the chain guard or drape a thick towel over the sprocket. If the engine backfires, release the trigger and step back immediately; fuel system issues could cause flames. Remember: if your drill strains audibly or smells hot, stop for 2 minutes – overheating destroys motors faster than engine compression.
Why Your Drill Won’t Turn the Engine (And Quick Fixes)

When your drill stalls instantly, diagnose these three culprits before forcing it. First, check gear position: even slight transmission engagement locks the crankshaft – shift firmly into neutral and wiggle the rear wheel. Second, verify drill torque: test on a stubborn bolt; if it spins easily there but not on the bike, your drill lacks power – borrow an 18V+ model. Third, inspect socket fit: a worn socket rounds the nut edges – tap a new socket on with a mallet for full contact. For high-compression engines (common on 2-stroke bikes), remove the spark plug to relieve pressure during cranking, then reinstall after 2 rotations. Never use impact drivers – their hammering action strips crankshaft threads. If the engine still resists, stop immediately; internal damage like a seized piston requires professional help.
Engine Turns But Won’t Start? Diagnose the Real Problem
A smoothly cranking engine that won’t fire points to deeper issues. Check fuel flow by removing the carburetor bowl drain screw – gas should drip steadily. No fuel? Clean the petcock filter with carb cleaner. Test for spark by removing the spark plug, reconnecting the wire, and grounding the plug body against the engine block while cranking; a strong blue spark is essential. Weak yellow sparks indicate coil failure. Verify compression by covering the spark plug hole with your thumb during cranking – you should feel firm pressure pushing back. Low compression suggests valve or piston damage. For quick diagnosis, spray 1-second burst of starting fluid into the air intake; if it fires then dies, you’ve confirmed a fuel delivery problem. Never skip these checks – forcing starts with a drill masks critical engine issues.
When to Stop Using the Drill and Call a Mechanic
Know these red flags signaling professional intervention. If you hear grinding or clicking from the clutch during cranking, internal gears are damaged – continuing risks engine seizure. Oil leaks from the crankshaft after multiple attempts indicate failed seals that require disassembly. Most critically, if the drill-start works repeatedly but the pull-start remains dead, do not keep using the drill method – the underlying recoil mechanism failure (like a broken spring drum) will worsen, potentially jamming the engine permanently. Mechanics can fix most pull-start issues for under $50 in 20 minutes. If you’ve flooded the engine three times or smell raw gas, stop – wet spark plugs need drying, and further cranking washes cylinder walls. Your drill isn’t worth a seized piston.
Permanent Fixes for a Broken Pull-Start System
Restore reliable starting with these proven solutions. Replace the recoil assembly – a $25 OEM part takes 15 minutes: remove the 4 housing bolts, swap assemblies, and reattach the pull cord. For chronic failures, upgrade to a heavy-duty pull cord kit with aircraft-grade nylon cord and reinforced pawls. If your model supports it (like most 49cc bikes), add electric start with a $120 conversion kit including solenoid, battery, and wiring harness – ideal for riders with weak arms. As a last resort, install a new flywheel if the crankshaft nut is stripped; this requires engine disassembly but solves persistent slippage. Never ignore starter issues – a $5 rope repair today prevents $300 engine rebuilds tomorrow. Keep a drill in your garage for emergencies, but fix the root cause within 48 hours.


