
That masonry drill bit that once chewed through concrete with ease now just spins uselessly against the wall. You’re pressing harder, the drill is straining, and all you’re getting is dust instead of clean holes. Before you toss that expensive carbide-tipped bit, know this: you can restore its cutting power with proper sharpening techniques. Learning how to sharpen masonry drill bits correctly extends their life 3-5 times while saving you significant money on replacements. This guide reveals the exact methods professionals use to bring dull bits back to like-new performance.
Why Your Masonry Drill Bits Need Proper Sharpening
Masonry drill bits fail differently than wood or metal bits. That tungsten carbide tip doesn’t just get dull—it actually wears down and rounds off from crushing concrete and brick. When the cutting edges lose their sharpness, you’ll notice increased drilling time, excessive heat, and ragged holes. A properly sharpened masonry bit cuts cleaner and faster because it’s designed to pulverize material through impact, not slice it. Ignoring sharpening needs wastes hours on projects and strains your drill motor unnecessarily.
Signs Your Bit Needs Immediate Sharpening
Watch for these critical indicators that your masonry drill bit requires sharpening:
* Drilling time increases by 25% or more compared to when the bit was new
* The bit spins without cutting, producing only fine dust instead of chips
* You need excessive pressure to make any progress
* The hole edges become ragged or oversized
* Unusual vibration occurs during drilling
The Cost of Ignoring Bit Maintenance
Continuing to use a dull masonry bit damages more than just the bit itself. Excessive heat from friction can burn the steel shaft, ruining its temper and making it brittle. You’ll also put unnecessary strain on your drill’s motor and hammer mechanism. Professional contractors report replacing drills 30% more frequently when they neglect bit maintenance. Proper sharpening isn’t just about bit longevity—it protects your entire drilling system.
Essential Tools for Effective Masonry Bit Sharpening
You can’t sharpen masonry bits with the same tools you’d use for wood bits. The tungsten carbide tip requires specialized equipment that handles extreme hardness without damaging the bit.
Must-Have Equipment for Carbide Sharpening
Primary Grinding Tool
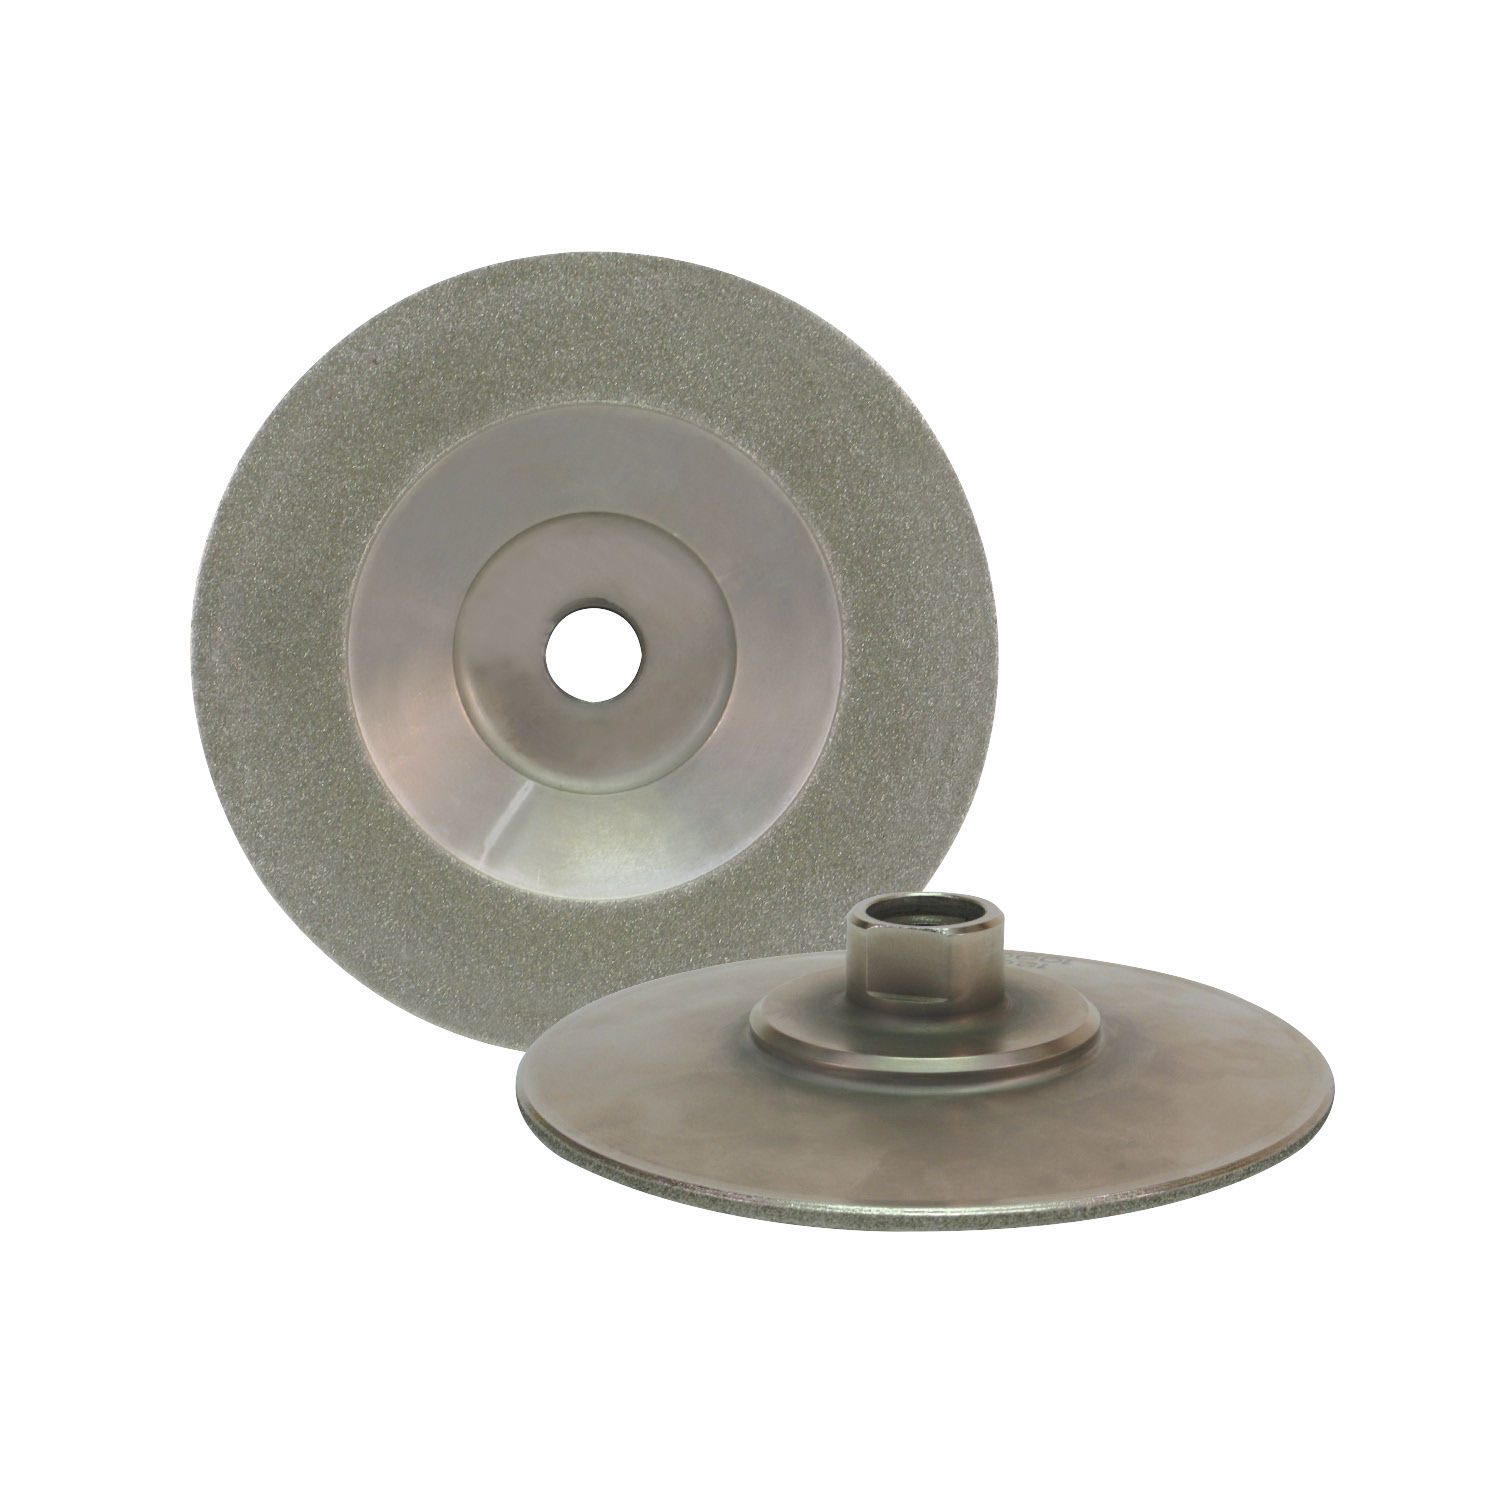
* Diamond Wheel Bench Grinder: A bench grinder with a diamond-impregnated wheel (100-200 grit) is the gold standard. Standard aluminum oxide wheels work for steel portions but won’t effectively sharpen carbide.
Alternative Sharpening Solutions
* Diamond Paddle Sharpeners: For field touch-ups or DIYers without power tools
* Diamond Files: Excellent for maintaining edges between major sharpenings
* Dremel with Diamond Bits: Precise for minor edge work on damaged tips
Critical Support Tools
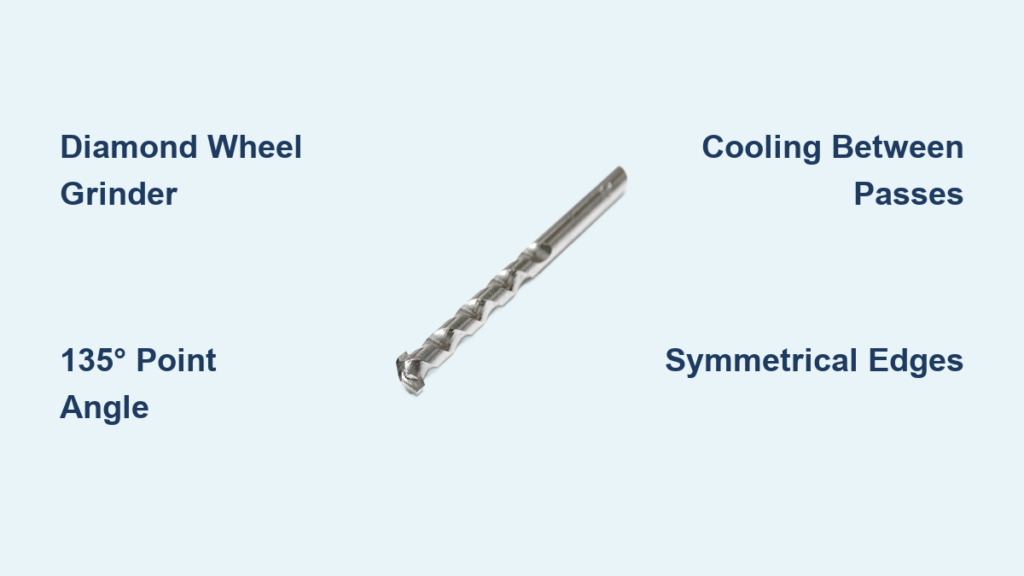
* Angle Guide or Jig: Maintains consistent 135° point angle during sharpening
* Cooling Water Container: Essential for preventing heat damage
* Magnifying Loupe (10x): For inspecting cutting edge symmetry
* Safety Gear: ANSI-rated safety glasses, respirator, and cut-resistant gloves
Critical Safety Steps Before Sharpening Tungsten Carbide Tips

Grinding tungsten carbide creates hazardous dust that can cause serious respiratory issues. Never skip these safety precautions:
Mandatory Safety Protocol
- Wear a P100-rated respirator—standard dust masks won’t protect against carbide particles
- Use safety glasses with side shields plus a face shield for grinding operations
- Work in a well-ventilated area with dust collection if possible
- Keep a fire extinguisher rated for electrical/chemical fires nearby
- Have an eyewash station accessible in case of emergencies
Workspace Preparation Checklist
- Secure your bench grinder to a stable surface
- Adjust the tool rest to 1/8 inch from the wheel
- Position your water cooling container within easy reach
- Lay out all tools before starting to avoid distractions
- Clear the area of flammable materials
Step-by-Step: How to Restore Cutting Edges on Masonry Bits
Follow this precise sequence to sharpen your masonry bits without damaging them. The key is maintaining proper angles while preventing heat damage.
Proper Angle Setup for Concrete and Brick
- Mark the original cutting edges with a permanent marker to track your progress
- Set your jig or tool rest to 60° from the grinding wheel face (creating a 135° point angle)
- Position the bit so the carbide tip contacts the wheel at this precise angle
The 4-Step Grinding Process That Works
- Apply gentle pressure—let the diamond wheel do the work without forcing the bit
- Grind for only 2-3 seconds per pass to prevent overheating
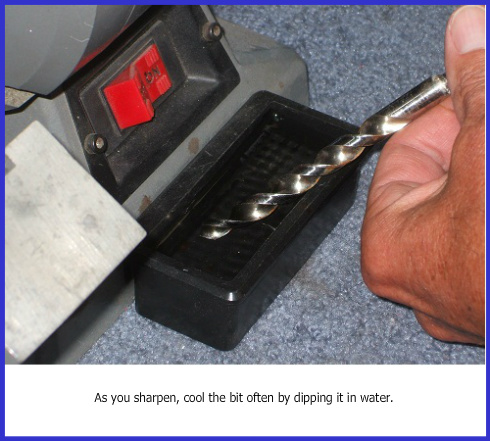
- Immediately cool in water after each grinding session
- Rotate the bit 180° to maintain symmetrical cutting edges
Pro Tip: Use your marker to check you’re removing material evenly from both sides. The goal is a clean, continuous cutting edge that meets at a precise point.
Cooling Techniques That Prevent Carbide Tip Damage
This is the most crucial step many DIYers get wrong. Tungsten carbide cracks when overheated or cooled too rapidly.
Effective Temperature Control
- Dip frequently: Every 2-3 seconds of grinding requires 5-10 seconds of cooling
- Check temperature: If the bit is too hot to touch comfortably, it’s too hot
- Never plunge hot bits into cold water—allow brief air cooling first
- Use water-based coolant for extended sharpening sessions
Warning: Overheating causes microfractures in the carbide that won’t be visible but will cause premature failure during drilling. When in doubt, cool more often.
How to Test Your Sharpened Masonry Bits for Performance
Don’t assume your sharpening worked—verify with these professional testing methods.
Post-Sharpening Quality Control
- Visual inspection: Under 10x magnification, check for symmetrical cutting edges
- Symmetry test: Both cutting edges should measure identical length (±0.1mm)
- Point angle verification: Should be 135° for concrete, ±1° tolerance
- Test drilling: Use scrap material of the same composition as your project
Performance Checklist:
– Cuts clean entry and exit holes without wandering
– Produces uniform chips, not just dust
– Requires less pressure than before sharpening
– Maintains consistent drilling speed without overheating
Common Sharpening Mistakes That Ruin Your Drill Bits
Even with the right tools, these errors compromise your sharpening results.
Critical Errors to Avoid
- Overheating the carbide tip: This causes microfractures that lead to premature chipping
- Inconsistent angles: Creates uneven cutting that makes bits “walk” during drilling
- Grinding too much material: Reduces carbide tip thickness below optimal 1.5-2mm
- Ignoring symmetry: Causes excessive vibration and poor hole quality
- Skipping the cooling step: Most common mistake that destroys bits during sharpening
Pro Tip: If you’re new to sharpening, practice on inexpensive bits first. Proper technique takes practice but becomes intuitive with experience.
When to Sharpen vs. When to Replace Your Masonry Bits
Not all bits can be saved. Knowing when to stop sharpening prevents dangerous situations.
Sharpening Thresholds
Sharpen when:
– Cutting edges are merely rounded but intact
– Drilling time has increased moderately (25-50%)
– Carbide tip shows uniform wear without damage
Replace when:
– Carbide tip is cracked, chipped, or delaminating
– Steel shaft shows blue/purple discoloration from overheating
– Less than 1mm of carbide remains on the tip
– Flutes are severely worn or damaged
Warning: Never use a bit with visible cracks in the carbide tip—it can shatter during operation causing serious injury.
Proven Methods to Extend Your Bit’s Lifespan After Sharpening
Maximize your sharpening investment with these professional maintenance techniques.
Daily Bit Care Routine
- Clear flutes frequently during drilling to prevent heat buildup
- Start with low speed and increase gradually as the hole forms
- Always use hammer mode when drilling masonry—never rotation-only
- Store bits in protective cases with silica gel to prevent moisture damage
- Apply light machine oil to steel portions after cleaning
Pro Tip: After each use, clean bits with a wire brush to remove concrete residue that accelerates wear. Proper maintenance extends the time between sharpenings by up to 40%.
By mastering these sharpening techniques, you’ll transform your masonry drill bits from frustrating obstacles back into precision tools. The initial learning curve pays off immediately in faster drilling, cleaner holes, and significant cost savings. Remember that consistent angles, proper cooling, and safety precautions make the difference between a successfully sharpened bit and a ruined one. With practice, you’ll develop the muscle memory to sharpen bits in under five minutes, keeping your projects moving without costly tool replacements.


