
That stubborn edge on your DIY shelf project? Hand sanding it feels like scraping ice off a windshield—slow, uneven, and exhausting. What if your cordless drill could cut this task in half while delivering glass-smooth results? Sanding wood with a drill is the secret weapon for tackling tight corners, intricate carvings, or quick repairs where bulky sanders won’t fit. This technique removes material 3x faster than manual sanding while reaching spots orbital sanders can’t touch. Forget expensive specialty tools—you’ll learn exactly how to sand wood with a drill using attachments already in your toolbox. By the end, you’ll transform that everyday drill into a precision finishing machine capable of professional results on cabinets, furniture legs, and trim work.
Why Your Drill Outperforms Hand Sanding for Detail Work
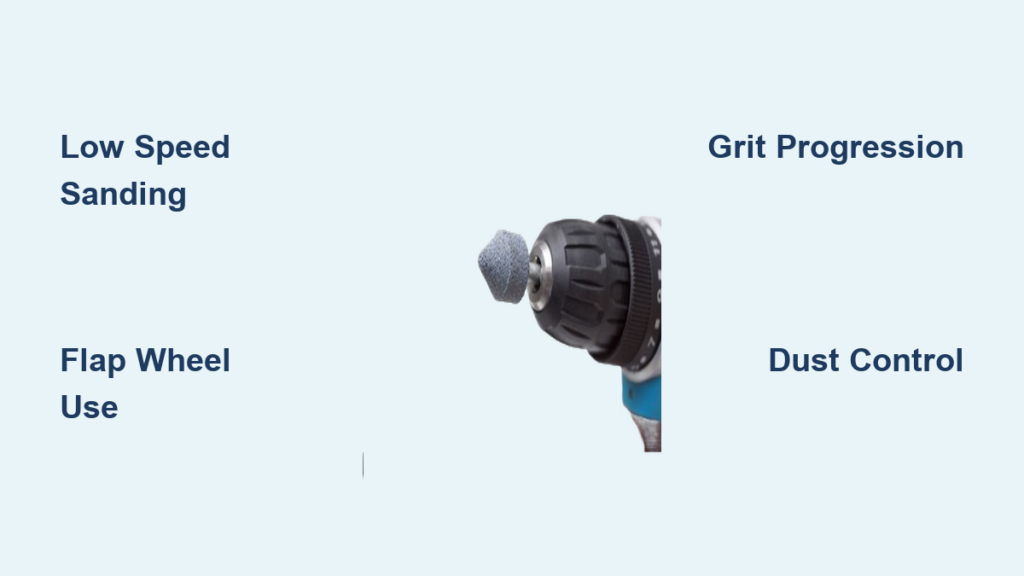
Your power drill becomes indispensable when sanding curved edges, carved details, or inside cutouts. Unlike palm sanders that chatter on contours, a drill’s compact size lets you maneuver precisely around chair spindles or cabinet moldings. The key advantage? Controlled aggression—you remove material rapidly where needed yet switch to feather-light pressure for final smoothing. Cordless drills excel here with their portability, though corded models deliver uninterrupted power for large projects. Crucially, variable speed is non-negotiable. Starting at 1,000 RPM prevents burning softwoods like pine, while dialing up to 2,000 RPM tackles dense oak. Skip this setting, and you’ll scar your workpiece with deep swirl marks or scorched edges.
Critical Drill Settings That Prevent Wood Burning
Low speed + light pressure = cool cutting. Here’s your exact RPM cheat sheet:
– Pine, cedar, poplar: 800-1,200 RPM
– Maple, cherry, walnut: 1,200-1,800 RPM
– Teak, ipe, exotic hardwoods: 1,800-2,200 RPM
Never let the drill stall—if the motor groans, you’re pressing too hard or moving too slowly. Lift immediately to avoid burning. For flat surfaces, tilt the drill 5-10 degrees off perpendicular. This angled approach prevents “chatter” (those wavy ridges that ruin smooth finishes) by letting the abrasive glide instead of digging in.
Drill Sanding Attachments: Matching Tools to Wood Shapes
Using the wrong attachment ruins hours of work. These four solutions target specific pain points:
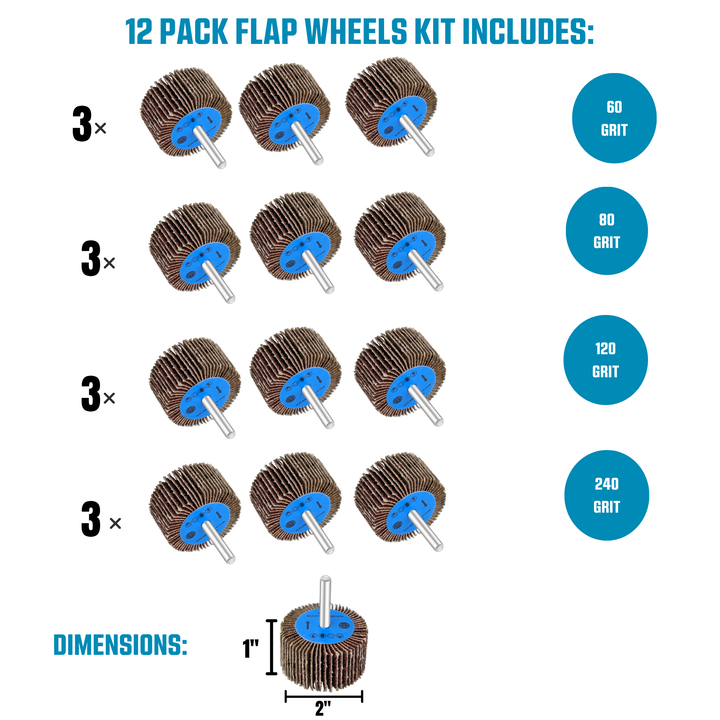
Flap Wheels for Moldings and Curved Edges
Flap wheels—stacked sandpaper strips radiating from a hub—flex over crown molding or window sashes without rounding sharp profiles. Choose 2-inch diameter wheels for chair legs or 4-inch for tabletop edges. Critical tip: Rotate the wheel sideways when sanding vertical edges. This exposes fresh abrasive layers and prevents “glazing” (when clogged paper stops cutting). For sticky pine, grab stearated flap wheels—their dry lubricant repels sap.
Sanding Drums for Inside Cutouts and Bowl Interiors
When sanding the concave curve of a spoon handle or cabinet door cutout, standard discs fail. Rubber mandrels with replaceable sleeves solve this. Slide a 30mm drum into tight spaces, then move the drum—not the wood—in elliptical motions. If you see uneven wear on the sleeve, you’re pressing too hard; let the grit do the work. Start coarse (80 grit) to shape, then switch to 180 grit for finishing.
Hook-and-Loop Discs for Flat Panels and Tabletops
Forget hand-sanding that warped coffee table top. Pair a 5-inch firm backing pad with hook-and-loop discs for flawless results. PSA (self-adhesive) discs deliver the flattest finish on bare wood, while Velcro-backed discs excel for quick grit changes during multi-stage sanding. Pro move: Cut discs into quarters for sanding inside corners—simply press the fragment onto your backing pad.
Step-by-Step Drill Sanding Process: No Swirl Marks Guaranteed
1. Grit Progression Protocol (The Non-Negotiable Sequence)
Skipping grits causes deep scratches that stain won’t hide. Follow this military-precise sequence:
1. Coarse (80 grit): Remove tool marks or old finish (stop when surface looks uniformly scratched)
2. Medium (120 grit): Eliminate 80-grit scratches (use pencil marks—sand until “X” vanishes)
3. Fine (180 grit): Prep for finish (essential for even stain absorption)
4. Extra Fine (220+ grit): Final polish (only for oil or wax finishes)
Critical rule: Clean wood with a tack cloth between every grit change. Dust from coarse paper will gouge the surface with finer grits.
2. Motion Technique That Prevents Swirls
Move with the grain in straight lines, not circles. For flat surfaces:
– Start drill moving before contact
– Overlap passes by 50% (like mowing a lawn)
– Lift drill before stopping motion
On curved edges: Follow the contour’s flow—never force the drill against the curve’s natural direction. If swirls appear, reduce speed by 30% and lighten pressure.
3. Dust Control Tactics for Clear Visibility
Uncontrolled dust clouds obscure your progress and clog abrasives. Attach a shop vac hose directly to the sanding attachment using duct tape. No vacuum? Dampen a microfiber cloth and wipe the surface every 30 seconds—this clears dust without damaging the wood. For exotic woods like rosewood, wear an N95 respirator; their fine dust causes respiratory issues.
Troubleshooting Drill Sanding Disasters

Why Your Wood Burns During Sanding (and How to Fix It)
Cause: High speed + stationary drill = instant scorch marks. Solution: Lower RPM by 500, apply near-zero pressure, and keep moving at 6 inches per second. Test on scrap wood first—burn marks mean you’ve ruined the wood’s ability to absorb stain evenly.
How to Eliminate Chatter on Flat Surfaces
Cause: Loose chuck or worn backing pad. Solution: Tighten the chuck fully around the mandrel. If using discs, replace foam backing pads when they compress beyond 1/4 inch thickness. For severe chatter, switch to a flap wheel—its flexible layers absorb vibration.
The Flap Wheel That Won’t Cut Anymore
Cause: Resin buildup from pine or pressure-treated wood. Solution: Rub the wheel firmly against a cleaning stick (sold with abrasives) while spinning slowly. For stubborn gunk, dip the wheel in mineral spirits for 10 seconds, then dry completely before reuse.
Pro-Level Efficiency Hacks
The 60-Second Attachment Swap System
Stop fumbling with chuck keys. Pre-load all attachments onto spare hex shafts. When switching from drums to discs:
1. Press drill’s chuck release collar
2. Slide out current shaft
3. Insert pre-loaded shaft—no tools needed
This cuts changeover time by 75%, keeping your workflow seamless.
Wet Sanding for Mirror Finishes
For ultra-smooth results on tabletops:
1. Use waterproof 320-grit sandpaper on your disc
2. Mist surface lightly with water every 20 seconds
3. Sand at 1,000 RPM with feather-light pressure
The water lubricates cuts and eliminates dust, yielding a finish ready for oil in one pass.
Drill Stand Hack for Large Panels
Convert your drill into a mini-belt sander: Mount it vertically in a drill press stand, then clamp a sanding drum horizontally. Feed wood slowly past the drum—this mimics a spindle sander for consistent edge profiling.
When NOT to Use a Drill for Sanding
Avoid drill sanding for these scenarios:
– Large flat surfaces (over 2 sq ft): Random orbital sanders prevent swirls
– Final finishing passes: Hand-sand with 220 grit for perfect grain definition
– Veneered plywood: Drill pressure peels thin veneers; use a palm sander at lowest speed
Always hand-sand the last grit—your drill can’t match the control of your fingers for that flawless, touch-ready surface.
Sanding wood with a drill isn’t just a shortcut—it’s a precision technique that unlocks professional results on complex projects. The core secret? Progress through grits religiously, match attachments to wood shapes, and let the drill’s speed do the work. Start with coarse grit to shape, move methodically to fine grits, and always clean between stages. In under 20 minutes, you’ll transform rough-hewn wood into a surface ready for stain or finish. Remember: that drill in your toolbox isn’t just for holes—it’s your most versatile finishing partner. Grab a flap wheel, set your RPM low, and tackle that stubborn cabinet edge tonight. Your next project’s glass-smooth finish starts with one drill and the right motion.


