
Your DeWalt cordless drill suddenly won’t grip bits properly, wobbles during operation, or has become completely stripped. This frustrating failure can bring your projects to a screeching halt. Replacing the keyless chuck on your DeWalt cordless drill is one of the most effective DIY repairs you can perform to restore full functionality to your essential power tool. Whether you own a DCD791, DCD777, or DCD996 model, this guide provides the precise steps to replace your keyless chuck correctly—saving you the $50-$100 service fee at a repair shop.
Most DeWalt drills manufactured after 2016 use a pinned retention system that requires different techniques than older set-screw models. Getting this repair wrong can damage your drill’s arbor or internal gears, making proper identification of your chuck type the critical first step. By following these detailed instructions, you’ll learn how to safely remove your damaged chuck, prepare the arbor, and install a replacement that functions like new.
Essential Tools for Your DeWalt Keyless Chuck Replacement

Before attempting any repair, gather the specific tools required for your drill model. Using improper tools risks damaging both the chuck and drill body, potentially creating more expensive problems.
Must-Have Tools for Set Screw Chucks (Pre-2016 Models)
For older DeWalt drills like the DCD771 or DCD780, you’ll need:
* 3/8″ Allen wrench (metric 10mm for most models)
* Rubber mallet or soft-faced hammer
* 19mm or 3/4″ socket with ratchet
* Penetrating oil (PB Blaster recommended)
* Thread-locking compound (Loctite 243 blue)
Critical warning: The set screw inside older chucks has reverse threads. Turning it counterclockwise will tighten it further, potentially stripping the screw. Always turn clockwise to loosen!
Critical Tools for Pinned Chucks (DCD791, DCD777, DCD996)
Newer DeWalt models require specialized tools:
* 2mm or 5/64″ pin punch set for driving out retention pins
* 3-jaw gear puller (6-8″ capacity)
* Heat gun (never use an open flame)
* Small ball-peen hammer
* Needle-nose pliers for pin removal
For stubborn pinned chucks, professionals recommend applying penetrating oil to the chuck-arbor interface and letting it soak overnight. The heat gun should only be used on the chuck body (not the arbor) to expand the metal slightly—excessive heat damages internal components.
Safety Gear That Prevents Serious Hand Injuries
Never attempt this repair without:
* ANSI Z87.1-rated safety glasses
* Cut-resistant work gloves
* Workbench with vise (soft-jaw preferred)
* Non-slip mat for your workspace
Metal shavings and sudden component release pose real dangers. I’ve seen too many DIYers skip eye protection only to suffer painful debris injuries when tapping pins or using a gear puller.
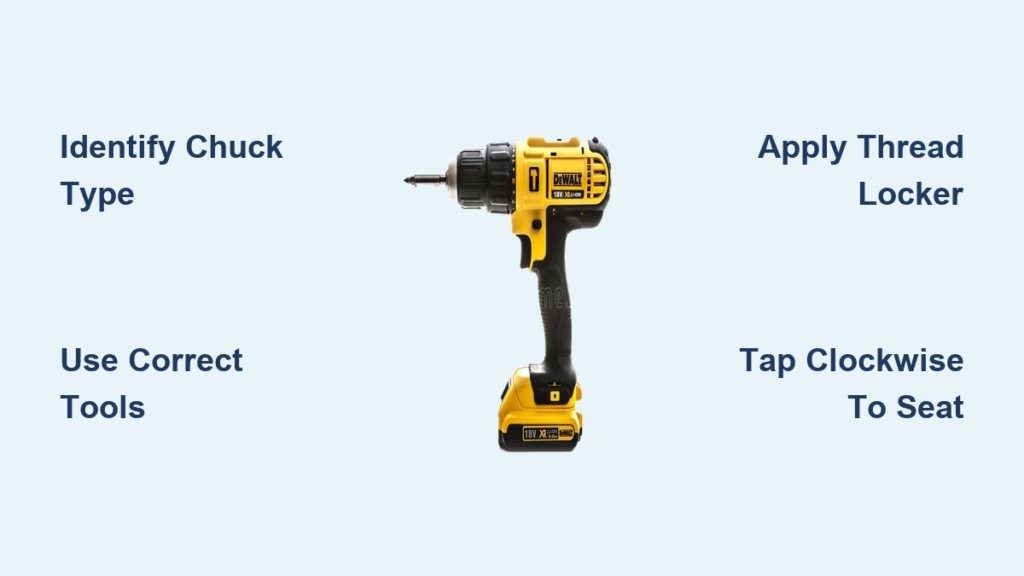
Identifying Your DeWalt Drill’s Chuck Type in 60 Seconds
The removal process differs dramatically between the two main chuck types DeWalt uses. Misidentifying your chuck type leads to broken tools and damaged drills.
How to Spot a Set Screw Chuck (Turn Clockwise to Loosen!)
Fully open the chuck jaws and inspect the bottom with a flashlight. If you see a small hex or Torx screw at the base, you have a set screw chuck (common on pre-2016 models). This is critical: The set screw uses reverse threads, so turn it clockwise to loosen. Using the wrong direction strips the screw head, creating a much more difficult repair.
Pin-Retained Chuck Identification for Newer Models
If you don’t see an internal screw, check the chuck collar for small pins or dimples. Newer models like the DCD791 and DCD777 use 2-4 retention pins securing the chuck to the arbor. These pins are often hidden under plastic caps or paint. Never attempt to unscrew these chucks—they’re press-fit and require pin removal first.
Removing a Set Screw Chuck From Older DeWalt Drills
Step-by-Step: How to Remove the Reverse-Threaded Set Screw
- Remove the battery and fully open the chuck jaws
- Insert the correct Allen wrench into the set screw
- Turn clockwise (opposite of normal) to loosen the screw
- If stuck, apply penetrating oil and let it soak for 15 minutes
- Tap the wrench handle gently with a mallet to break corrosion
If the screw head strips, you’ll need a screw extractor—making proper identification and technique essential from the start.
The Rubber Mallet Technique That Breaks Stuck Chucks Loose
After removing the set screw:
1. Insert a large Allen key into the chuck jaws
2. Position the drill vertically in a vise (protect with cloth)
3. Strike the Allen key counter-clockwise with a rubber mallet
4. Apply steady pressure while rotating the chuck
This rotational impact breaks the chuck free without damaging threads. Never use excessive force—DeWalt’s torque specifications for chuck removal are 200-300 inch-pounds maximum.
Replacing a Pinned Chuck on Newer DeWalt Drills
How to Safely Drive Out Retention Pins Without Damage
- Locate the 2-4 pin access points on the chuck collar
- Use a 2mm punch to gently tap pins outward
- Support the chuck body with your free hand
- Remove pins completely using needle-nose pliers
Pro tip: If pins won’t budge, apply heat (180-200°F) to the chuck body for 2 minutes, then try again. Never heat the arbor directly.
Gear Puller Method for Stubborn Press-Fit Chucks
- Center the gear puller jaws on the chuck body
- Apply even pressure while tightening the center screw
- Tap the puller screw lightly with a mallet
- Continue applying steady pressure until the chuck releases
This professional technique prevents damage to the arbor threads. If you don’t own a gear puller, many hardware stores rent them for under $10.
Installing Your New Keyless Chuck Correctly
Why Thread Locker Application Prevents Future Failures
Before installing your replacement chuck:
1. Clean the arbor threads thoroughly with a wire brush
2. Apply a small amount of blue thread locker (Loctite 243)
3. Hand-tighten the chuck in the correct direction
4. Allow 15 minutes for partial curing before final tightening
Critical step: The chuck must be fully open (jaws retracted) during installation to avoid internal damage.
The Proper Tightening Direction for Maximum Grip
To secure your new chuck:
1. Insert a large Allen key into the chuck jaws
2. Hold the key firmly against the drill body
3. Tap the chuck body clockwise with a mallet
4. Apply 3-4 firm impacts to seat the chuck
For cordless drills, final torque should be 200-250 inch-pounds. Over-tightening strips threads and damages the chuck mechanism.
Troubleshooting Common DeWalt Chuck Replacement Problems
What to Do When Your New Chuck Still Wobbles After Installation
Excessive runout (>0.010″) indicates problems:
* Clean both surfaces: Metal shavings prevent proper seating
* Check arbor straightness: A bent arbor requires professional repair
* Reapply thread locker: Remove and reinstall with proper compound
* Verify chuck type: Using the wrong chuck model creates misalignment
If wobble persists after reinstallation, the arbor may be damaged—stop using the drill immediately.
How to Fix a Chuck That Won’t Grip Drill Bits Properly
- Clean chuck jaws with a small brush
- Remove debris from the scroll mechanism
- Verify the chuck is fully seated on the arbor
- Check for damaged jaws (replace if chipped)
Never force bits into a damaged chuck—this accelerates wear and creates dangerous projectile risks during operation.
When to Call a Professional Instead of DIY
3 Critical Signs Your DeWalt Drill Needs Expert Repair
Stop immediately if you notice:
* Visible arbor damage: Bent or stripped threads require replacement
* Internal grinding noises: Indicates gear damage beyond chuck replacement
* Electrical issues: Burning smells or smoke mean internal problems
Attempting chuck replacement on a drill with these issues often creates more expensive damage. DeWalt service centers have specialized tools for arbor replacement that most DIYers lack.
Replacing your DeWalt cordless drill’s keyless chuck correctly restores precision, safety, and functionality to your essential tool. By identifying your specific chuck type first and using the appropriate removal techniques, you’ll avoid costly mistakes that damage your drill. Always prioritize safety with proper eye protection and follow torque specifications—over-tightening during installation is the #1 cause of premature chuck failure. With your new chuck properly installed, your DeWalt drill will grip bits firmly and deliver smooth, wobble-free performance for years to come. For ongoing reliability, clean your chuck mechanism monthly and avoid over-tightening bits during regular use.


