
When your DeWalt cordless drill starts losing power, sputtering during operation, or struggling with tasks it once handled easily, worn carbon brushes are likely the culprit. These small components are critical to your drill’s electrical system, transferring power from the battery to the motor’s spinning armature. Ignoring failing brushes can lead to complete motor failure, turning your reliable DeWalt into an expensive paperweight. The good news is that replacing brushes on a DeWalt drill is a manageable DIY project that costs a fraction of professional service. In this guide, you’ll learn exactly how to replace brushes on a DeWalt drill, with specific attention to the popular DW959 18V model, though the process applies to most DeWalt 18V cordless drills.
Essential Safety Steps Before Replacing DeWalt Drill Brushes
Before you touch a single screw, prioritizing safety prevents damage to your drill and protects you from electrical hazards. Working with motor components requires careful attention to prevent static discharge or accidental short circuits.
Critical Power Disconnection Protocol
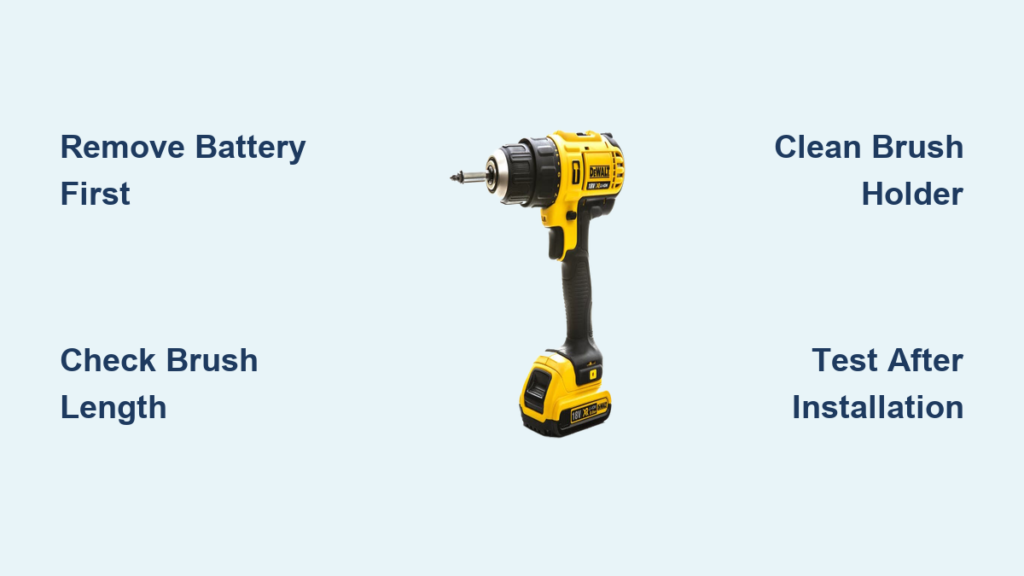
Start by removing the battery pack from your DeWalt drill—this is non-negotiable. Then press and hold the trigger for 5-10 seconds to safely discharge any residual electricity stored in the motor’s capacitors. Even with the battery removed, these capacitors can deliver a painful shock if not properly discharged. For extra protection, work on an anti-static mat or clean, non-carpeted surface to prevent static electricity from damaging sensitive components. Keep safety goggles and work gloves nearby; small springs and carbon dust can become airborne during disassembly.
Organizing Your Workspace for Success
Set up a magnetic tray to hold screws and tiny components—nothing derails a repair faster than losing a critical screw. Take clear photos at each disassembly stage with your smartphone; these visual references prove invaluable during reassembly. Gather your tools before starting: you’ll need precision screwdrivers (both Phillips and Torx varieties), needle-nose pliers, isopropyl alcohol, cotton swabs, compressed air, and your replacement brush set. Having everything within reach prevents mid-repair scrambling that could lead to misplaced parts.
Identifying When Your DeWalt Drill Needs New Brushes

Don’t jump straight to disassembly—first confirm that worn brushes are actually causing your drill’s performance issues. Recognizing the specific symptoms saves you unnecessary work and helps diagnose whether replacement is truly needed.
Visible Signs of Brush Wear in DeWalt Drills
Examine your drill for these telltale indicators that it’s time to replace brushes on your DeWalt drill:
* Excessive sparking visible through ventilation slots, especially if it’s brighter or more frequent than normal
* Reduced power where the drill struggles with materials it previously handled with ease
* Intermittent operation where the motor cuts in and out during use
* Unusual noises like grinding or high-pitched whining during operation
* Visible carbon dust accumulating around the motor housing vents
How to Check Brush Length Without Full Disassembly
Many DeWalt models feature small inspection ports near the motor housing. With the battery installed (but drill pointed safely away), press the trigger and look through these ports. If the carbon brushes measure less than 6mm in length, replacement is urgent. You should see consistent, faint blue sparking between the brushes and commutator—large yellow or white sparks indicate severe wear requiring immediate attention.
Complete DeWalt Brush Replacement Procedure
This step-by-step process applies specifically to DeWalt 18V cordless drills like the DW959, but the fundamentals remain consistent across most DeWalt models. Allow 30-45 minutes for your first brush replacement, with subsequent repairs taking less time as you become familiar with your drill’s internals.
Gathering the Correct Replacement Brushes
Using the wrong brushes can damage your DeWalt motor. Verify your replacement set matches these specifications:
* Dimensions: 12.5mm × 6.35mm × 6.35mm (standard for most DeWalt 18V models)
* Carbon content: 88-92% for optimal conductivity and wear resistance
* Electrical resistance: less than 0.2 ohms
* Maximum temperature rating: 150°C continuous operation
Purchase OEM (Original Equipment Manufacturer) brushes or high-quality compatible replacements—cheap alternatives often fail prematurely. Most replacement kits include both brushes and springs; replacing both brushes simultaneously ensures even wear and optimal performance.
Disassembly and Brush Access
- Remove all housing screws using the correct precision screwdriver—typically Torx T15 or Phillips #2 depending on your model
- Carefully separate the housing halves, taking note of any internal wiring or connectors
- Locate the brush assembly, usually positioned on either side of the motor near the armature shaft
- Remove the 4 small screws (approximately 8mm) securing the brush housing cover
Pro Tip: Place screws in a labeled container or magnetic tray in the exact order they were removed—housing screws often vary in length and cannot be interchanged.
Removing Worn Brushes and Preparing for Installation
- Identify the brush retention mechanism, typically a spring-loaded clip or metal tab
- Gently depress the spring mechanism using a small flathead screwdriver
- Extract the old brush, noting its orientation and how the wire pigtail connects to the terminal
- Clean the brush holder with isopropyl alcohol and a cotton swab to remove carbon dust buildup
- Inspect the commutator for deep grooves or pitting—if severe, professional servicing may be needed
Check the old brushes for uneven wear patterns, which could indicate alignment issues that might reoccur with new brushes. Also examine the brush wires for signs of overheating or arcing damage.
Installing New Brushes for Optimal Performance
- Lightly sand the contact surface of new brushes using fine-grit sandpaper to match the commutator’s curve
- Insert the brush into the holder with the carbon face toward the commutator
- Place the spring in position, ensuring proper tension (3-4 Newtons of force)
- Route the wire pigtail carefully to avoid pinching during reassembly
- Secure the connection to the terminal, ensuring a clean, tight fit
Critical Step: Before closing the housing, verify both brushes make full contact with the commutator. Gently rotate the armature shaft by hand—you should feel smooth resistance from both brushes.
Post-Replacement Testing and Maintenance Protocol

Proper testing ensures your brush replacement was successful and prevents premature failure of your newly installed components.
Initial Testing Sequence
- Perform a no-load test: With the battery installed but no drill bit, run the drill for 2-3 minutes at half speed
- Listen for unusual noises like grinding or scraping that indicate misalignment
- Check for excessive sparking—some blue sparking is normal during the break-in period
- Monitor temperature—the motor should remain cool to the touch during initial operation
During the first 30 minutes of use, operate your DeWalt drill at 50% capacity to properly seat the new brushes. Avoid heavy continuous loads that could cause uneven wear during this critical break-in period.
Long-Term Brush Maintenance Schedule
Extend the life of your new brushes with this simple maintenance routine:
* Every 50 hours: Visually inspect brush length through inspection ports
* Every 100 hours: Clean motor housing vents with compressed air
* Every 200 hours: Check commutator condition and clean with electrical contact cleaner
* Annually: Replace brushes when they reach 6mm remaining length
Keep a maintenance log noting installation date, runtime hours, and performance observations. This record helps predict future replacement needs and identifies potential issues before they become serious problems.
Troubleshooting Common Post-Replacement Issues
Even with careful installation, you might encounter issues that require quick diagnosis and correction.
Excessive Sparking After Brush Replacement
Some blue sparking is normal during the first 10-15 minutes of operation as the brushes seat themselves. If sparking persists:
* Check that brushes are properly aligned with the commutator
* Verify spring tension is adequate (too loose causes poor contact)
* Ensure no carbon debris is trapped between commutator segments
* Confirm you’re using the correct brush type for your DeWalt model
Reduced Power or Intermittent Operation
If your drill still lacks power after brush replacement:
* Double-check that both brushes are making full contact with the commutator
* Inspect wire connections for secure attachment to terminals
* Verify no wires are pinched during housing reassembly
* Test spring tension—weak springs cause inconsistent electrical contact
Pro Tip: Measure voltage drop across brush connections with a multimeter—it should read less than 0.5V at 10A load. Higher readings indicate poor contact requiring reinstallation.
Replacing brushes on your DeWalt drill restores peak performance and extends your tool’s lifespan significantly. By following this precise procedure and maintaining a regular inspection schedule, you’ll keep your DeWalt cordless drill operating at factory specifications for years to come. Remember that consistent maintenance prevents 80% of motor failures in cordless power tools—don’t wait for complete failure before addressing worn brushes. With your new knowledge, you’re equipped to handle this essential DeWalt maintenance task confidently and correctly.


