

That frustrating wobble when drilling into wood or the dreaded clunk as your bit slips mid-cut? These are dead giveaways your drill chuck has reached its breaking point. A worn chuck doesn’t just ruin projects—it turns your trusted drill into a safety hazard with bits flying unpredictably. Knowing how to replace a drill chuck is the fastest fix for restoring precision and preventing dangerous tool failure. In this guide, you’ll learn exactly how to swap chucks safely using common workshop tools, avoid costly mistakes like cross-threading or using the wrong threadlocker, and get your drill performing like new without professional help. Most replacements take under 15 minutes once you know the critical tricks.
Why Your Drill Chuck Fails and When Replacement Is Non-Negotiable
Ignoring chuck failure risks shattered bits, ruined materials, and serious injury from flying debris. Key symptoms demand immediate action: bits slipping during drilling even when fully tightened, visible wobble when rotating the chuck by hand, or jaws that won’t close past a certain point. These indicate worn internal teeth or stripped threads—problems no amount of cleaning fixes. Crucially, if you spot cracks in the chuck body or hear grinding noises during operation, stop using the drill immediately. Continuing stresses the spindle, potentially causing irreversible damage that turns a $20 chuck replacement into a $100+ motor rebuild. Don’t waste time on temporary fixes; replacement is the only safe solution when these red flags appear.
Essential Safety Prep: Avoiding Catastrophic Drill Kickback
Skipping these steps risks severe hand injuries from sudden tool rotation. Always disconnect power first—remove the battery from cordless drills or unplug corded models. Next, secure your drill in a padded vise using soft-jaw inserts or folded towels to prevent housing damage. Never clamp the chuck itself, as this can distort its mechanism. Gather these non-negotiable tools before starting:
– Safety glasses (metal shards fly during removal)
– 1/2-inch hex key (longest available for leverage)
– Adjustable wrench or chuck key
– Blue threadlocker (Loctite 242—never red)
– Penetrating oil (for seized chucks)
Work in a clean, dry area with solid footing. If you’re uncomfortable with the motor-assist method described next, skip to manual removal—never compromise safety for speed.
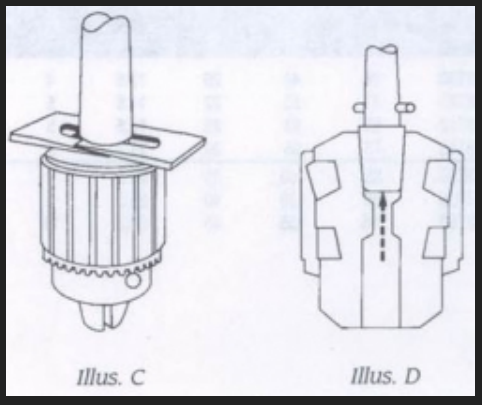
How to Spot Left-Hand Threads Before You Start
Most drill chucks use reverse (left-hand) threads, meaning they tighten when rotated counterclockwise during normal drilling. This prevents loosening under load but confuses DIYers. Critical check: Before attempting removal, inspect inside the chuck jaws. If you see a small left-hand threaded screw (requires clockwise rotation to loosen), remove it first with a flathead screwdriver. Missing this step guarantees you’ll damage the spindle trying to force the chuck off. If no screw is visible, your chuck mounts directly to the spindle via reverse threads—proceed to removal methods.
Motor-Assist Removal: The Fastest Method for Cordless Drills
This technique uses your drill’s own torque to break the chuck free—a game-changer for stubborn chucks. Follow these steps precisely to avoid injury:
1. Secure the drill body in a vise with padded jaws
2. Insert the largest hex key fully into the chuck jaws and tighten by hand
3. Rotate the chuck until the hex key points horizontally (3 or 9 o’clock position)
4. Set drill to maximum torque (drill mode, not hammer)
5. Wearing heavy gloves, briefly trigger the drill in reverse (counterclockwise)
You’ll hear a loud crack as the chuck breaks free—this is normal. Immediately release the trigger. Never hold the hex key during this step; use the vise to anchor the drill. If the chuck doesn’t loosen on the first try, reposition the hex key and repeat once. This method works 90% of the time for modern cordless drills and takes under 2 minutes.
When the Motor Method Fails: Hammer and Punch Technique
For vintage drills or rust-seized chucks, combine penetrating oil with controlled impact:
1. Apply PB Blaster to the chuck-spindle seam and wait 30 minutes
2. Engage the spindle lock (if your drill has one)
3. Place a center punch against the chuck’s base edge
4. Strike once with a ball-peen hammer using moderate force
5. Rotate chuck slightly and repeat until loose
Warning: Strike only the chuck’s outer rim—not the jaws—to avoid internal damage. If resistance remains after 3 attempts, heat the chuck base gently with a heat gun (200°F max) for 30 seconds. Never use a torch; excessive heat ruins internal lubricants.
Installing Your New Chuck: The Thread Direction Trap
This is where 70% of DIYers fail. Drill chucks require counterclockwise rotation to install because of reverse threads. Screw the new chuck onto the spindle by hand while turning it left (counterclockwise)—yes, the opposite of normal threading. Attempting clockwise installation cross-threads the chuck, ruining both components. Before threading:
– Clean the spindle with brake cleaner and a brass brush
– Apply 2 drops of blue threadlocker to the spindle threads (red threadlocker makes future removal impossible)
– Verify the chuck seats flush against the drill’s shoulder
Hand-tighten until resistance increases sharply—this indicates full seating. Forcing beyond this point cracks the chuck body.
Proper Tightening Without Damaging Your Drill

Never use the drill motor to tighten the chuck. This strips threads instantly. Instead:
1. Clamp the new chuck in a padded vise (not the drill body)
2. Insert a large screwdriver through the chuck’s jaw slots
3. Pull the screwdriver handle toward you with steady pressure
4. Apply only ¼ turn past hand-tight—over-tightening shears spindle threads
Test seating by trying to rotate the chuck backward; it should resist firmly. If it spins freely, remove and re-clean threads—debris prevents full contact.
Post-Installation Safety Check: Preventing Catastrophic Failure
Skip this test and risk bits ejecting at 30,000 RPM. After installation:
1. Insert a 3/16″ drill bit and tighten fully
2. Run the drill at lowest speed with no load for 10 seconds
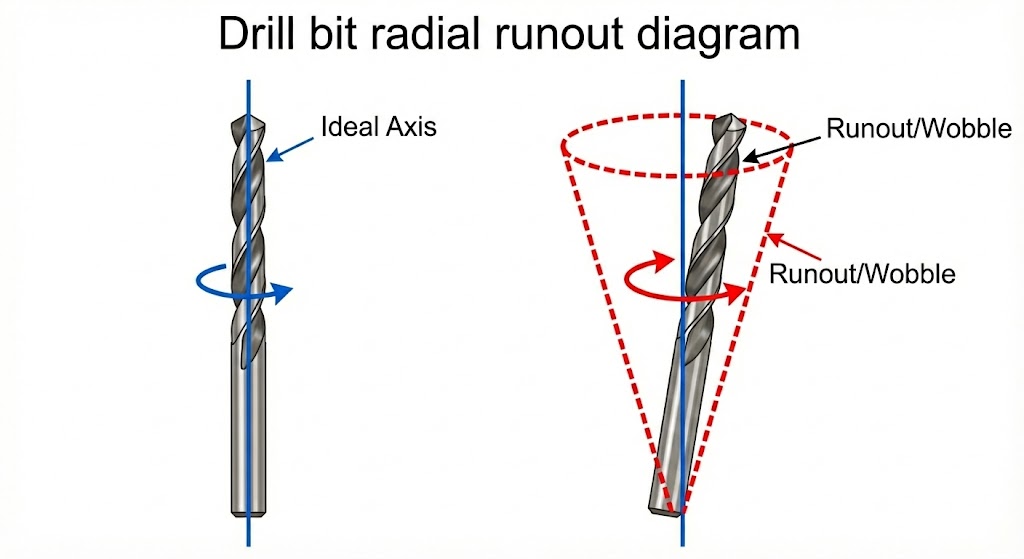
3. Watch for wobble—even slight vibration means improper seating
4. Press a wooden block against the spinning chuck with medium force
Critical red flags: Audible clicking, bit slippage, or heat buildup within 5 seconds. If detected, power down immediately and recheck seating. A properly installed chuck runs silently with zero lateral movement. Always perform this check before touching material—your safety depends on it.
Troubleshooting Wobble and Bit Slippage After Replacement
If your new chuck still wobbles or slips bits, don’t panic—this is fixable:
– Wobble persists? The chuck isn’t seated flush. Remove, clean spindle threads with a dental pick, and reinstall. Ensure no metal shavings block the shoulder contact point.
– Bits won’t grip? Confirm you bought a 1/2″ chuck for 1/2″ drills (not 3/8″). Smaller chucks lack jaw depth for secure hold. Also check if the chuck key fits perfectly—worn keys cause incomplete tightening.
– Stiff operation? New chucks need “breaking in.” Open/close the jaws 20 times with a key to work out factory grease. Never force resistance—it indicates misalignment.
Never ignore persistent wobble—it stresses the motor and can fracture the chuck during use. If issues continue after reinstallation, the spindle itself may be bent, requiring professional repair.
When to Call a Professional: Avoiding Costly Mistakes
Some failures demand expert intervention. Seek help if:
– You stripped spindle threads (visible metal shavings in chuck)
– The motor hums but won’t spin after replacement (electrical fault)
– You smell burning during testing (overheated windings)
– Critical warning: If the chuck won’t budge after 3 motor-assist attempts and penetrating oil soaks
Attempting advanced fixes like thread repair kits often costs more than drill replacement. A pro charges $40–$75 for chuck replacement versus $150+ for spindle rebuilds caused by DIY errors. Your safety isn’t worth risking for a $20 part.
Replacing a drill chuck correctly takes just 10 minutes but extends your tool’s life for years. By following these precision steps—especially the reverse-thread installation and mandatory safety checks—you’ll eliminate bit slippage and wobble permanently. Remember: always use blue threadlocker, never force threads, and test rigorously before drilling. Now that your drill grips like new, keep it that way by cleaning chuck jaws monthly with a stiff brush and avoiding excessive impact when tightening bits. For complex models like hammer drills, consult your manual for spindle lock locations—this simple step prevents 95% of removal frustrations. Ready for flawless drilling? Your next project awaits.


