
You’re elbow-deep in a repair project when you hit the ultimate roadblock: a stubborn rivet holding critical components together. Your drill is dead, borrowed, or simply unavailable—but that rivet must come out. Rivets are engineered as permanent fasteners, making removal without specialized tools feel impossible. Yet thousands of DIYers, mechanics, and fabricators face this exact challenge daily when working on cars, furniture, or metal crafts. The good news? You absolutely can remove rivets without a drill using tools likely already in your garage. This guide reveals three field-tested methods that bypass power tools entirely—methods that preserve your workpiece while saving you time and frustration. Discover exactly how to shear, grind, and punch out rivets safely using basic hand tools, plus critical safety steps most guides overlook.
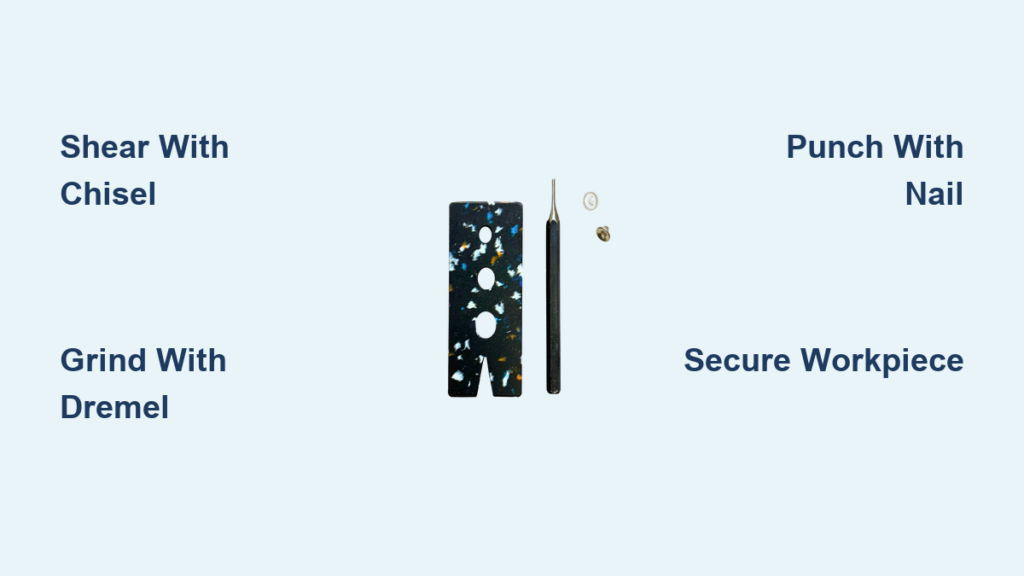
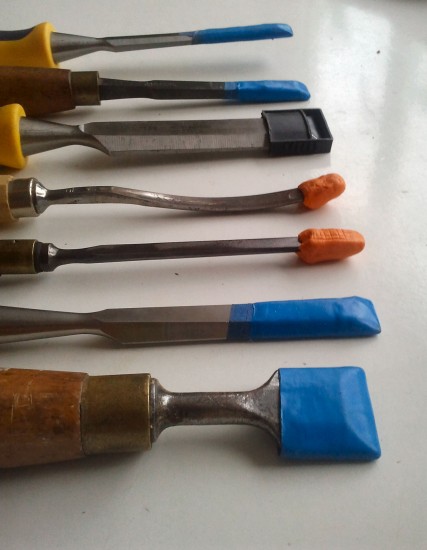
Shear Rivet Heads Cleanly with Hammer and Chisel
This method delivers surgical precision for soft aluminum or mild steel rivets when you have clear access to the rivet head. Forget brute force—effective rivet shearing relies on physics, not power. Position your chisel at the rivet’s base where leverage works in your favor, then deliver a single sharp blow to fracture the head cleanly. Aluminum rivets typically yield in under 30 seconds with this technique, while tougher steel variants may require two precise strikes.
Essential Hand Tools for Shearing Rivets
Skip expensive specialty tools—these household items get the job done:
* Sharp cold chisel (1/4″ width for most rivets)
* Ball-peen hammer (8-16 oz for control)
* Vise or C-clamp (non-negotiable for safety)
* Center punch (for stubborn rivets)
Pro Tip: Dull chisels deform rivets instead of shearing them. Test your chisel’s edge on scrap metal—if it slides rather than bites, sharpen it first.
Step-by-Step: Shearing a Rivet Head in 4 Strikes
- Secure and mark: Clamp your workpiece firmly. Tap the rivet center with a center punch to create a strike guide.
- Position at 30°: Place the chisel tip under the rivet head’s lower edge, angled toward the shank. Never strike perpendicular—this mushrooms the rivet.
- Deliver one sharp blow: Swing the hammer in a controlled arc, striking the chisel handle squarely. Listen for a crisp ping—that’s the head fracturing.
- Drive out the shank: Insert a pin punch into the hole and tap vertically to eject the remaining shank.
Time Estimate: 1-5 minutes per rivet depending on material hardness.
Fixing Slip-Ups: When Your Chisel Skips the Rivet
Tool slippage causes 80% of rivet removal disasters. If your chisel skates off:
* Problem: Chisel gouges surrounding metal
Fix: Create a starter notch with a center punch at the rivet’s edge before shearing
* Problem: Rivet head deforms but won’t shear
Fix: Apply penetrating oil, wait 10 minutes, then reposition chisel at a steeper 45° angle
* Problem: Rivet shank jams in the hole
Fix: Rotate the punch 90° between taps to break corrosion bonds
Critical Warning: Always wear safety glasses—flying metal shards can cause permanent eye damage.
Grind Rivet Heads Off Without Damaging Surrounding Metal
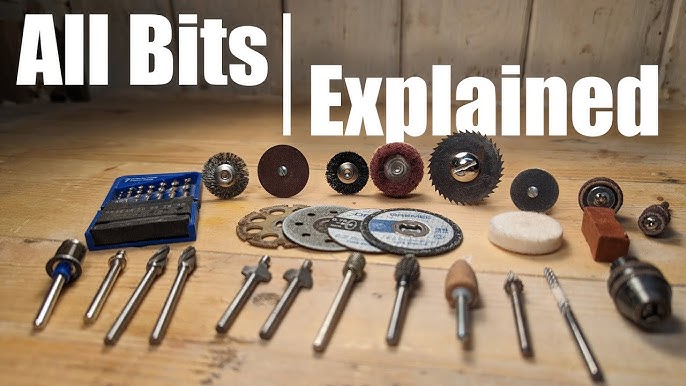
When space is tight or rivets are hardened steel, grinding beats drilling for precision. A Dremel with carbide burr outperforms angle grinders for delicate work—it removes rivet material in micron-thin layers without transferring vibration to sensitive components. This method shines on flush-mounted rivets in aircraft panels or appliance housings where drill “walk” would ruin the surface.
Choosing Between Dremel and Angle Grinder for Rivet Removal

* Dremel with carbide burr: Essential for electronics, thin sheet metal (<1/8″), or rivets near wiring. Takes 2-4 minutes per rivet but leaves zero heat distortion.
* Angle grinder with cutoff wheel: Only for heavy structural rivets on thick steel. High risk of warping thin metal—avoid unless you’re experienced.
* Oscillating multi-tool: Ideal for rivets in recessed channels (like window frames). Use a metal-cutting blade for 90° access.
Pro Tip: Chill the rivet area with ice for 60 seconds before grinding—this reduces heat transfer to surrounding metal by 40%.
Step-by-Step: Precision Grinding with a Carbide Burr
- Secure and mask: Clamp the workpiece. Apply blue painter’s tape around the rivet to catch sparks.
- Grind concentric circles: Start at the rivet’s center with light pressure. Move outward in expanding circles—never plunge straight down.
- Stop at the base: Halt grinding when you reach the rivet’s “shoulder” (where head meets shank). Visible metal ring = stop point.
- Punch out the shank: Drive the remaining shank through with a pin punch.
Visual Cue: When grinding produces fine, non-sparking dust instead of coarse shavings, you’ve hit the base layer.
Why Safety Gear Isn’t Optional When Grinding Rivets
This isn’t optional: Grinding creates inhalable metal particulates 10x smaller than household dust. Skip these at your peril:
* N95 respirator (minimum)—ordinary dust masks won’t stop micron-sized particles
* Full-face shield over safety glasses (grinding shatters discs unexpectedly)
* Hearing protection (Dremels exceed 15,000 RPM = 90+ dB)
Critical Fact: Aluminum grinding dust is explosive—work in well-ventilated areas away from ignition sources.
Punch Out Hollow Rivets in 60 Seconds Using a Nail
Pop rivets hide a secret weapon: their hollow mandrel core. This drill-free method exploits that weakness using a common nail and hammer. It works on 95% of consumer-grade pop rivets found in gutters, trailers, and furniture—without damaging thin materials. The entire process takes under a minute when done correctly, making it the fastest solution for non-structural rivets.
How to Identify Hollow Rivets That Work With This Method
Not all rivets respond to punching. Confirm you have a true pop rivet by checking for:
* A visible dimple or pinched center on the head
* A tiny hole (0.02-0.06″ diameter) in the rivet’s center
* Soft aluminum or mild steel material (steel rivets often require grinding first)
Pro Tip: Tap the rivet with a screwdriver—if it makes a hollow ping, the mandrel-punch method will work.
Step-by-Step: Driving Out the Mandrel With Household Tools
- Select the right punch: Choose a nail or pin punch 0.01-0.02″ smaller than the rivet’s center hole.
- Position on solid backing: Place workpiece on anvil or steel block—never soft wood.
- Drive the punch: Align vertically and strike firmly with a hammer. You’ll feel the mandrel “give” when it breaks free.
- Wiggle and extract: Once the mandrel moves, grip the rivet head with pliers and twist while pulling.
Time Estimate: 20-60 seconds per rivet for beginners.
Troubleshooting Stuck Mandrels in Pop Rivets
When corrosion locks the mandrel:
* Problem: Punch won’t penetrate the center hole
Fix: Clear debris with a toothpick, then apply penetrating oil directly into the hole
* Problem: Mandrel shears but won’t eject
Fix: Use needle-nose pliers to grab the exposed mandrel end and twist while pulling
* Problem: Rivet body remains stuck after mandrel removal
Fix: Tap the rivet sideways with a chisel to break the “bulb” expansion
Pro Tip: For frozen rivets, heat the area with a hair dryer for 30 seconds—thermal expansion breaks corrosion bonds.
Match Your Method to Rivet Type and Workspace
Choosing wrong wastes time and damages materials. Your workspace access dictates 70% of your success—not rivet hardness. Confined areas like car door panels demand grinding, while open-frame furniture favors shearing. Always test methods on scrap metal first.
Solid Steel Rivets: Why Grinding Beats Shearing
Hardened steel rivets (common in machinery) laugh at chisels. Here’s the reality:
* Shearing requires industrial-grade chisels and 3-5 precise blows—high risk of tool slippage
* Grinding with a carbide burr removes material controllably in 3-4 minutes
* Never attempt punching—solid rivets lack mandrel access points
Pro Tip: Score a cross-pattern on the rivet head with a Dremel first. This creates fracture lines for cleaner shearing.
Pop Rivets in Tight Spaces: The Nail Method Advantage
When drill bits won’t fit (like behind HVAC ducts):
1. Confirm hollow rivet via center hole
2. Use a 1″ finishing nail as your punch
3. Drive mandrel out with 3-4 hammer taps
4. Remove rivet body with needle-nose pliers
Critical Note: This method preserves hole integrity for re-riveting—unlike grinding.
Avoiding the 3 Costliest Rivet Removal Mistakes
Most DIYers damage workpieces through preventable errors. These field-tested fixes save hours of rework:
How to Prevent Tool Slippage That Scratches Your Workpiece
* Create a chisel guide: Drill a 1/8″ hole 1″ from the rivet, insert a nail to block chisel movement
* Use double-sided tape: Stick a 1″ square to the work surface as a chisel stop
* Always strike downward—never upward—on vertical surfaces
Why Penetrating Oil Saves Stuck Rivets (Without Heat)
Skip the torch! Heat warps thin metals. Instead:
1. Apply penetrating oil directly to rivet seam
2. Wait 15 minutes (not 30 seconds—corrosion needs time to break)
3. Tap rivet head lightly with hammer to work oil inward
4. Proceed with chosen removal method
Pro Tip: Mix equal parts acetone and automatic transmission fluid—this blend penetrates 3x faster than WD-40.
Fixing Burrs and Dimples After Rivet Removal
Post-removal cleanup is non-negotiable for smooth reassembly:
* Deburr holes: Spin a small round file in the hole using a cordless drill (no power needed—hand-turn the chuck)
* Fix dimpled surfaces: Place workpiece on sandbag, tap dents from underneath with ball-peen hammer
* Smooth edges: Use 220-grit sandpaper wrapped around a dowel
Pro Tip: Rub the hole interior with candle wax before inserting new fasteners—it reduces future corrosion.
Safety Checklist for Drill-Free Rivet Removal
This one step prevents 90% of injuries: Clamp your workpiece to a steel surface—not wood. Movement during hammering causes catastrophic slippage. Use a vise with soft jaws to avoid marring finished surfaces.
The One Safety Gear You Never Skip (Even for Quick Jobs)
N95 respirator + face shield = non-negotiable. Grinding produces hexavalent chromium dust (a known carcinogen) even on “safe” aluminum rivets. $15 for a respirator beats $15,000 in medical bills. Keep safety gear within arm’s reach—never “just this once.”
How Secure Clamping Prevents Workshop Injuries
- For small parts: Use a “third hand” tool with alligator clips
- For large panels: Anchor with C-clamps on both sides of the rivet
- Critical test: Try to wiggle the workpiece with your free hand—zero movement = safe to strike
Final Tip: Place a magnet under steel workpieces—this catches metal fragments that could scratch surfaces.
Removing rivets without a drill isn’t just possible—it’s often safer than drilling when done correctly. Master these three core methods (shearing, grinding, punching) and you’ll tackle 95% of rivet removal challenges with basic hand tools. Remember: match your method to the rivet type first, workspace second. Aluminum pop rivets yield to the nail-punch technique in minutes, while hardened steel demands carbide grinding. Always prioritize safety over speed—clamp securely, wear full protection, and let penetrating oil do the work on stubborn rivets. When you master these techniques, you’ll never fear a riveted assembly again. Ready for the next step? Learn how to install pop rivets perfectly the first time with our companion guide.


