
That moment when your DeWalt drill chuck seizes up mid-project is enough to make any DIYer want to throw tools across the garage. Whether you’re dealing with a stuck bit in your DCD791 or a cross-threaded chuck on another DeWalt model, knowing how to safely remove the chuck saves you from costly service fees and project delays. This guide delivers the exact techniques that work for DeWalt’s unique chuck designs—including the tricky DCD791 with its hidden security screws—so you can get back to drilling without damaging your valuable tool.
Most DeWalt drills use one of three chuck attachment systems: threaded with retaining screw, press-fit, or taper-mounted. The critical mistake 90% of users make is assuming all chucks come off the same way. Your specific model determines whether you need a Torx security bit, impact method, or a specialized puller. In the next sections, you’ll learn exactly which method applies to your DeWalt drill and how to execute it safely—plus the professional tricks for when your chuck refuses to budge.
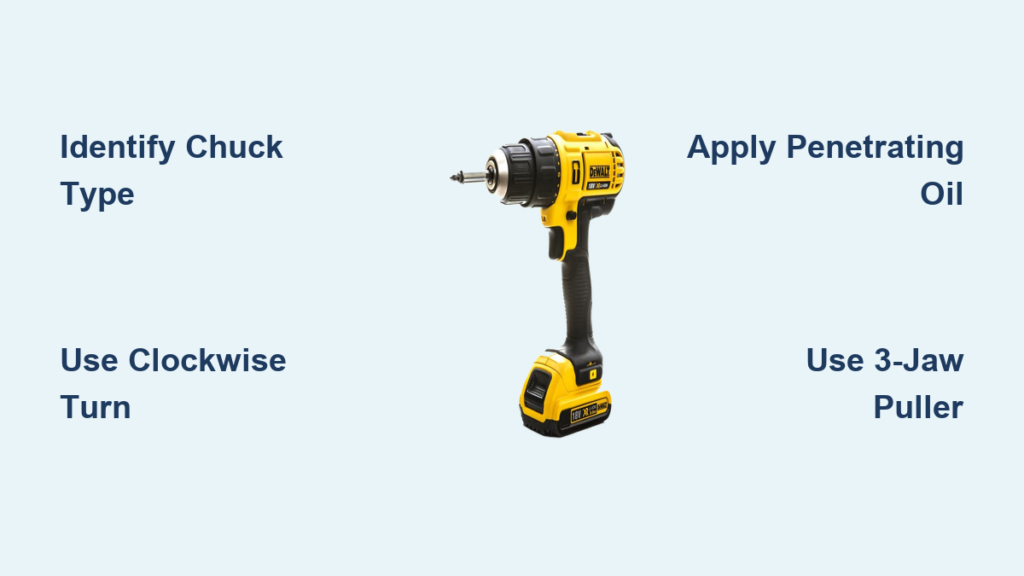
Identify Your DeWalt Drill’s Chuck Type Before Starting
Before grabbing tools, determine your chuck attachment method—this prevents costly damage to your drill’s spindle. Open the chuck jaws fully and inspect with a bright light. If you see a small screw deep inside the chuck base, you have a threaded chuck with retaining screw (common on DCD791 models). If no screw is visible but the chuck appears seamless with the spindle, you likely have a press-fit design. Older DeWalt models sometimes use Morse Taper mounting requiring a drift key.
How to Spot a Retaining Screw in Your DeWalt Chuck
The retaining screw on DeWalt drills is intentionally hidden and often uses security Torx heads to prevent accidental loosening. Look for a small recessed hole between the chuck jaws—this is where the T9H or T10H security Torx bit engages. Critical note: This screw has left-hand threads, meaning you turn it clockwise to loosen. Many users break screws by turning counterclockwise, assuming standard threading. For DCD791 models, the screw typically requires a 1.5mm hex key or T9H Torx bit.
Press-Fit vs. Threaded Chucks: What’s on Your DCD791?
Newer DeWalt models like the DCD791 often use press-fit chucks instead of threaded designs, which explains why many users can’t find a retaining screw. Press-fit chucks rely on extreme friction between the chuck and spindle. If your chuck has no visible screw and won’t rotate by hand, it’s press-fit. Warning: Never attempt to hammer or pry these chucks off—this damages the spindle taper. Instead, use a 3-jaw gear puller specifically designed for DeWalt drills (part #N026618) applying slow, steady pressure until the chuck releases with a distinct “pop.”
Must-Have Tools for Removing Stuck DeWalt Drill Chucks

Gather these tools before starting to avoid mid-process frustration. For standard threaded chucks, you’ll need safety glasses, T9H Torx bit, 3/8″ or 1/2″ Allen wrench, rubber mallet, and penetrating oil. Press-fit chucks require a 3-jaw puller and bench vise with soft jaws. Pro tip: Keep a T-handle Allen wrench for better leverage—the long handle provides crucial torque when breaking loose seized chucks.
Basic Toolkit for Standard Chuck Removal (DCD791 Models)
For most DCD791 drills with retaining screws, your core toolkit includes:
– T9H Security Torx bit (for the left-hand threaded screw)
– 1/2″ Allen wrench (for impact removal)
– Rubber mallet (nylon preferred to avoid metal damage)
– Penetrating oil (PB Blaster works better than WD-40 for seized parts)
– Bench vise with soft jaws (to secure drill without damage)
Specialized Tools for Press-Fit and Seized Chucks
When standard methods fail, these professional tools get the job done:
– 3-jaw gear puller (DeWalt part #N472679)
– 1/2″ impact wrench with adapter (corded preferred for consistent torque)
– Heat gun (for controlled thermal expansion)
– 50/50 acetone-ATF penetrating mixture (superior to commercial products)
– Left-handed drill bits (for extracting stripped screws)
Step-by-Step: Removing a Retaining Screw Chuck from DCD791
Follow this precise sequence for DeWalt models with visible retaining screws. First, remove the battery and secure the drill in a bench vise by the collar (not the chuck). Locate the security screw deep inside the chuck jaws using a flashlight. Insert the correct T9H Torx bit and turn clockwise to loosen—this counterintuitive direction catches most users off guard. If the screw won’t budge, apply penetrating oil and let it soak for 30 minutes.
Why You Must Turn Clockwise to Loosen the Retaining Screw
DeWalt engineers designed the retaining screw with left-hand threads specifically to prevent it from loosening during normal clockwise drilling operations. This is why turning counterclockwise (standard direction) actually tightens it further. Apply steady pressure while turning clockwise—use a T-handle for maximum leverage. If the screw is stripped, try welding a nut to it or using a left-handed drill bit to reverse it out.
Breaking Loose a Seized Chuck With Impact Method
After removing the retaining screw, the chuck itself remains threaded onto the spindle. Insert a 1/2″ Allen wrench into the chuck and tighten the jaws on the short end. Position the long end horizontally and strike it sharply with a rubber mallet in the counterclockwise direction. The impact shock breaks the static friction holding the chuck. Pro technique: Rotate the chuck 1/8 turn after each impact to work it loose evenly. For stubborn chucks, apply heat to 200°F with a heat gun before impacting.
DeWalt DCD791-Specific Chuck Removal Without a Visible Screw
If you can’t find a retaining screw in your DCD791, don’t force anything—your model likely has a press-fit chuck. Many newer DeWalt drills eliminated visible screws in favor of press-fit designs that require specialized removal tools. Attempting standard methods on these models often damages the spindle taper, making professional repair necessary.
What to Do When You Can’t Find the Retaining Screw
First, clean the chuck thoroughly with compressed air—debris often hides the screw recess. If no screw appears, try this test: grip the chuck firmly and attempt to rotate it by hand. If it doesn’t budge at all, it’s press-fit. Critical: Never use pliers or wrenches directly on the chuck body—this damages the outer casing. Instead, use a 3-jaw puller with pads contacting only the chuck’s rear flange.
Using a 3-Jaw Puller for Press-Fit DeWalt Chucks
Position the puller so its jaws contact the chuck’s rear mounting flange (not the body). Center the puller screw against the spindle end. Apply slow, steady pressure while tapping the puller screw with a hammer—this combination of pressure and vibration releases the taper fit. Time estimate: Properly executed, this takes 5-10 minutes. If resistance feels uneven, stop immediately—this indicates misalignment that could damage the spindle.
Troubleshooting Stuck Chuck Nightmares on DeWalt Drills

When standard methods fail, these professional techniques rescue even the most seized chucks. For rusted chucks, apply a 50/50 acetone-ATF mixture and let it soak overnight—this penetrates deeper than commercial products. Next morning, use a heat gun to warm the chuck body to 200°F (not the spindle), then immediately apply cold water. The thermal shock breaks the bond.
Freeing a Rusted or Cross-Threaded Chuck in 3 Steps
- Soak the chuck-spindle interface with penetrating oil for 24 hours, reapplying every 2 hours
- Use a heat gun to warm the chuck body to 200°F (chuck expands while spindle stays cooler)
- Apply sharp, controlled impacts with a rubber mallet on an Allen wrench in the chuck
Warning: Never use excessive force—DeWalt’s 1/2″-20 UNF threads can strip easily. If you feel sudden resistance, stop and reassess.
Emergency Fixes When the Retaining Screw Won’t Budge
For stripped retaining screws, try this sequence:
– Apply heat directly to the screw head for 15 seconds with a heat gun
– Use a left-handed drill bit slightly smaller than the screw
– Drill slowly while applying reverse torque (counterclockwise)
– If successful, the screw will often back out as you drill
Pro tip: DeWalt service centers use a specialized 2-pronged spanner wrench (part #N026618) that applies 70 ft-lbs of torque without damaging the chuck.
Installing a New Chuck on Your DeWalt Drill Correctly
After removal, proper reinstallation prevents future problems. Clean all threads with a wire brush and apply anti-seize compound (not thread locker) to the spindle threads. For the retaining screw, use blue thread locker and torque to 10 Nm (90 in-lbf). Critical step: Before tightening the chuck fully, run the drill unloaded at low speed to ensure it runs true.
Anti-Seize Compound vs. Thread Locker: Which to Use
Apply anti-seize compound to the chuck threads where it meets the spindle—this prevents future seizing while allowing removal. Only use blue thread locker (medium strength) on the retaining screw—red (permanent) locker makes future removal extremely difficult. Expert note: Never use Teflon tape—it can cause chuck misalignment.
Testing for Wobble After Reassembly
After installation, run the drill at low speed with no bit inserted. Observe the chuck rotation—any visible wobble indicates cross-threading or damaged spindle. Stop immediately and recheck alignment. A properly installed chuck should rotate perfectly true even at maximum speed.
When to Call DeWalt Service Instead of DIY Removal
Consider professional help if you’ve attempted removal twice without success, notice visible thread damage, or your drill is under warranty. DeWalt service centers charge $40-60 for chuck replacement—often less than the cost of specialized tools. Warranty note: DIY chuck removal voids coverage on DCD791 models if damage occurs during the process.
Cost Comparison: DIY vs Professional Chuck Replacement
| Method | Cost | Time | Risk | Best For |
|---|---|---|---|---|
| DIY with basic tools | $20-50 | 1-2 hours | High (spindle damage) | Experienced users |
| Professional service | $40-100 | 2-5 days | None | Most users, warranty models |
| New drill replacement | $100-200 | Immediate | None | Severely damaged drills |
Warranty Implications of Self-Service Chuck Removal
DeWalt’s 3-year limited warranty covers chuck replacement only if performed by authorized service centers. DIY attempts that damage the spindle or threads void coverage entirely. Critical exception: If your drill is out of warranty, professional service still costs less than new drill purchase for most DCD791 models.
By following these precise methods for your specific DeWalt model, you’ll avoid the most common chuck removal mistakes that turn a simple repair into an expensive disaster. Remember the golden rule: always disconnect the battery first and identify your chuck type before applying any force. For most users, the retaining screw requires clockwise removal, while press-fit chucks demand specialized pullers—not hammers. If your chuck remains stubborn after two attempts, stop and seek professional help—preserving your drill’s value is worth the service fee. Keep this guide handy for your next chuck replacement, and consider investing in DeWalt’s official chuck removal kit (DWA1KIT) for future maintenance.


