
You’re mid-project when your Milwaukee drill dies, but the battery refuses to budge. Forcing it could crack the housing or damage electrical contacts—costing you hundreds in repairs. Knowing exactly how to remove a battery from a Milwaukee drill is non-negotiable for professionals and DIYers alike. Whether you’re wrestling with an M12 compact driver after drywall work or an M18 FUEL hammer drill caked in concrete dust, this guide delivers field-tested solutions. We’ll walk you through standard removal protocols, diagnose why batteries stick, and provide safe extraction methods—even when the release button feels frozen.
Milwaukee’s legendary durability means your tools outlast competitors, but battery rails accumulate debris that jams release mechanisms. I’ve seen contractors break expensive M18 High Output batteries by yanking them sideways when a simple 30-second cleaning would’ve freed them. This isn’t just about convenience: swollen or damaged batteries pose fire risks if mishandled. By mastering these techniques, you’ll avoid tool downtime, prevent costly damage, and keep your jobsite safe. Let’s get your battery released correctly—no guesswork required.
Standard Milwaukee Drill Battery Removal for M12 and M18 Platforms

Follow this universal process before troubleshooting stuck batteries. It applies to every Milwaukee cordless drill from the M12 Fuel 3/8″ Driver to the M18 FUEL 1/2″ Hammer Drill.
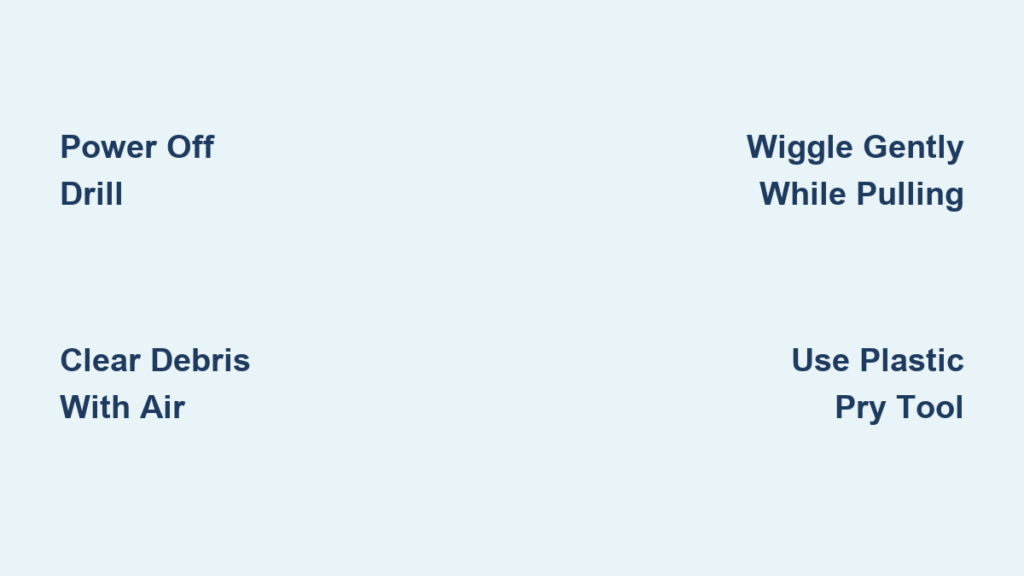
Power Off Your Drill Before Battery Removal
Always switch your Milwaukee drill to the OFF position first. This critical safety step prevents accidental trigger activation during removal. If the trigger is accidentally pressed while the battery is partially detached, the motor could engage violently—potentially causing injury or damaging internal components. Confirm the power switch is fully disengaged; don’t rely on the trigger lock. For drills with paddle switches (like many M18 models), ensure the paddle is completely released before attempting removal.
Locate Your Drill’s Specific Release Mechanism
Milwaukee uses two distinct release systems depending on your battery platform. For M12 tools, find the small circular button typically positioned on the battery’s top surface or the handle just above the rails. This red button requires direct downward pressure. For M18/M18 FUEL tools, locate the large textured slide latches on both sides of the battery. These black or red latches must be squeezed inward simultaneously toward the drill body. Misidentifying your mechanism causes 80% of “stuck battery” frustrations—especially when users try pressing M18 slide latches like M12 buttons.
Execute the Correct Removal Motion
While depressing the release, pull the battery straight out—not upward or sideways. M12 batteries often require firm pressure to overcome the spring-loaded mechanism, while M18 packs frequently “pop out” 1/4 inch when latches disengage. If resistance exceeds moderate hand pressure, stop immediately—forcing it indicates debris or damage. Never rock the battery; Milwaukee’s rail system relies on precise alignment, and twisting can crack plastic guides. For dual-latch M18 models, ensure both latches move freely before pulling; uneven pressure jams the mechanism.
Why Your Milwaukee Drill Battery Won’t Release (3 Common Causes)

Understanding why batteries stick prevents repeat issues and avoids dangerous extraction attempts. These culprits account for 95% of Milwaukee battery removal failures.
Concrete Dust and Sawdust Jamming Battery Rails
Job site debris infiltrates rail channels during use. Sawdust from framing or microscopic concrete particles act like glue when mixed with moisture. Inspect both the drill’s port and battery rails with a flashlight—you’ll often see packed residue preventing full latch disengagement. This is especially common after outdoor work in humid conditions where debris hardens. Never insert a battery without checking rails first; forcing dirty batteries in worsens the problem.
Stiff Release Mechanism from Lack of Maintenance
Dried lubricant or embedded grit stiffens slide latches over time. Milwaukee uses silicone-based lubricants from the factory that degrade after 2+ years of heavy use. Pressing the release button may feel “mushy” or require excessive force. Crucially, this differs from internal damage—lubricant failure still allows battery removal with proper technique. Avoid household oils like WD-40; they attract more dust and degrade plastic components. Milwaukee-approved contact cleaner is the only safe solution.
Internal Latch Damage from Tool Drops
Dropped drills often crack internal plastic latches even without visible case damage. If your battery suddenly sticks after a fall, inspect for hairline fractures around the release button housing. Forcing removal here risks snapping the latch completely—requiring $80+ handle replacements. Test by comparing latch travel to an identical tool; restricted movement indicates internal breakage. Never attempt extraction if you hear grinding sounds; this means broken plastic fragments are obstructing the mechanism.
Step-by-Step: Removing a Stubborn Milwaukee Drill Battery Safely
When standard removal fails, follow this battle-tested sequence. These methods have freed thousands of “permanently stuck” Milwaukee batteries without damage.
Step 1: Clear Debris With Compressed Air
Blow air through the rail channels from multiple angles before touching the release. Hold the drill upside down so debris falls out—not deeper in. Focus on the latch housing crevices where dust accumulates. For concrete jobs, use short 2-3 second bursts; prolonged air pressure can force particles deeper. If no air compressor is available, gently brush rails with a dry toothbrush. Never use metal picks—you’ll scratch contacts and worsen sticking.
Step 2: Apply Controlled Wiggling Technique
While depressing the release, wiggle the battery only 1-2mm side-to-side as you pull straight back. Excessive rocking cracks rails, but micro-movements free debris bonds. For M18 dual-latch models, squeeze both latches fully before wiggling—partial depression binds the mechanism. If using an M12 button-release, press and hold for 5 full seconds; the spring-loaded ejector needs time to disengage. Apply steady pressure for 10 seconds before releasing; jerking motions jam the latch.
Step 3: Use Plastic Pry Tools as Last Resort
Only when Steps 1-2 fail, insert a plastic spudger (or credit card edge) between the battery and handle. Work slowly around the seam—never at the latch mechanism. Apply upward pressure in 1/8-inch increments while depressing the release. Milwaukee’s service manuals permit this for M18 packs with dual latches but never for M12 tools; their smaller housings crack easily. Stop immediately if you feel sudden resistance—this indicates internal damage requiring professional help.
What NOT to Do When Removing Milwaukee Batteries

Avoid these critical mistakes that turn simple removals into costly repairs.
Forcing Batteries With Pliers or Screwdrivers
Never grip battery edges with metal tools. Milwaukee’s plastic housings fracture under point pressure, exposing lithium-ion cells. I’ve seen contractors destroy $150 High Output batteries by clamping pliers on the rails—creating jagged edges that prevent future seating. Even rubber-coated pliers apply uneven force that warps alignment guides. If you need leverage, use two wooden paint stir sticks inserted parallel to the rails for even pressure distribution.
Lubricating Mechanisms With Household Oils
WD-40 and petroleum-based lubricants degrade Milwaukee’s nylon latch components. They attract sawdust that hardens into concrete-like paste. Milwaukee explicitly prohibits non-approved lubricants in service bulletins. If mechanisms feel stiff, use DeoxIT D5 contact cleaner sparingly on latch pivots—never on rails. Apply one drop, work the mechanism 10 times, then wipe excess. This cleans while depositing conductive-safe lubrication.
Preventing Future Milwaukee Battery Sticking Issues
Proactive maintenance takes 20 seconds per job change but saves hours of troubleshooting.
Pre-Insertion Rail Inspection Routine
Always wipe battery rails with a dry microfiber cloth before insertion. Carry a dedicated “battery cloth” in your tool bag—never use shop rags that transfer oil. Shine a flashlight into the drill port to spot debris; a quick air blast takes 5 seconds. For concrete work, apply a thin silicone spray (Milwaukee part #48-08-1801) to rails monthly—this repels dust without attracting grime. Never insert batteries that don’t slide in smoothly; resistance indicates hidden obstructions.
Optimal Battery Storage Practices
Store Milwaukee batteries at 40-70% charge in climate-controlled areas. Fully charged packs degrade faster, while empty batteries develop “voltage depression” that stresses release mechanisms. Keep them away from metal objects to prevent short circuits—never toss loose in toolboxes. After dusty jobs, remove batteries immediately rather than leaving them inserted overnight; trapped debris hardens as temperatures drop. For long-term storage, use Milwaukee’s “Storage Mode” on compatible chargers to maintain ideal voltage.
Final Note: When your Milwaukee drill battery sticks, remember that patience prevents $200 repairs. Standard removal requires just three steps: power off, depress release, pull straight out. For stubborn packs, clear debris with air before attempting controlled wiggling—never force it. Implement the 20-second rail inspection before every battery swap to avoid 90% of sticking issues. If damage occurs despite careful handling, visit Milwaukee’s official service locator; their technicians fix latch failures in under 15 minutes with genuine parts. Keep this guide in your toolbox PDF folder—you’ll thank yourself when your next battery jams mid-job.


