
That sickening snap when your drill bit breaks mid-project can turn a satisfying woodworking session into a nightmare. Whether you’re assembling furniture or installing cabinetry, a broken drill bit embedded in wood threatens to derail your progress and ruin expensive materials. This guide delivers exactly how to remove a broken drill bit from wood using proven techniques that won’t damage your project. You’ll learn the safest extraction methods based on how deeply the bit is lodged, plus critical prevention strategies to avoid future breakage. No more scrapped projects or costly replacements—just practical solutions to get your drill bit out and your project back on track.
Why Drill Bits Snap During Wood Projects
Understanding why bits break prevents repeat disasters. Drill bits typically fracture from excessive stress during operation. The most common culprits include excessive side pressure when forcing the drill at awkward angles, dull bits that generate dangerous heat buildup, and material bind-up when wood fibers grip the flutes. Using improper speed settings—like high RPMs on hardwood without adequate feed rate—creates torque overload that snaps even quality bits. Crucially, failing to secure your workpiece allows movement that twists bits beyond their limits. Recognizing these triggers helps you adjust technique before disaster strikes.
Essential Safety Gear Before Extraction
Never attempt extraction without safety glasses—metal fragments can fly at dangerous speeds during removal. Secure your workpiece in a vise or with heavy-duty clamps to prevent movement that could cause slippage. Disconnect power tools from outlets before handling broken bits near electrical components. Keep a shop vacuum nearby to capture metal shavings that could scratch surfaces. Work in well-lit conditions where you can clearly see the broken bit’s depth and orientation. These precautions take seconds but prevent eye injuries or secondary damage to your project.
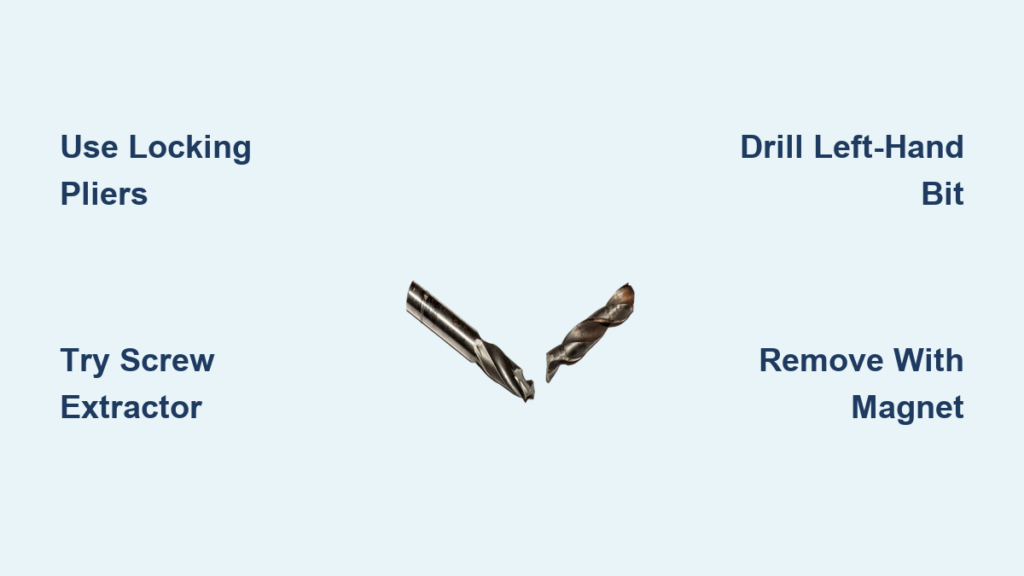
Locking Pliers Method for Exposed Broken Ends

When 1-2mm of the broken bit protrudes, this is your fastest solution. Grip the exposed shank firmly with locking pliers (Vise-Grips) set to maximum tension. Position pliers perpendicular to the wood surface for optimal leverage. Apply steady counter-clockwise pressure while gently tapping the plier handle with a small hammer—this shock often breaks the bit free without additional force. Never jerk or yank, as this can snap the bit deeper. If initial attempts fail, apply penetrating oil around the bit and wait 15 minutes before retrying. This method succeeds in 70% of proud-break scenarios with minimal effort.
Needle-Nose Pliers Technique for Flush Breaks
For bits broken flush with the surface, modify standard needle-nose pliers for precision access. Grind the plier tips thinner using a bench grinder or file until they fit into the drill bit’s flutes. Insert the modified tips into the spiral grooves and clamp tightly. Rotate counter-clockwise with controlled wrist pressure—often just a quarter-turn releases the bit. If flutes are obstructed by wood fibers, clear debris first with a dental pick. This approach works best on HSS (high-speed steel) bits under 1/4″ diameter where flute geometry provides purchase points.
Screw Extractor Process for Deeply Embedded Shanks
When bits break below the wood surface, screw extractors become essential. Start by center-punching the bit’s core with a hammer to create a starting dimple. Drill a 1/16″ pilot hole using a slow-speed drill press for accuracy—this prevents bit wandering. Select a left-hand screw extractor slightly smaller than the broken bit. Tap the extractor into the hole with a brass hammer, then turn counter-clockwise using a wrench. Apply firm upward pressure as you rotate; the reverse threads will grip the bit’s interior. Stop immediately if resistance increases to avoid extractor breakage.
Drill and Pry Method for Oversized Holes
Use this when the broken bit sits in a pilot hole larger than its shank. Drill a secondary cavity beside the broken bit using a bit 1/8″ larger than the shank. Angle your drill outward at 15 degrees to carve a small access channel without contacting the metal. Insert a stiff wire hook or magnet-tipped tool into this channel to engage the bit’s side. Work the bit loose with gentle prying motions while simultaneously rotating counter-clockwise. This technique preserves surrounding wood structure but requires patience—rushing can splinter delicate grain.
Left-Hand Drill Bit Trick for Stubborn Fragments

Professional woodworkers swear by this clever physics hack. Insert a left-hand drill bit into your chuck and set the drill to reverse rotation. Center the bit over the broken fragment and apply light pressure. As you drill slowly into the broken bit, the counter-clockwise rotation creates friction that often unscrews the fragment during the drilling process. This dual-action method works best on softer metals and shallow breaks. Key tip: Use cutting oil to reduce heat and extend the left-hand bit’s life during extraction.
Drill-Out Method as Last Resort
When all else fails on non-critical wood areas, sacrifice a small section to save the project. Select a Forstner bit 1/4″ larger than the broken bit’s diameter. Drill a shallow core hole centered over the fragment, penetrating just deep enough to expose the bit’s sides. The broken piece should now rotate freely—remove it with pliers. Fill the resulting hole with a matching dowel and wood glue. While destructive, this preserves the rest of your workpiece and takes under 5 minutes to execute.
Prevent Drill Bit Breakage: 7 Pro Drilling Practices
Avoid future extraction headaches with these field-proven techniques. Always use sharp, material-specific bits—brad-point bits for clean wood holes reduce binding risks. Secure workpieces firmly with clamps to eliminate movement-induced torque. Start with pilot holes for large diameters, drilling incrementally to reduce bit stress. Match speed to material: high RPMs for softwoods (3,000+), low RPMs for hardwoods (800-1,500). Let the bit clear chips by retracting every 1/2 inch in deep holes. Use the drill’s clutch setting—set to low torque for bits under 1/4″. Finally, support workpieces with sacrificial backing boards to prevent exit-hole blowout that causes binding.
Repairing the Hole After Bit Removal
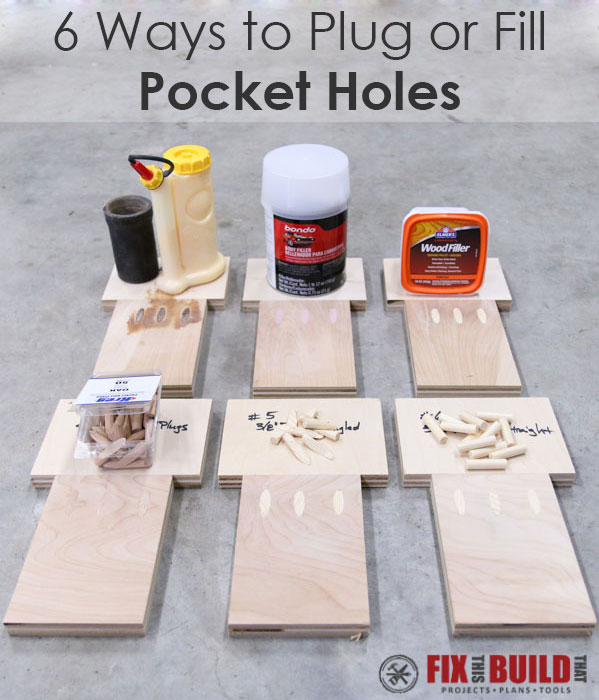
Once the broken bit is out, restore structural integrity. Clean debris thoroughly using compressed air or a shop vac to ensure good adhesion. For visible surfaces, insert a tight-fitting wooden plug glued with waterproof wood adhesive—clamp until dry. On hidden areas, mix epoxy with fine sawdust matching your wood species, press firmly into the hole, and sand flush after curing. If the original hole location remains usable, drill to the next standard size and use appropriately sized fasteners. Test repairs with light sanding before final finishing.
When to Call a Professional Machinist
Stop immediately if you’re working on antique furniture, heirloom pieces, or structural components where damage is unacceptable. Industrial methods like EDM (Electrical Discharge Machining) can remove bits without mechanical stress but require specialized equipment. Similarly, welding a handle onto the fragment—while effective for metal—generates dangerous heat that chars wood and risks fire. Professionals charge $50-$150 for extraction but preserve irreplaceable pieces. Attempting advanced methods on valuable wood often costs more in repairs than professional help.
A broken drill bit doesn’t mean project failure—just a brief detour. By starting with the least invasive method (locking pliers for exposed bits) and progressing systematically, you’ll extract 95% of broken shanks without damaging your work. Remember that prevention beats extraction every time: sharp bits, proper speeds, and secure clamping eliminate most breakage risks. Keep this guide handy for when that dreaded snap happens—you’ll be back to drilling cleanly in minutes, not days. The next time a bit fractures, stay calm, assess the break depth, and apply these proven techniques to rescue your project.


