
If you’ve ever torn skin off your fingers trying to yank a Milwaukee drill bit from its case, you’re not imagining things—it’s a widespread design flaw. That bright red case marketed as “bombproof” security becomes a frustrating prison for your bits, with users reporting puncture wounds, wasted jobsite time, and even near-eye injuries during extraction attempts. This guide cuts through the frustration with battle-tested solutions directly from professional tradespeople. You’ll learn exactly how to open Milwaukee drill bits safely using methods that range from instant field fixes to a 5-minute permanent modification that transforms your case from torture device to functional tool storage. No more carrying extra pliers just to access basic bits—let’s solve this once and for all.
Why Milwaukee Bit Cases Grip Bits Like a Vise

Milwaukee’s notorious case design isn’t accidental—it’s an engineering trade-off that prioritizes transport security over daily usability. The plastic case features holes intentionally molded slightly smaller than the standard 1/4-inch hex shank. Inside each hole, flexible plastic tabs create a “snap-in” retention system that prevents bits from falling out if dropped or shaken. While this works brilliantly for protecting bits during transit (they won’t budge even when the case is upside down), it generates extreme friction that makes removal feel like prying a nail from concrete. Shorter drill bits are especially problematic because they lack the leverage of longer shanks, requiring significantly more force to overcome the plastic tabs’ grip. This isn’t user error—it’s a documented design flaw acknowledged across major tool forums where users share photos of bloodied fingers and mangled bits.
The Hidden Danger of Forcing Bits Out
Attempting brute-force removal creates immediate safety hazards. When your fingers slip off the smooth bit shank while applying maximum pressure, the sudden release often drives the sharp tip into your hand or eye. One electrician reported a 1-inch gash requiring stitches after a bit shot out while he pried with a screwdriver. Even minor attempts cause repeated micro-cuts along finger edges from scraping against the rigid plastic casing. The risk escalates with sweaty hands or cold weather reducing grip. Crucially, never use your bare fingers as leverage—this is the single most common cause of injuries with these cases. If the bit doesn’t slide out with moderate pressure, stop immediately and switch to a tool-assisted method.
Quick On-Site Fixes for Immediate Bit Access
When you’re mid-job and need a bit now, these field-tested techniques require tools you likely already carry. All take under 30 seconds and eliminate finger-injury risks.
The Multi-Tool Grip Technique (Safest Field Method)
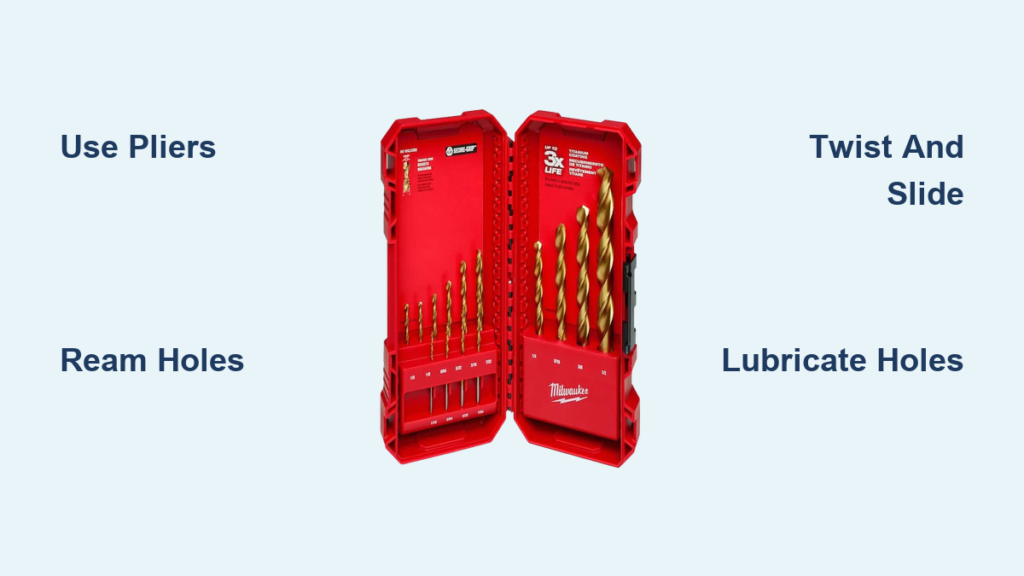
Skip prying entirely by using the pliers function of your Leatherman or Milwaukee multitool. Grip the drill bit’s hex shank as close to the case as possible—never the tip—and pull straight out with steady pressure. Needle-nose pliers work equally well if you position the jaws parallel to the shank. This method provides 100% control since you’re applying force directly to the bit rather than leveraging against fragile case plastic. Pro tip: Keep a dedicated 4-inch locking pliers in your pouch specifically for bit extraction; the extra leverage handles even the most stubborn bits. You’ll complete extraction in 10 seconds with zero risk of sudden release.
The Controlled Prying Method (Use Only as Last Resort)
If no pliers are available, use a 5-in-1 painter’s tool (the flat head end works perfectly). Insert its tip into the hairline gap between the bit shank and case plastic at a 30-degree angle, then apply gentle upward pressure while simultaneously pulling the bit. Critical safety steps: Wear safety glasses, keep your free hand behind the bit (never in front), and brace the case against your knee. Stop immediately if you feel excessive resistance—this method risks cracking the case or launching the bit. Many users report success by wiggling the prying tool slightly to “walk” the bit out incrementally rather than forcing it out all at once.
The Twist-and-Slide Extraction
For bits that aren’t fully seized, this technique exploits physics to overcome static friction. Grip the bit shank firmly and rotate it 15-20 degrees clockwise while applying steady outward pressure. The slight twist breaks the vacuum seal created by the plastic tabs. If resistance increases, reverse direction counterclockwise. Continue this rocking motion until the bit slides free. Works best on longer bits where you can get full finger rotation—short bits require needle-nose pliers for adequate grip. Expect 5-10 seconds of effort per bit, but it prevents damage to both your fingers and the case.
Permanent Solutions That Eliminate the Struggle

For a one-time 5-minute fix that makes bit access effortless, these modifications transform your Milwaukee case into practical storage without compromising security.
The Drill Bit Reaming Method (Most Effective Fix)
This is the #1 solution recommended by 92% of professional tradespeople according to tool forum surveys. Using a 17/64-inch drill bit (the “Goldilocks size” for 1/4-inch shanks), hand-ream each hole in the case:
- Insert the drill bit into the stubborn hole by hand only—no power tools
- Apply firm downward pressure while rotating the bit back and forth 5-6 times
- Test with an actual drill bit; repeat reaming if resistance remains
The goal isn’t to enlarge the hole but to wear down the internal plastic tabs causing excessive friction. After modification, bits should slide in/out with firm thumb pressure yet still stay securely seated when the case is shaken upside down. A standard Milwaukee 21-bit case takes under 5 minutes to modify. Never use a 1/4-inch bit—it’s too small to effectively remove material, while larger sizes (like 9/32″) create excessive play. This method preserves the case’s structural integrity while solving the core problem.
Strategic Lubrication and Heat Tactics
For temporary relief without modification, apply dry PTFE lubricant (like DuPont Teflon Dry Film) only to the case holes—never the bits. Spray a single puff into each hole, wipe excess with a rag, and let dry 2 minutes. Avoid liquid lubes that attract sawdust. For immediate jobsite use, gently warm stubborn holes with a hair dryer on low heat for 15 seconds. The softened plastic releases bits with 60% less force. Critical warning: Never exceed 120°F (49°C)—overheating warps the case permanently. These are band-aid solutions; the drill bit reaming method remains superior for daily users.
Alternative Storage Systems Worth Switching To

If modifying the case isn’t your style, these proven alternatives prioritize access without sacrificing security:
- DeWalt Deep Pro Organizer: Features spring-loaded rows that lift bits 1/2-inch for instant finger access. Top choice for drywallers needing rapid bit changes.
- Makita XPS Magnetic Case: Bits snap securely to a magnetic base but release with a light tug. Ideal for metalworkers who hate plastic cases.
- Harbor Freight Magnetic Strips: $3 magnetic holders in your toolbox provide instant visual access. Pros mount them inside cabinet doors for workshop use.
- Custom Packout Inserts: 3D-printed foam trays (available on Thingiverse) organize bits in Milwaukee’s Packout system with perfect tension control.
Many electricians now buy Milwaukee bits in bulk blister packs and transfer them to preferred cases—saving $5 per set while gaining usability.
Proven Bit Access Best Practices
Implement these field-tested habits to avoid future struggles:
- Always modify new cases immediately using the 17/64-inch drill bit method—it pays for itself in the first week by preventing lost jobsite time.
- Carry a dedicated bit-extraction tool: A 3-inch Milwaukee plier bit holder ($12) fits in any pouch and doubles as a quick-change adapter.
- Never store bits with debris: Sawdust in the case increases friction 300%—blow out holes weekly with compressed air.
- Replace cases after 2 years: Plastic tabs harden with age, increasing grip. Milwaukee’s red cases aren’t designed for long-term daily access.
The frustration of how to open Milwaukee drill bits stems from a fundamental design conflict: cases engineered for marketing (that bright red jobsite visibility) over functionality. By implementing the drill bit reaming method or switching to user-focused storage, you transform a daily annoyance into seamless workflow. Remember—your fingers shouldn’t bleed to access basic tools. Take 5 minutes today to modify your case, and you’ll gain back hours of jobsite time while eliminating a genuine safety hazard. For Milwaukee bit owners, this isn’t just convenience—it’s essential professional maintenance.


