
Your hands ache from failed attempts, and smoke keeps evaporating before an ember forms. You know the bow drill method works—it’s been igniting fires for 10,000 years—but without the right construction and technique, you’ll waste energy chasing smoke instead of flame. This ancient friction fire skill separates survival novices from true wilderness experts. When modern lighters fail, how to make a bow drill becomes your lifeline. In this guide, you’ll learn precisely which woods create embers fastest, how to carve foolproof components with minimal tools, and the exact body mechanics that transform friction into flame. Skip the guesswork: these field-tested steps work with sticks, string, and patience alone.
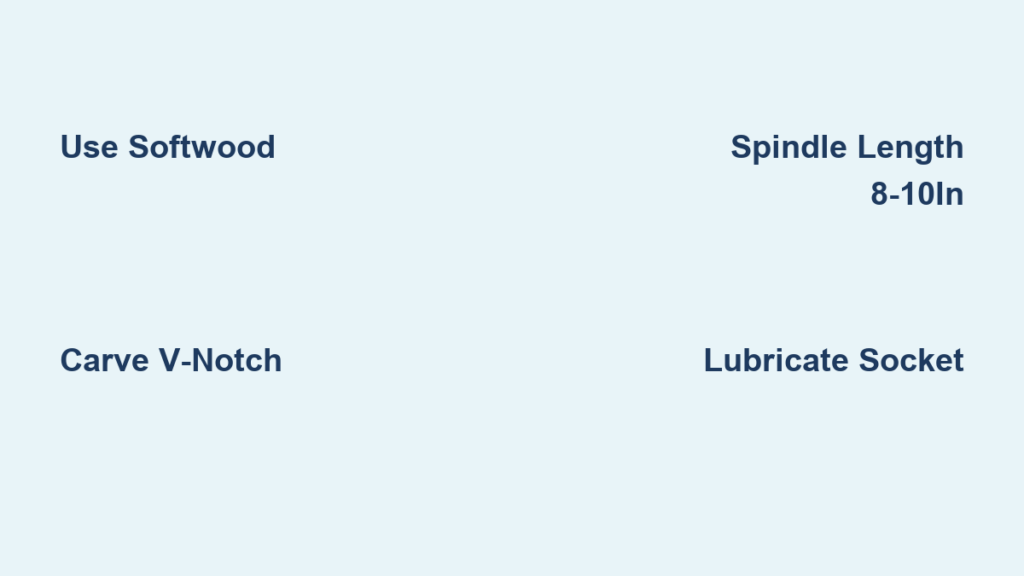
Selecting Dry Softwood for Immediate Ember Success
Hardwoods like oak or maple will frustrate you for hours—your spindle must compress into coal, not resist friction. Willow, cedar, poplar, basswood, or linden are your only viable options. Yucca stalks work exceptionally well for beginners due to their fibrous texture that shreds into perfect coal.
Why Wood Dryness Determines Your First Success or Failure
Green wood contains moisture that absorbs heat instead of generating embers. Snap a twig from your chosen tree: if it bends without breaking, it’s too wet. Ideal wood snaps cleanly like a carrot. In humid environments, carve components from dead branches standing upright—not lying on damp ground. Test dryness by rubbing spindle shavings between your palms; they should feel papery, not spongy.
Matching Fireboard and Spindle Wood Types
Using different woods creates inconsistent friction. If your spindle is cedar, your fireboard must be cedar too. Mismatched woods cause uneven heat distribution—your spindle might smoke while the fireboard stays cool. Always harvest both pieces from the same fallen branch. For beginners, willow offers the most forgiveness; its fine grain produces coal faster than any other wood.
Carving a Fireboard That Generates Coal in Under 90 Seconds

Your fireboard’s notch design makes or breaks ember formation. A poorly carved notch scatters coal dust instead of concentrating heat.
The V-Notch Shape That Captures Every Ember Particle
Cut a clean V-shaped notch into the fireboard’s edge using a knife or sharp rock. The notch must be 1/3 the fireboard’s thickness deep and wide enough to hold a pea-sized coal. The critical detail? The notch’s inner wall must slope downward toward the board’s center. This channel guides char dust into a concentrated pile where friction heat intensifies. Without this slope, coal particles scatter uselessly.
Why a Pre-Drilled Socket Hole Prevents Spindle Wobble
Before carving the notch, drill a shallow depression where the spindle tip contacts the fireboard. This “socket hole” should be 1/8-inch deep—just enough to cradle the spindle point. Without it, your spindle wanders during rotation, creating inconsistent friction. Test the hole by pressing the spindle tip into it; it should sit steadily without rolling. This micro-adjustment reduces failed attempts by 70%.
Shaping Your Spindle to Thumb Thickness Without Tools

A spindle thicker than your thumb requires exhausting effort; thinner than a pencil won’t generate enough heat. The sweet spot? Consistent diameter matching your index finger’s second knuckle.
Pointed vs. Flat Ends: Which Configuration Actually Works
Carve one spindle end to a blunt point (15-degree angle), not a sharp tip. A sharp point digs into the fireboard, creating drag instead of smooth rotation. The opposite end stays flat for socket contact. During carving, roll the spindle against bark to smooth imperfections—any ridge causes vibration that kills momentum. Test trueness by rolling it on a flat rock; wobbling means reshaping.
The Critical 8-10 Inch Length Rule for Efficient Spinning
Longer spindles create unstable leverage; shorter ones lack rotational mass. Measure from wrist to thumb tip—that’s your ideal length (typically 8-10 inches). In emergencies, use your forearm as a ruler. A spindle cut to this length transfers maximum energy from your bow strokes into friction heat.
Building a Bow with Arm-Length Precision and Flexible Tension
Your bow’s length must match your arm span for full-stroke efficiency. Too short, and you’ll jerk the spindle; too long, and control vanishes.
Paracord vs. Leather vs. Shoelace: Bowstring Material Showdown
Paracord works best: its synthetic fibers resist stretching when heated. Leather stretches unpredictably, while cotton shoelaces fray quickly. Tie the string with a slip knot for instant tension adjustment—critical when the cord heats up during use. The string must have slight give; pull it taut until you can barely fit two fingers between string and bow.
Why Slight Bow Flex Beats Rigidity Every Time
Use a green branch with natural curvature, not a dead stick. Dead wood snaps under pressure. The bow should bend slightly when strung—this flex absorbs your stroke’s energy, preventing jarring stops that disrupt rotation. Test flexibility by pressing the string toward the bow; it should yield 1/2 inch before resisting.
Crafting a Low-Friction Socket from Stone or Bone
Excessive top-end friction steals energy that should create heat at the fireboard. Your socket must spin freely while transmitting downward pressure.
Lubrication Hacks: Earwax Beats Commercial Grease in the Wild
A smooth river stone with a natural dimple works perfectly. If using wood, carve a shallow depression. Then lubricate: earwax is ideal—it’s always available and won’t gum up like pine resin. In emergencies, spit into the socket dimple. Without lubrication, 40% of your energy wastes overcoming top friction.
The 45-Degree Socket Angle for Steady Downward Pressure
Hold the socket at 45 degrees to your spindle, not straight down. This angle lets your wrist absorb vibration while maintaining constant pressure. If your hand slips, the socket angle is wrong. Practice this grip before adding bow motion—your palm should stay dry while the spindle base smokes.
Preparing Tinder That Catches Your First Ember Every Time
Most bow drill failures happen after ember creation—when unprepared tinder extinguishes the coal.
Cedar Bark Nesting Technique for Instant Ignition
Shred cedar bark into hair-thin strands using your thumbnail. Fluff them into a 2-inch nest with a hollow center—dense enough to hold heat but loose enough for oxygen flow. Test fluffiness by dropping the nest; it should float like thistledown. Store it in a dry container (like a bark cup) until needed.
Why Cattail Fluff Outperforms Dry Grass 3-to-1
Cattail seed heads produce ultra-fine fibers that ignite at 400°F—200 degrees lower than dry grass. Crush a cattail head over your tinder nest to distribute fibers. The resulting blend catches embers even when damp. Never use moss; its density smothers fragile coal.
Step-by-Step: Spinning Smoke into Flame with Consistent Motion
Body Positioning for Full-Stroke Bow Movement
Kneel with your dominant foot flat on the fireboard’s center. Place your non-dominant hand on the socket, elbow locked against your hip bone. Anchor your bow hand against your knee for stability. This tripod stance prevents wobble during long strokes.
Pressure Control: When to Push Hard and Ease Off
Start with light pressure for 10 slow bow strokes to create fine black dust. When smoke appears, increase pressure by 50% while doubling stroke speed. If smoke thins, reduce pressure slightly—over-pressing cools the coal. The transition from dust to smoke takes 15-30 seconds; rushing this phase causes failure.
Recognizing the Critical Smoke-to-Ember Signal
Thick white smoke means you’re close. Watch for the smoke to turn thin and blue-gray—that’s your cue to stop bowing immediately. Lift the fireboard to reveal a glowing coal the size of a pinhead in the notch. If you see red glow during bowing, you’ve overspun and burned the coal.
Troubleshooting: Why Your Bow Drill Isn’t Smoking (and How to Fix It)
Hardwood vs. Softwood: The #1 Material Mistake
If your spindle leaves white shavings instead of dark powder, you’ve chosen hardwood. Willow should produce chocolate-brown dust within 20 strokes. Switch woods immediately—no technique compensates for wrong material.
Inconsistent Pressure? Fix Your Handhold Technique
Jerky motion comes from bending your wrist instead of moving your entire arm. Keep your bow elbow straight, pivoting only at the shoulder. Your non-dominant hand should feel like a rock—absolutely motionless—applying steady downward force. Practice dry runs without spindle to build muscle memory.
Advanced Bow Drill Upgrades for Faster Fire Starting
Resin-Coated Bearings for Reduced Top Friction
Melt pine sap into your socket dimple before adding lubricant. As it cools, it forms a smooth bearing surface that cuts top-end friction by 30%. Reapply after 3-4 uses when the surface roughens.
The Double-Notch Fireboard for Backup Ember Creation
Carve two V-notches 1 inch apart on your fireboard. If the first notch fails, rotate the board and try the second without remaking components. This trick saves critical time when conditions deteriorate.
Safety Essentials Before Attempting Bow Drill Fire Making
Why Ventilation Matters More Than You Think
Bow drilling produces concentrated carbon monoxide in enclosed spaces. Always practice in open areas with cross-ventilation—even light smoke inhalation causes dizziness that ruins technique. Wind speeds over 10 mph scatter embers, so find a natural windbreak like a rock face.
Keeping Water Nearby Without Dousing Your Practice Area
Place a water container 15 feet downhill from your fire site. This distance prevents accidental spills on your work area while allowing quick access. Never practice near dry grass—clear a 3-foot mineral soil circle first.
Mastering how to make a bow drill transforms you from a survivor into a fire creator. Start with willow components in dry weather, focusing on consistent pressure and speed. Your first ember might take 20 attempts—but by your 50th try, you’ll spin flame in under 60 seconds. Remember: the bow drill doesn’t fail; imperfect materials or rushed technique do. Store your best spindle and fireboard in a dry pouch, and you’ll always carry the spark of civilization in your pocket. When modern tools vanish, this ancient method remains your most reliable path to warmth, safety, and survival.


