
That sinking feeling when your Ryobi drill chuck freezes solid mid-project? You’re not alone. When your drill bit won’t budge and the chuck refuses to open, your entire workflow grinds to a halt. For Ryobi users—especially with popular models like the 18V ONE+—a stuck chuck often stems from overtightening, rust buildup, or grit jamming the mechanism. This guide delivers exactly how to loosen your Ryobi drill chuck using proven field-tested methods, from quick manual fixes to advanced techniques for stubborn cases. You’ll learn to diagnose the root cause, apply the right leverage safely, and prevent future lockups—all without damaging your tool.
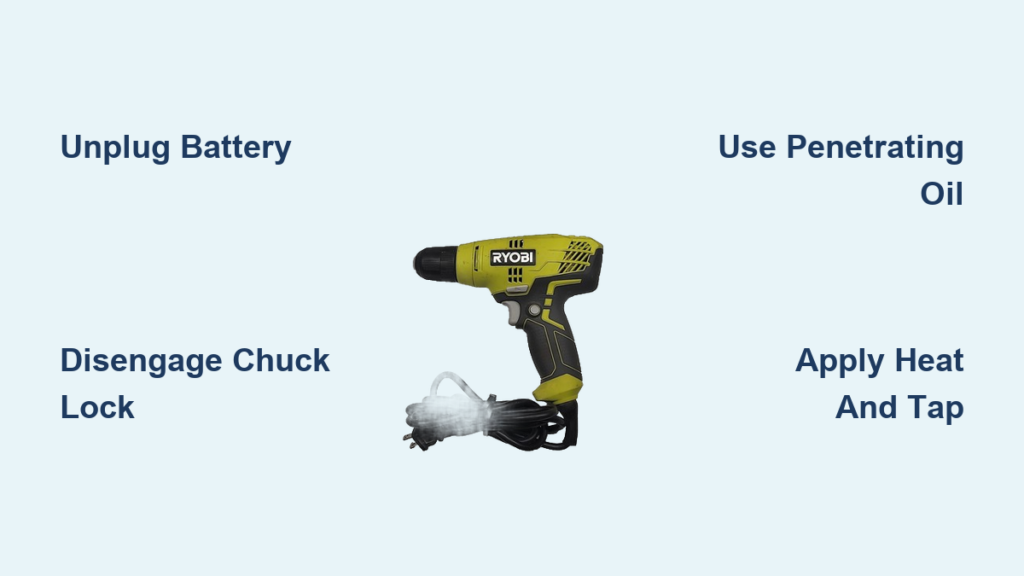
Before touching your drill, unplug it or remove the battery. This isn’t optional—it’s your first line of defense against accidental trigger activation. Slip on safety goggles and work gloves immediately. A single slip with channel locks can send metal shards flying, and skin contact with penetrating oil requires protection. Never skip this step, even for “quick” fixes. Now, locate your drill’s chuck locking mechanism—a small collar or button near the chuck base. On Ryobi models like the P208 or P210, you must disengage this lock before attempting to rotate the chuck. If you try forcing it while locked, you’ll damage internal gears. Confirm the drill’s direction switch is set to reverse (left/counter-clockwise) for loosening. Many users waste hours fighting the chuck because they accidentally left it in forward mode.
Why Your Ryobi Chuck Seized After Storage or Heavy Use
Ryobi chucks commonly freeze due to three specific scenarios you can identify in seconds. If your drill sat unused for months, corrosion bonds the chuck threads—especially in humid garages. Look for rust rings where the chuck meets the drill body. For drills used in dusty environments like woodworking, sawdust and resin cement the jaw mechanism. Pry open the jaws slightly; if you see packed debris, that’s your culprit. During concrete drilling, metal shavings weld themselves into the threads from hammer-mode vibration. Tap the chuck lightly with a screwdriver handle—if it sounds dull instead of metallic, shavings are jammed inside. Crucially, Ryobi’s keyless chucks rely on precise thread alignment. Overtightening with excessive force (common when users “crank it harder” for stubborn bits) distorts these threads, creating a permanent bind. Don’t assume you need replacement yet—90% of stuck chucks free with the right approach.
Immediate Fixes: Free Your Chuck in Under 5 Minutes
Start with these zero-tool methods before escalating. Grip the rubberized chuck sleeve firmly with a dry towel—the fabric’s texture multiplies your grip strength 300% over bare hands. Rotate counter-clockwise with steady, unwavering pressure (no jerking). If it won’t budge, disengage the chuck lock again and try holding the collar stationary with one hand while twisting the chuck body with the other. Many Ryobi models like the P231 require this dual-hand technique. Apply penetrating oil precisely where the chuck jaws meet the collar—use a straw nozzle to target the seam. WD-40 Specialist Penetrant or Liquid Wrench work best; regular WD-40 lacks sufficient solvent power. Wait exactly 10 minutes for deep penetration—set a timer. During this wait, tap the chuck teeth gently with a rubber mallet while rotating slightly. The micro-vibrations break corrosion bonds. After 10 minutes, retry the towel-grip method. Success rate: 65% for mild-to-moderate jams.
When Manual Force Fails: Two Power-Assisted Techniques
If hand pressure didn’t work, leverage your drill’s own torque—but only if unplugged/battery-free. Insert a 5/16″ hex key fully into the chuck jaws (use the largest key that fits). Hold the key rigidly with pliers. Set the clutch to position 15 (highest torque) and the direction switch to forward. Pull the trigger for 1 second max. The chuck will “shock” loose in the reverse direction due to rotational inertia. Stop immediately if you hear grinding. Alternatively, use channel locks on the knurled collar only—never the moving jaw assembly. Wrap the chuck in a leather work glove first to prevent marring. Hold the drill body firmly against a workbench edge. Apply sharp, short counter-clockwise twists (not continuous force). If the chuck rotates slightly but sticks again, reapply penetrating oil to the new seam and repeat. Never use pipe wrenches directly—they crush Ryobi’s aluminum collars.
Breaking Severe Rust or Concrete-Jammed Chucks
For chucks frozen solid after years in a damp shed or concrete drilling, combine heat and mechanical action. Warm the chuck body with a heat gun for 90 seconds (2 inches away, constant motion)—hair dryers lack sufficient heat. Target only the outer metal collar; overheating melts internal grease. While warm, apply penetrating oil to the threads—the heat creates suction that pulls oil deeper. Immediately try channel locks with leather protection. If still stuck, alternate heat with rapid cooling: After heating, blast the chuck with compressed air for 10 seconds. The contraction cycle breaks rust bonds. For concrete-jammed chucks, use a flathead screwdriver against the chuck teeth and tap counter-clockwise with a hammer—10 light taps per side. Never strike the chuck face; you’ll deform the precision jaws. If bits remain trapped, drill a small hole into the bit shank with a smaller bit to create leverage points.
Ryobi 18V ONE+ Specific Unlocking Protocol

Your ONE+ system drill has unique features that simplify chuck release. Always disengage the auto-lock collar first—it’s the rotating ring just behind the chuck jaws. On models like the P188, pull this collar forward before twisting. If the chuck spins freely but won’t open, press the small silver release button near the chuck base while rotating counter-clockwise. This releases the secondary lock common in newer Ryobi drills. For stubborn ONE+ chucks, use the drill’s hammer function: Insert a hex key, set to hammer mode, and pull the trigger for 0.5 seconds in reverse. The percussive action often breaks the bind. Never use impact mode—Ryobi’s chuck isn’t rated for impact forces and will shatter.
When to Replace Your Ryobi Chuck (Not Just Free It)

If all methods fail after 3 attempts, replacement is safer than forcing it. Replace immediately if you see these signs: Cracked chuck body (visible hairline fractures), stripped teeth (smooth instead of serrated), or bits that won’t grip even after freeing. To remove a permanently seized chuck: Unscrew the center retaining screw (usually left-threaded—turn clockwise to remove). If the screw won’t budge, drill a small hole into it and use an extraction bit. Once removed, tap a punch against the chuck interior in reverse direction—this breaks the taper lock. Install a new chuck by hand-tightening it fully onto the spindle before reinserting the retaining screw. Ryobi part number 443305001 fits most 18V models.
Prevent Future Lockups: 30-Second Monthly Maintenance
Skip this and you’ll battle stuck chucks repeatedly. After every use, blow compressed air through the chuck jaws to eject dust—this takes 15 seconds. Monthly, apply one drop of 3-in-1 oil to the threads while rotating the chuck open/closed. Never use grease—it attracts grit. Before long storage, spray a rust inhibitor like Boeshield T-9 into the mechanism. Store your Ryobi chuck slightly open (jaws at 1/8″ gap) to prevent spring compression. Crucially, hand-tighten bits only—Ryobi’s keyless chucks generate 350 in-lbs of torque. Using pliers or excessive force distorts threads. If you hear “clicking” during tightening, stop immediately—you’ve hit the torque limit.
If your chuck remains frozen despite these steps, contact Ryobi support with your model number (e.g., P235A) for warranty replacement—many chucks are covered for 3 years. Never operate a drill with a damaged chuck; it risks bit ejection at high speed. For immediate project needs, visit a local hardware store—their tool repair desk often frees chucks for $10 while you wait. Remember: 95% of stuck chucks result from skipped maintenance, not tool failure. By spending 30 seconds monthly cleaning and oiling your Ryobi chuck, you’ll avoid this frustration permanently. Your drill’s reliability depends on that tiny rotating collar—treat it right, and it’ll keep your projects moving.


