
Choosing where to drill a well isn’t guesswork—it’s a strategic process that prevents expensive failures and ensures reliable water access. Drill in the wrong spot, and you could face dry holes, contaminated water, or insufficient flow that leaves you stranded. This guide reveals exactly how to know where to drill a well using science-backed techniques and local expertise. You’ll learn to read the land like a hydrologist, leverage professional surveys that “see” underground, and avoid the #1 mistake 80% of DIYers make: ignoring contamination risks. By the end, you’ll have a clear action plan to pinpoint your perfect drilling location with confidence.
How to Know Where to Drill a Well Using Topographic Maps
Your property’s physical shape holds critical clues about where groundwater collects. Water follows gravity, pooling in natural low points like valleys or depressions—prime targets for well placement. Start by studying USGS topographic maps (free online) to identify these zones, paying special attention to areas where contour lines form tight “U” or “V” shapes pointing uphill—these indicate drainage channels where water concentrates underground.
Spot Natural Water Flow Paths After Rain
- Observe drainage patterns during heavy rain: Note where surface water pools or flows consistently
- Look for erosion gullies that reveal subsurface water movement routes
- Avoid ridges and peaks where water rapidly drains away from potential aquifers
Topographic lows often yield 30-50% more water than elevated areas. If your property slopes toward a creek, drill 50-100 feet uphill from it—this avoids contamination while tapping into the same water table. Never drill directly in a floodplain; rising water can flood your wellhead during storms.
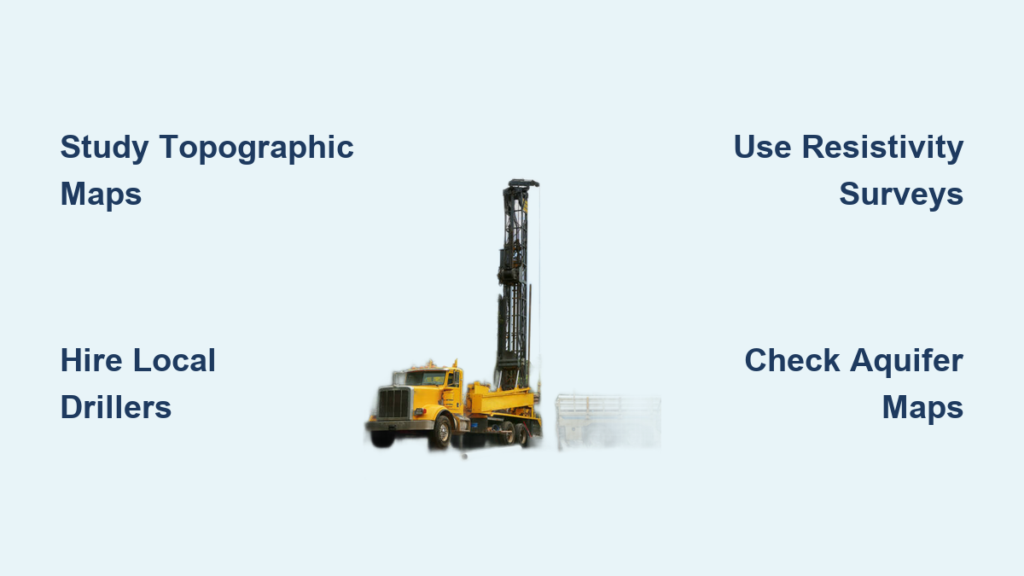
How to Know Where to Drill a Well with Local Driller Knowledge
Local well drillers possess irreplaceable insights about your specific geology—knowledge no map can provide. They’ve drilled hundreds of wells in your area and know exactly where water strikes occur, typical depths, and hidden hazards like fractured bedrock zones that yield unpredictable flow. This expertise is why how to know where to drill a well starts with calling professionals who work in your county.
Ask These 4 Critical Questions Before Hiring
- “What’s the average depth and yield for wells within 1 mile of my property?” (e.g., “Most hit water at 150-200 feet yielding 10+ GPM”)
- “Show me well logs from properties with similar soil types to mine”
- “Where have you encountered dry holes in this specific township?”
- “What’s your success rate for wells on properties like mine?”
Drillers familiar with glacial deposits will target sand-and-gravel layers, while those in fractured bedrock regions know to drill near fault lines. If a contractor refuses to share local data, walk away—reputable drillers have this information at their fingertips.
Use Electrical Resistivity Surveys to See Underground Water Sources

Geophysical surveys let you “see” water-bearing zones before breaking ground, eliminating costly guesswork. Electrical resistivity tomography (ERT) is the gold standard—it sends safe electrical currents into the soil and measures resistance to create 3D underground maps. Water-saturated zones show low resistance, while dry rock or clay appears highly resistant.
Why ERT Beats Other Survey Methods
- Detects water depth and aquifer thickness (unlike seismic refraction which only shows rock layers)
- Works in all soil types, including clay-heavy areas where ground-penetrating radar fails
- Maps contamination risks by identifying pollutant pathways through soil cracks
A professional survey costs $1,000-$5,000 but prevents $15,000+ in dry-well drilling costs. Insist on a contractor who provides color-coded cross-section maps showing exact water zones—not just raw data. For best results, schedule surveys during dry seasons when water tables are lowest, revealing true aquifer boundaries.
Check Geological Maps for Sand and Gravel Aquifers Near Your Property

State geological surveys publish free aquifer maps that reveal water-bearing formations beneath your land. These maps highlight permeable layers like alluvial sand, gravel deposits, or fractured limestone—your best bets for high-yield wells. Avoid impermeable zones like shale or unfractured granite where water movement is minimal.
Decode Your Area’s Hydrogeology in 3 Steps
- Download your county’s hydrogeological map from the state geological survey website
- Identify “unconsolidated deposits” (sand/gravel) or “fractured bedrock” zones near your property
- Cross-reference with neighboring well logs to confirm water yields in those formations
For example, in glacial regions, kettle holes (depressions left by melting ice) often contain buried sand-and-gravel aquifers yielding 20+ GPM. In contrast, drilling into till deposits (compacted glacial clay) typically results in low-yield wells. If your map shows no favorable formations within 500 feet, consider alternative water sources.
Avoid Contamination: Position Your Well 100+ Feet from Septic Systems
Even perfect water yield means nothing if your well draws contaminated water. This is non-negotiable: Place your well at least 100 feet from septic tanks, 50 feet from drain fields, and 25 feet from fuel storage. Groundwater flows downhill, so always site wells uphill from potential pollution sources—never downstream.
Critical Distances You Must Follow
| Contamination Source | Minimum Distance | Why It Matters |
|---|---|---|
| Septic tank | 100 feet | Prevents bacteria infiltration |
| Livestock areas | 75 feet | Avoids manure runoff contamination |
| Chemical storage | 150 feet | Stops toxic seepage into aquifers |
| Property lines | 10 feet | Meets most local setback requirements |
Violating these distances risks E. coli or nitrate contamination—health hazards that require expensive treatment systems. Check your county health department’s exact regulations; some states like California mandate 150-foot septic setbacks in sandy soils.
Clear 30×30 Feet for Drilling Rig Access Before You Start
No matter how perfect your location, drilling fails if rigs can’t reach it. Modern truck-mounted drills need a flat, 30×30-foot workspace with 15-foot overhead clearance (no power lines!) and solid ground to prevent tipping. Measure access routes—most rigs are 12 feet tall and require 10-foot-wide paths.
Site Preparation Red Flags
- Slopes over 15 degrees cause rig instability during operation
- Underground utilities (call 811 before clearing land)
- Soft soil or recent heavy rain creates “suction” that traps rig tires
Clear trees and stumps at least 3 days before drilling to let the ground settle. If space is tight, consider mini-rigs (available for 100-150 foot depths) but confirm they reach your target aquifer. Never compromise on space—shifting a rig mid-drill cracks casings and ruins the well.
Test Water Yield Immediately After Drilling to Avoid Dry Wells
Drilling hits water? Don’t celebrate yet. Sustainable yield testing is the only way to know if your well delivers enough water long-term. Pump the well continuously for 24-72 hours while measuring flow rate (gallons per minute) and water level drop. A true “good well” maintains flow without significant drawdown.
Yield Test Results Decoded
- < 5 GPM: Marginal for households (may require storage tanks)
- 5-10 GPM: Suitable for most homes (supports showers + irrigation)
- 10+ GPM: Excellent (handles multiple fixtures + lawn watering)
If yield drops rapidly during testing, hydrofracturing may help—it injects high-pressure water to open bedrock fractures, boosting flow by 30-200% in stubborn wells. Always demand a written yield report before paying the driller.
Fix Low Water Flow with Hydrofracturing in Bedrock Formations
When initial drilling yields disappoint, hydrofracturing (“hydrofracking”) can rescue bedrock wells. This process pumps 500-2,000 PSI water into the well to force open existing fractures, connecting isolated water pockets. It works best in granite, gneiss, or shale formations where water moves through cracks rather than soil.
Hydrofracturing Success Checklist
- Requires minimum 50-foot bedrock depth (shallow rock won’t hold pressure)
- Best done during high water table seasons (spring/fall)
- Needs 24-48 hour recovery period before retesting yield
Success rates exceed 80% when applied correctly, but it’s useless in unconsolidated soils like sand. Costs $1,500-$5,000—far cheaper than drilling a new well. If hydrofracking fails, deepen the well to access deeper aquifers; most dry holes simply didn’t reach the water-bearing zone.
Document Everything: Why Your Well Log Matters for Future Maintenance
Your well log is your legal water rights record and future troubleshooting blueprint. It must include: total depth, casing specifications, water strike depths, yield test results, and water quality data. Many states require drillers to submit logs to geological surveys—request a copy immediately.
Critical Log Entries You Must Verify
- Static water level (depth to water when undisturbed)
- Specific capacity (GPM per foot of drawdown)
- Geological descriptions of each layer penetrated
- Disinfection and test dates for regulatory compliance
Without this documentation, selling your property becomes difficult, and diagnosing future problems (like sudden yield drops) turns into guesswork. Store logs digitally and physically—floods or fires can destroy paper records.
Final Note: Knowing exactly where to drill a well blends science with local wisdom—never rely on dowsing rods or folklore. By using topographic analysis, professional surveys, and hydrogeologist guidance, you’ll transform uncertainty into confidence. Remember: the cheapest well is the one drilled right the first time. Start with state geological maps and a local driller’s consultation, then validate with resistivity surveys. When you hit water, conduct rigorous yield testing and document every detail. This process doesn’t just find water—it secures your water future. For next steps, contact your state water resources agency for free site assessment guides tailored to your geology.


