
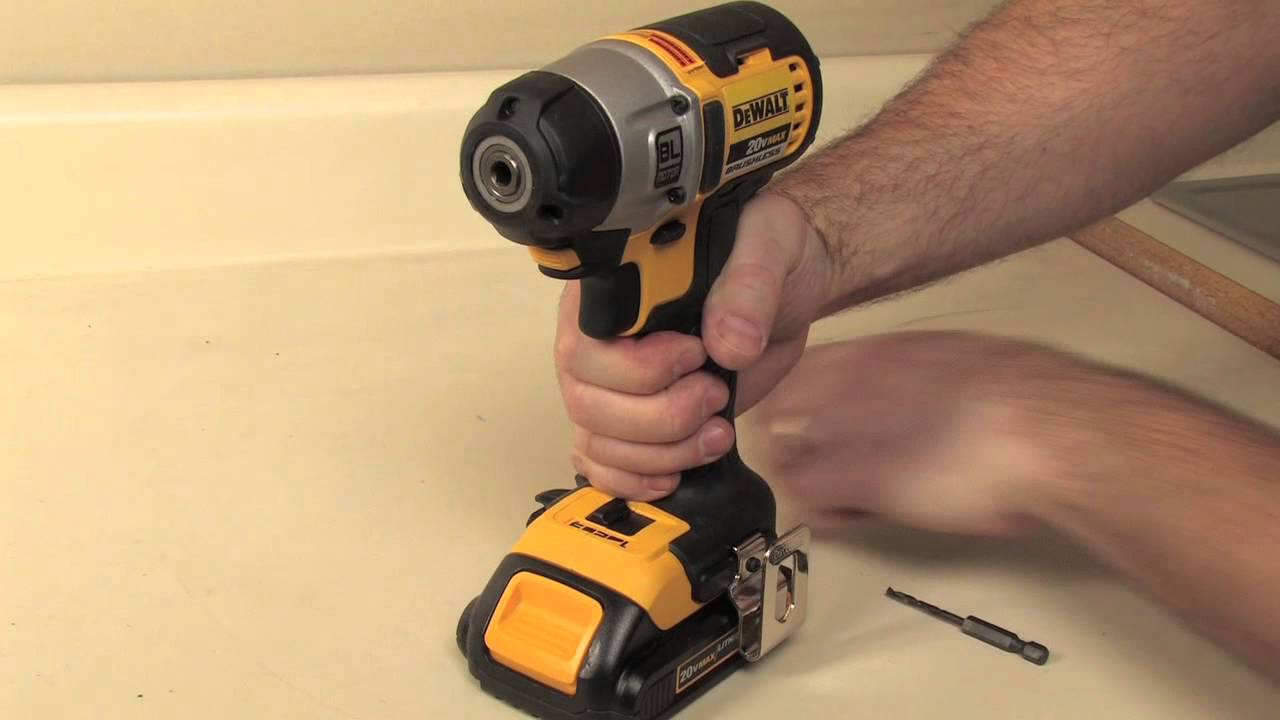
Your DeWalt impact driver grinds to a halt mid-project with a drill bit welded inside the chuck. You pull the quick-release collar until your fingers ache, but the bit won’t budge—trapped by extreme torque, corrosion, or metal shavings. This nightmare plagues DeWalt DCF887, DCF885, and other MAX-series impact drivers daily. How to get bit out of Dewalt drill isn’t just frustrating; it risks damaging your $200 tool. The good news? Six field-tested techniques can rescue your drill without professional help. I’ll show you exactly how to free even the most stubborn bits using methods mechanics swear by—plus critical mistakes that could destroy your chuck forever.
Critical Safety Steps Before Removing a Stuck Bit
This single step prevents catastrophic injury: Always remove the battery from cordless DeWalt drills or unplug corded models before starting. Skipping this risks accidental trigger activation that could launch metal fragments at 100+ mph. Pair this with ANSI-approved safety glasses to shield eyes from snapping bits or flying debris. Wear heavy-duty work gloves to protect hands during leverage maneuvers—especially when using vises or hammers. Work in a well-lit area where you can clearly see the chuck collar and bit shank. Never attempt removal with the battery connected; DeWalt’s high-torque motors can cause irreversible damage in milliseconds if triggered unexpectedly.
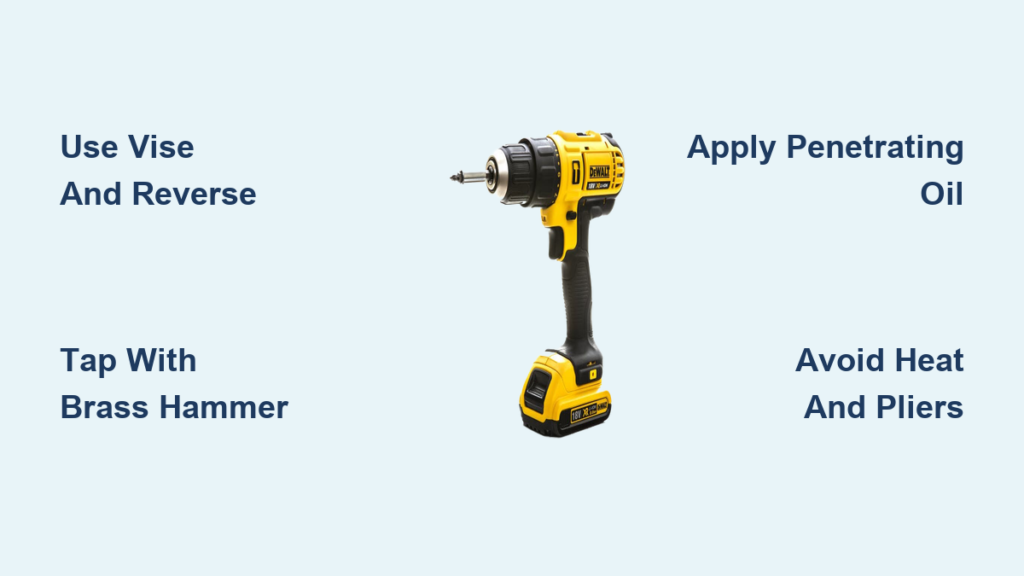
Vise and Reverse Torque Method (Most Effective Solution)

When bits seize from over-torquing, this technique exploits your drill’s own power to reverse the jam. It works on 90% of stuck bits in DeWalt impact drivers like the DCF889 without damaging internal components.
How to Secure the Bit Without Crushing It
Place a soft cloth or leather strap over the drill bit’s shank before clamping it vertically in a bench vise. Crucial: Clamp only the bit—never the chuck or drill body. Tighten just enough to immobilize the bit; overtightening cracks hardened steel. Use a deep-well socket around the chuck jaws if bits protrude too little.
Triggering Reverse Torque Safely
Set the drill’s direction switch to reverse (counter-clockwise). Grip the drill firmly with both hands, positioning your thumbs clear of the trigger guard. Apply short bursts (1-2 second pulses) to the trigger while maintaining downward pressure. The vibration breaks static friction as the chuck unscrews from the stationary bit. Stop immediately if you hear grinding—the bit is likely bent.
Precision Hammer Tapping Techniques
Direct impacts shock-stiffened bits loose when corrosion or debris welds them to the chuck. Warning: Wild swinging risks bending bits or damaging chuck bearings.
The End-Tap Method for Quick Releases
Hold the drill horizontally with the bit pointing downward. Strike the bit’s tip once with a brass hammer or steel punch. Use moderate force—imagine tapping a soda can. Visual cue: If the bit moves slightly after impact, pull the quick-release collar while the chuck vibrates. This works best on DeWalt models after cold-weather use where lubricants thicken.
Socket-Assisted Hammer Technique
Slide a 1/2″ deep-well socket over the bit until it contacts the chuck collar. Rest the socket on a wood block, then strike the socket (not the bit) with a rubber mallet. The force transfers through the socket to push the bit backward. Ideal for hex-shank bits flush with the chuck.
Penetrating Oil Protocol for Rusty Bits
Corrosion jams bits in humid environments or outdoor tools. Standard WD-40 won’t cut it—use specialized penetrants like PB Blaster.
Soaking Procedure That Actually Works
Spray oil liberally around the chuck collar and bit shank junction. Let it dwell for 15 minutes while gently tapping the chuck housing with a screwdriver handle—this wicks oil into microscopic gaps. Never soak overnight: Excess oil attracts sawdust that creates grinding paste. After soaking, combine with the end-tap method above.
Two-Handed Tapping and Pulling Method
When vises or hammers aren’t available, this manual technique uses body mechanics to overcome friction.
Step-by-Step Execution
- Pull the quick-release collar fully rearward and lock it in place
- Grip the collar with your left hand while holding the drill body
- With your right hand, sharply tap the bit’s end with a screwdriver handle
- Simultaneously wiggle the bit side-to-side and pull outward during impacts
Pro tip: Rotate the bit 90 degrees between taps to break grip points evenly. Works best on DeWalt drills with worn chuck springs.
What Absolutely NOT to Do With Stuck Bits

3 Costly Mistakes That Destroy DeWalt Chucks
- Pliers on the shank: Channel locks crush soft hex shanks, locking bits tighter. Use only for gripping—not twisting—after other methods fail.
- Heat application: Torches warp chuck collets and melt internal plastic components. DeWalt’s warranty voids instantly for heat damage.
- Impact wrench leverage: Adding pipe extensions to chuck keys shears internal gears. The DCF887’s transmission fails at 1,500+ ft-lbs—easily exceeded with manual leverage.
Preventing Future Bit Sticking in DeWalt Drills
Impact-Rated Bit Protocol
Only use black-oxide or titanium-nitride coated bits labeled “impact-rated” for DeWalt impact drivers. Standard drill bits deform under 1,800 in-lbs of torque, jamming in chucks. Before insertion, spray bit shanks with dry PTFE lubricant (not WD-40)—it repels metal shavings without attracting dust.
Chuck Maintenance Routine
After every job, blast the chuck with compressed air to remove abrasive particles. Monthly, insert a brass brush into the chuck while rotating it to dislodge packed debris. Critical: Never oil the chuck interior—DeWalt’s quick-release mechanism relies on dry friction. Store tools in climate-controlled areas; humidity causes “false seizure” from rust in just 48 hours.
Cold-Weather Prevention
In sub-40°F conditions, let drills acclimate indoors for 20 minutes before use. Cold-thickened lubricants increase static friction by 300%. For outdoor winter jobs, pre-warm bits with a hair dryer for 10 seconds before insertion.
When to Seek Professional Help
If bits shear off flush with the chuck or the quick-release collar won’t retract, stop immediately. Forcing extraction risks shattered metal shards or permanent chuck damage. DeWalt’s authorized service centers replace chucks on models like the DCF885 for $35–$65—far cheaper than buying a new drill. Red flags requiring pro help:
– Grinding noises during removal attempts
– Visible cracks in the chuck housing
– Bits that spin freely but won’t eject
Final Takeaways for Stuck Bit Emergencies
Start with the vise-and-reverse method—it solves 9 of 10 jams without special tools. For corrosion cases, PB Blaster + socket hammering beats patience-draining oil soaks. Never skip safety glasses: A single flying bit fragment can cause permanent eye damage. Prevention beats extraction—impact-rated bits and post-job air blasts save hours of frustration. If your DeWalt drill bit resists all methods, remember that a $40 chuck replacement preserves your $200 tool. Keep this guide handy when that stuck bit strikes—it’s the fastest way to get how to get bit out of dewalt drill resolved and back to work.


