

Your auger suddenly stops spinning mid-drilling, and no amount of throttle makes it budge. This frustrating scenario halts landscape projects, fence installations, and utility work dead in their tracks. Whether you’re battling clay suction, rock entanglement, or root wrapping, knowing how to get an auger unstuck saves costly downtime and prevents equipment damage. This guide delivers seven field-tested extraction methods with specific steps for every soil condition and sticking scenario—no vague theory, just actionable techniques that work when your project depends on it.
Why Your Auger Won’t Budge: Root Causes of Stuck Augers
Augers don’t just “get stuck” randomly—each failure has a specific mechanical cause requiring a tailored solution. When clay-heavy soil creates hydraulic lock, water forms a vacuum seal around the flighting that can require 500+ pounds of force to break. Hitting a boulder or tree root wedges the auger mechanically, with flighting pinned between immovable objects. In sandy soils, collapsing material buries the auger shaft, creating friction that stalls rotation. Recognizing the exact sticking mechanism determines whether you need leverage, reverse torque, or soil displacement to free your equipment.
Critical visual indicators tell you what’s happening underground:
– Clay suction: Smooth resistance with no grinding noise
– Rock entanglement: Sudden stop with metallic “clunk” sound
– Root binding: Gradual slowing with fibrous debris in cuttings
– Debris jam: Partial rotation followed by complete lockup
Immediate Actions When Your Auger Stops Moving
Do not force it—this is your first critical mistake. Forcing a stuck auger shears shear pins, strips gears, or bends flighting. Instead, immediately shut off the power unit and assess. Clear debris from the auger head and shaft to see how deeply it’s embedded. Check for visible obstructions like roots protruding from the hole. Spray penetrating oil (like Liquid Wrench or PB Blaster) at the soil-to-auger interface—this begins breaking adhesion while you prepare extraction tools. Never attempt extraction without safety glasses and steel-toed boots; flying debris causes serious injuries during unsticking attempts.
How to Diagnose the Sticking Mechanism in 60 Seconds
- Gently wiggle the auger shaft—if it moves slightly, you’re dealing with soil adhesion
- Check for rotation resistance—smooth resistance indicates clay suction, while jerky movement suggests debris jam
- Inspect cuttings—fibrous material means root entanglement, rock fragments indicate hitting stone
- Test reverse function cautiously—if reverse rotation frees it slightly, hydraulic lock is likely the culprit
Pipe Wrench Leverage Method for Moderate Sticking
This technique solves 60% of stuck auger cases where soil adhesion—not mechanical jamming—is the problem. You’ll need a 24″ pipe wrench, 4-foot steel cheater bar, and heavy-duty work gloves. Position the wrench on the auger shaft as close to the soil line as possible, ensuring full jaw engagement. Slide the cheater bar over the wrench handle for maximum leverage. Apply steady downward pressure while rocking the wrench side-to-side—never jerk suddenly. The goal is to break the soil’s grip through oscillation, not brute force. Most moderately stuck augers free within 5-10 minutes of controlled rocking.
Pro tip: Wrap a chain around the auger shaft and use chain tongs for slippery or damaged shafts—this prevents wrench slippage that damages equipment.
When to Switch from Leverage to Reverse Rotation
If the pipe wrench method yields no movement after 15 minutes, your auger likely suffers from hydraulic lock in clay soil. Immediately switch to reverse rotation technique before soil re-compacts. Engage your power unit’s reverse gear in short 2-3 second bursts while applying upward pressure on the handles. Simultaneously rock the entire machine side-to-side to break the suction seal. Never exceed 50% throttle—high RPMs in reverse can destroy gearboxes not designed for reverse torque.
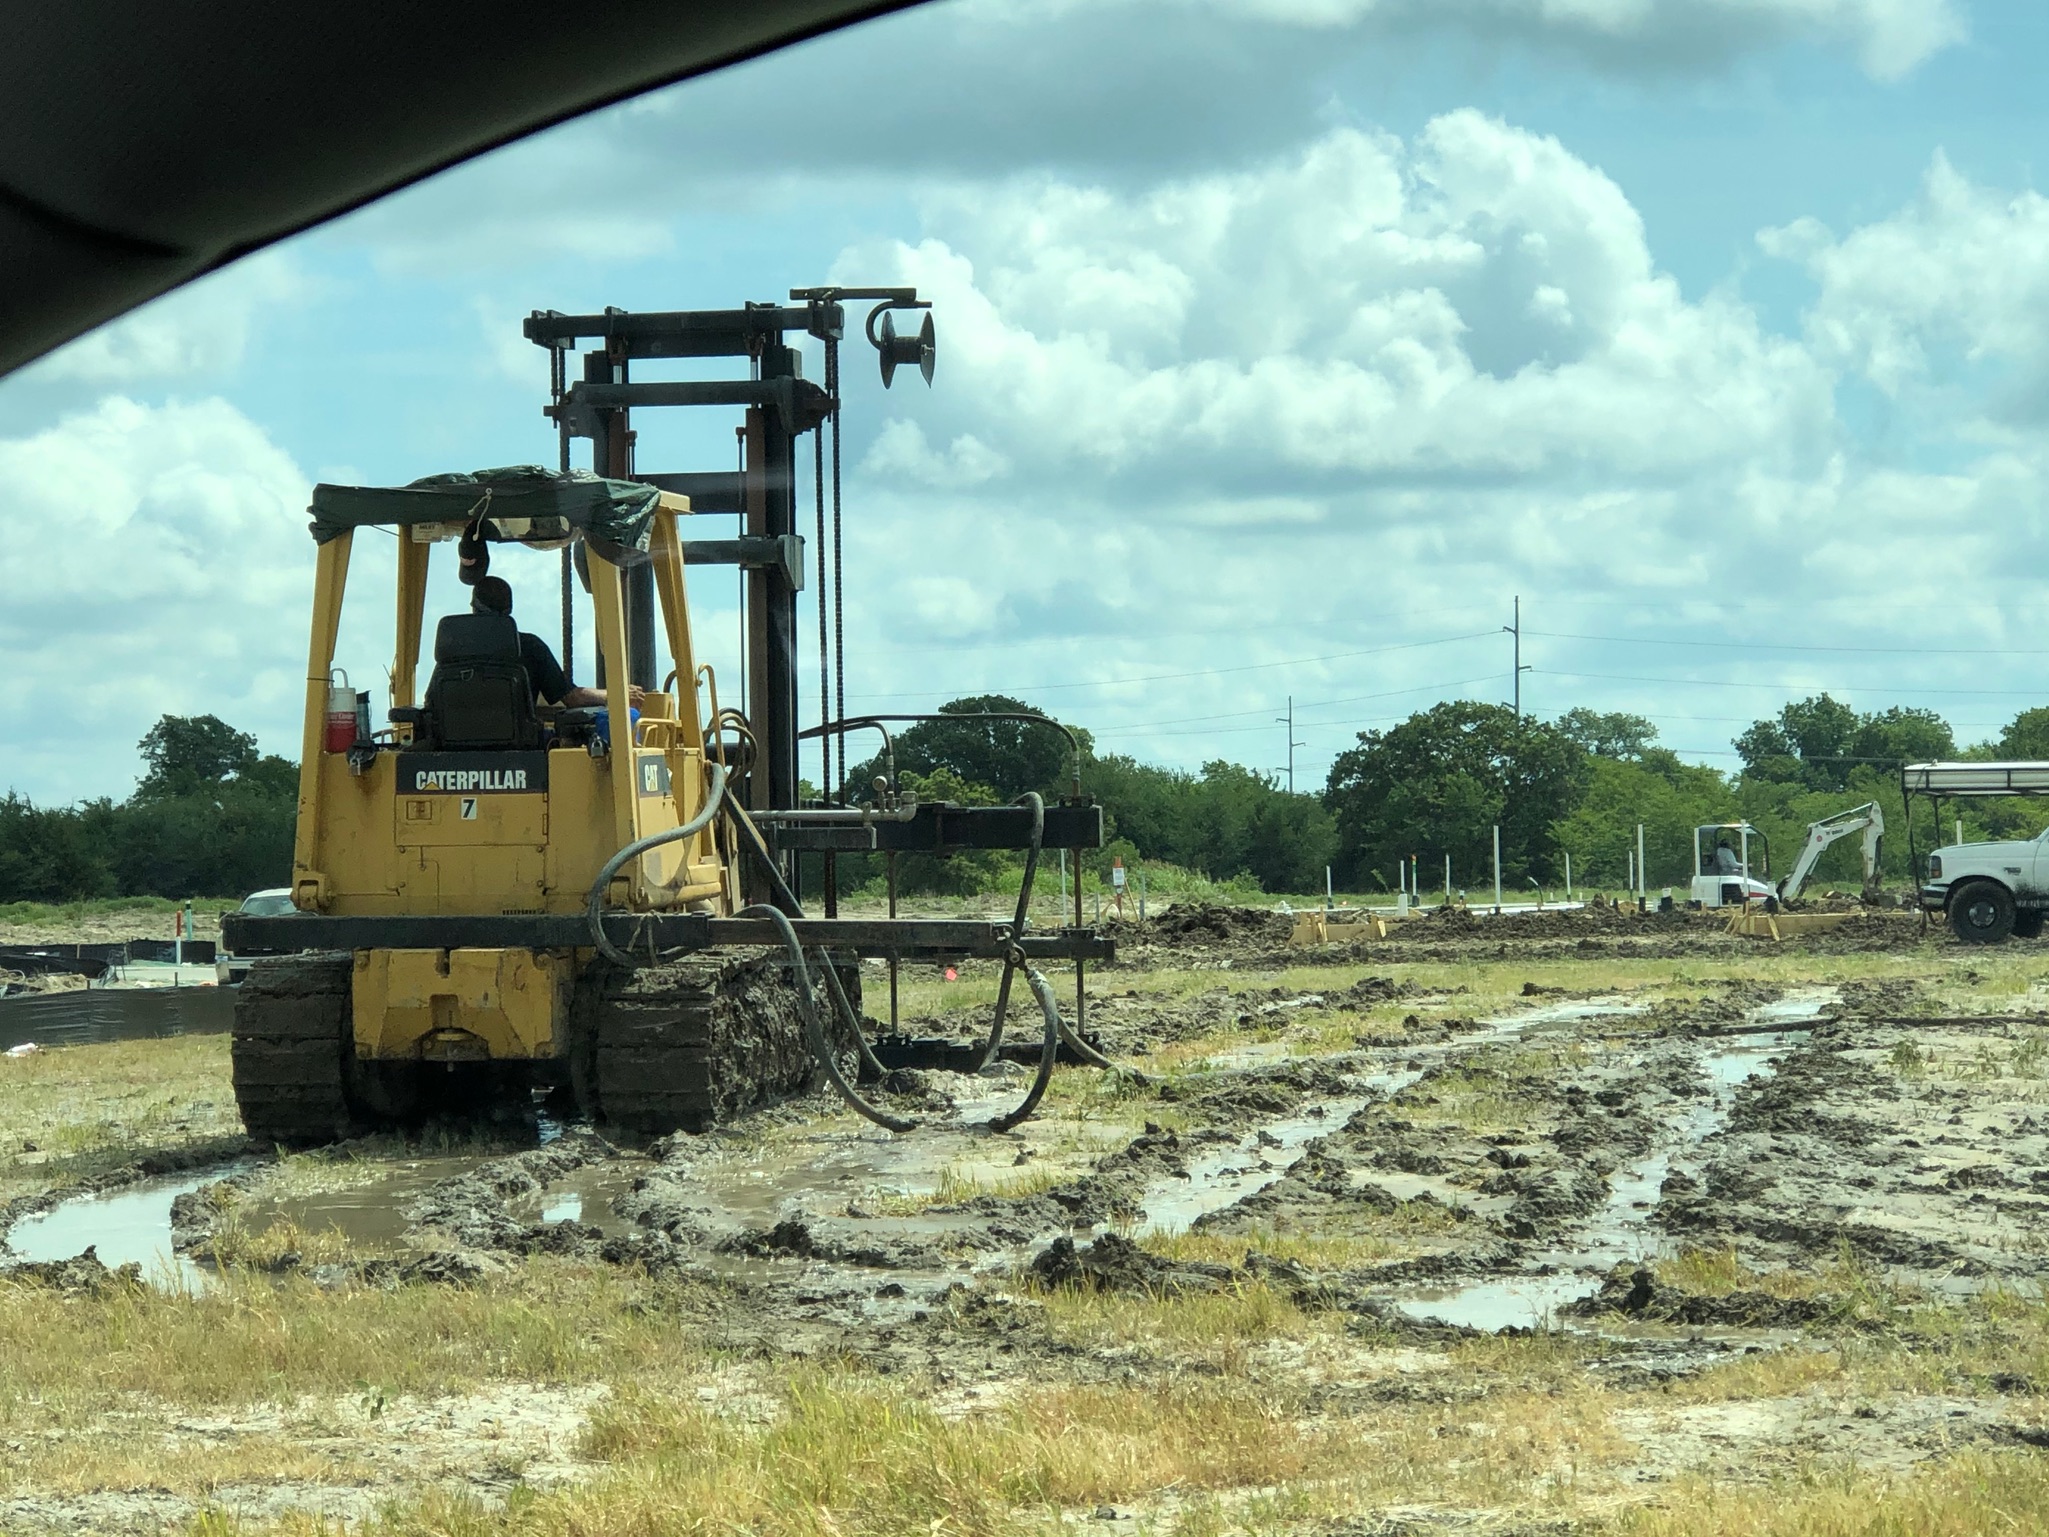
Hydraulic Jack Extraction for Deeply Stuck Augers
For augers buried beyond manual reach or stuck in dense hardpan, you need mechanical advantage. This method generates 5,000+ pounds of controlled force using equipment you likely already own. Secure a 20-ton hydraulic bottle jack vertically between your tractor’s loader bucket (lowered to ground level) and a heavy-duty chain wrapped around the auger shaft. Position the chain just above soil level to prevent slippage. Pump the jack slowly while a second person applies gentle rocking motion to the auger. The combination of steady upward force and oscillation breaks even severe hydraulic locks.
Critical safety warning: Always position yourself outside the “failure zone” (a 45-degree arc from the jack). If the chain snaps under tension, it becomes a deadly projectile. Never use nylon straps—they fail catastrophically under high load.
Step-by-Step Hydraulic Extraction Sequence
- Anchor chain securely around auger shaft with shackle
- Position jack base on solid ground, top against loader bucket
- Pump jack to apply initial tension (no more than 1 inch of lift)
- Gently rock auger side-to-side while maintaining pressure
- Repeat with incremental 1/4-inch lifts until movement begins
- Once moving, continue rocking while extracting completely
Water Injection Method for Clay-Heavy Soils
Clay’s suction effect requires targeted lubrication, not brute force. This hydro-lubrication technique transforms dense soil into slippery mud around the auger shaft. Dig a 6-inch trench around the hole to contain water, then mix 5 gallons of water with 1/4 cup dish soap (or commercial clay lube) in a bucket. Slowly pour the mixture around the auger shaft, allowing 10-15 minutes for penetration between soil and metal. Repeat 2-3 times—rushing causes hole collapse. After soaking, combine with manual rocking: apply downward pressure on handles while twisting the auger shaft clockwise and counterclockwise.
Time-saving shortcut: Use a pressure washer on low setting to inject water directly between flighting and soil—this cuts soaking time by 70% but requires careful angle control to avoid erosion.
Soil-Specific Water Application Guidelines
- Pure clay: Use warm water (increases soap effectiveness)
- Clay-sand mix: Add bentonite slurry for better lubrication
- High-water table: Limit to minimal water—excess creates mud traps
- Frozen ground: Add 10% isopropyl alcohol to prevent refreezing
Breaking Free Objects Lodged in Flighting
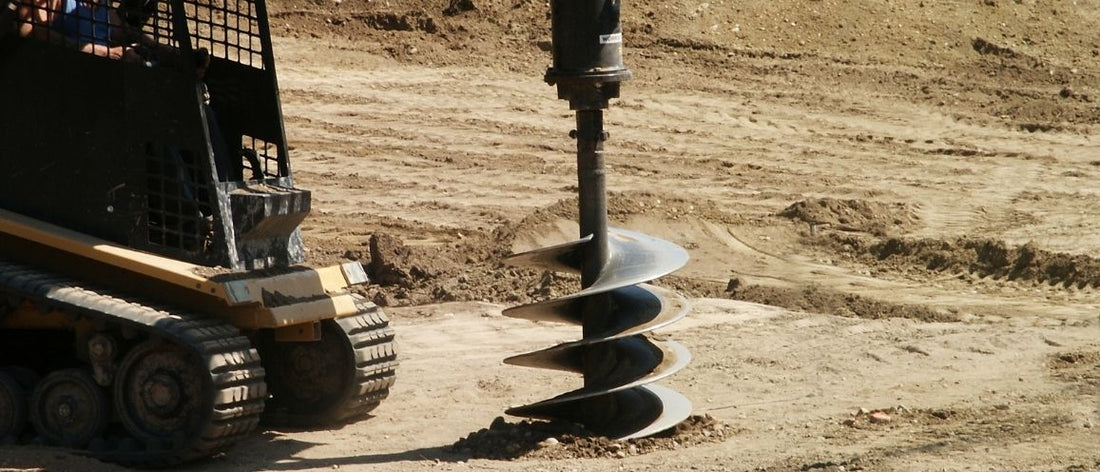
When roots or rocks jam the flighting, extraction requires obstacle removal before freeing the auger. For small roots (<1″), use a trenching shovel to excavate soil around the auger head, exposing the obstruction. Cut roots with loppers or a reciprocating saw with pruning blade. For embedded rocks, position a pry bar between the rock and flighting, applying controlled leverage to shift the rock sideways—not upward—to avoid bending flighting. Never hammer directly on flighting—this damages cutting edges and creates stress fractures.
Rock Removal Protocol for Large Obstructions
- Excavate soil around obstruction to expose maximum surface area
- Position pry bar at rock’s edge closest to auger flighting
- Apply gradual pressure to shift rock laterally (not vertically)
- Insert wedges in created gap to maintain clearance
- Repeat until rock clears flighting enough for extraction
When to Stop Trying and Call Professionals
Recognize these danger signs immediately:
– Auger shaft shows visible bending
– Gearbox emits burning smells or unusual noises
– Shear pins keep breaking during extraction attempts
– More than 30 minutes of methodical effort yields zero movement
Continuing beyond these points risks catastrophic failure—bent shafts cost $300+ to replace, while gearbox damage exceeds $1,200. Professional extraction services use hydraulic pullers generating 10+ tons of force with specialized rigging that prevents equipment damage. The average service call costs $150-$300—far less than replacing ruined components. When in doubt, stop and call experts; your timeline isn’t worth risking serious injury from flying metal fragments.
Preventing Future Auger Sticking Incidents
Prevention starts before first contact with soil. In unknown terrain, drill a 6-inch pilot hole with a smaller bit to detect obstructions. Pre-wet clay soils 30 minutes before drilling to reduce suction effect. Always maintain 25-30% upward pressure during drilling—this prevents “bottoming out” that causes sticking. After each use, clean soil from flighting with a pressure washer and apply anti-seize lubricant to the shaft. Critical maintenance step: Inspect shear pins weekly—they should break at 75% of maximum torque to protect your gearbox.
Proven prevention checklist:
– Pre-drill pilot holes in dense or unknown soils
– Maintain consistent upward pressure during operation
– Use soil-specific drilling speeds (slow for clay, faster for sand)
– Clean and lubricate auger after every use
– Replace worn cutting teeth before they cause binding
Getting an auger unstuck successfully combines mechanical knowledge with soil awareness. By matching extraction methods to specific sticking mechanisms—leverage for adhesion, reverse rotation for suction, or obstacle removal for jams—you regain control without damaging equipment. Remember the golden rule: when resistance exceeds gentle effort, stop and reassess. Implementing these prevention techniques after extraction ensures your next drilling project proceeds smoothly, keeping your schedule on track and your equipment intact. The next time your auger seizes mid-hole, you’ll have the precise method to free it safely and efficiently.

