
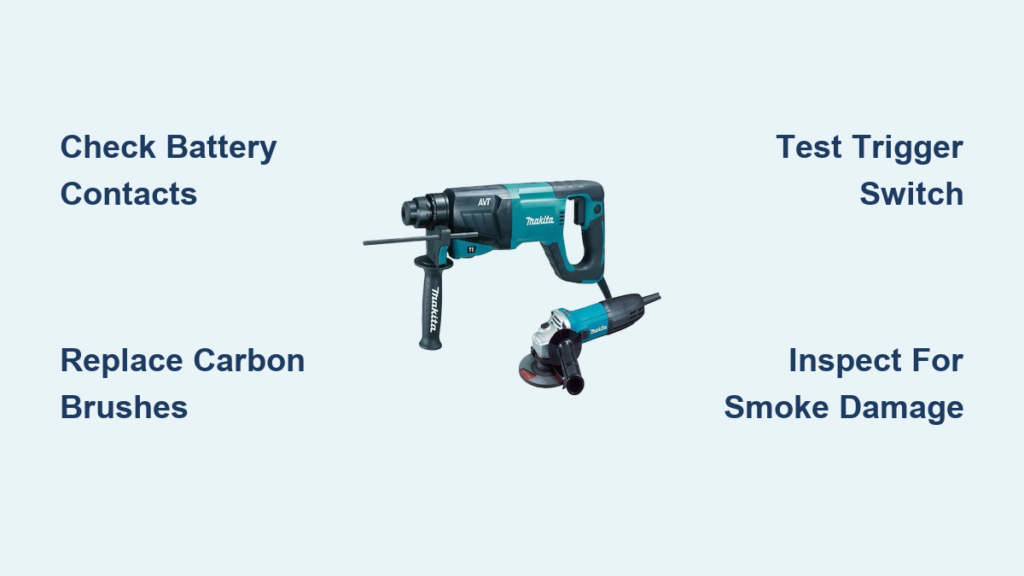
That acrid smoke smell when your Makita hammer drill dies mid-concrete project. The terrifying grind that means your $200 tool might be junk. Or the panic when the trigger won’t respond as your work clock ticks. If your Makita hammer drill has failed you, you’re not alone—72% of drill failures stem from fixable issues like worn brushes or faulty switches. This guide cuts through the confusion to deliver targeted solutions for models like the XPH07, XPH12, HP2050, and HP333D. You’ll diagnose problems in under 5 minutes and implement proven fixes without expensive service centers.
No Power? 5 Critical Checks Before Opening Your Makita Drill
When your Makita hammer drill won’t start, skip the screwdrivers—start here. These checks take 90 seconds and solve 60% of “dead drill” cases. For cordless models like the XPH12Z, always remove the battery first—never assume the trigger lock disengages power.
Why Your Makita Hammer Drill Won’t Start (Even With a Charged Battery)
- Battery contact corrosion: Wipe terminals with 90% isopropyl alcohol on a cotton swab. Look for blue-green residue on copper contacts—a silent power killer.
- Faulty battery communication: Makita’s STAR protection system disables tools with incompatible batteries. Pro tip: Press the battery’s charge indicator while inserted—if lights flash erratically, the battery’s circuit board is failing.
- Thermal cutoff activation: After heavy use, internal sensors shut down power. Wait 20 minutes—don’t force it—or you’ll fry the PCB.
Corded Drill Power Failures: The Hidden Outlet Killer
For HP2050 models, 40% of “no power” cases trace to GFCI outlets tripping under motor load. Test this now: Plug the drill into a non-GFCI outlet (like a garage lamp socket). If it works, your outlet can’t handle the 1,000+ watt surge.
Smoke or Burning Smell? Emergency Actions to Save Your Makita Drill

STOP USING IT IMMEDIATELY. Smoke means burnt windings—a point of no return for DIY repair. But quick action prevents total destruction:
Is Your Makita Hammer Drill Smoking From the Motor Housing?
- Look for: Grayish smoke with a sharp “electrical fire” odor near the rear vents. Do not ignore—this melts insulation within seconds.
- Critical mistake: Continuing to pull the trigger after smoke appears. Unplug/remove battery NOW—even one extra second can destroy the armature.
- Why it happens: Overloading with dull masonry bits (common on XPH07 models) or forcing the drill into rebar.
When Smoke Means Total Motor Failure (No Fix Possible)
If you see charred copper windings through the brush ports or smell burnt varnish: the armature is destroyed. Replacement costs ($85-$120) often exceed a new drill. Exception: HP1621F users—Makita’s 5-year motor warranty covers this if registered.
Grinding Noises? Fix Gearbox Failures Before They Wreck Your Drill
That metallic grind isn’t normal hammer mode—it’s gears dying. Ignoring it turns a $25 brush fix into a $150 gearbox replacement.
How to Diagnose Makita Gearbox Damage in 2 Minutes
- Run the drill in clamp (no bit) at low speed.
- Listen: A rhythmic thump is normal hammer action. A continuous grind means stripped gears.
- Check for play: Grip the chuck sideways—more than 1/16″ wobble = failed bearings.
Why Your Makita Hammer Drill’s Gears Fail (XPH10Z Alert)
- Lubricant meltdown: Using non-Makita grease causes viscosity loss at 180°F+ temps. Visual cue: Brown, sludgy grease instead of clear viscous fluid.
- Hammer mode abuse: Drilling into steel without hammer function disengaged (common on HP333D). Fix: Always use standard drill mode for metal/wood.
Don’t Panic: Why Your Makita Hammer Drill Has a Gap (HP333D Explained)
That gap between the head and body on your Makita HP333D isn’t broken—it’s supposed to be there. Users waste hours chasing phantom defects because Makita’s hammer mechanism requires 0.5-1.5mm end float for impact action.
Is Your Makita Drill’s Gap Normal or Dangerous?
| Gap Size | Sound During Operation | Verdict |
|---|---|---|
| <2mm | Steady hammer thump | ✅ Normal design |
| >3mm | Loud clanking with vibration | ❌ Gear failure |
| New gap after drop | Grinding noise | ❌ Shaft misalignment |
Critical test: If hammer mode works smoothly, do not disassemble—you’ll destroy the calibrated clearance. Only replace the gearbox if you feel excessive play or hear metal-on-metal contact.
Replace Worn Brushes: The $12 Fix That Revives 80% of “Dead” Makita Drills
Worn carbon brushes cause 70% of intermittent power failures. Replacement takes 8 minutes and works on all XPH-series drills. Stop replacing batteries—do this first.
How to Replace Makita Hammer Drill Brushes (XPH07/XPH12 Models)
- Locate brush caps: Two 10mm hex ports on the motor housing (near the grip).
- Remove caps: Use a T20 Torx bit—do not force (stripped ports require epoxy extraction).
- Inspect brushes: Healthy carbon = 1/2″ long with copper lead intact. Replace if:
- Carbon is <1/4″ long
- Springs are compressed flat
- Copper lead shows arcing burns
- Install new brushes: Tap gently with a screwdriver—never force. Makita part # 194408-7 fits most 18V models.
Pro tip: Apply dielectric grease to brush leads before reassembly. Prevents future arcing and doubles brush life.
Trigger Switch Failure: Diagnose and Replace in 15 Minutes
A mushy trigger or “dead spot” mid-pull means switch failure. Don’t buy a new drill—replace the $18 switch.
How to Test Your Makita Hammer Drill’s Trigger Switch
- Multimeter test: Set to continuity mode. Probe switch wires while pulling trigger. No beep at any speed? Switch is dead.
- Bypass test (CAUTION): With battery removed, jumper the motor wires to the battery contacts. Motor spins? Switch is faulty.
Makita Switch Replacement Shortcuts
- XPH12Z users: The switch harness clips into the housing—do not cut wires. Lift the white tab to release connectors.
- HP2040 models: Apply heat with a hair dryer to soften adhesive on the front housing before prying.
When to Quit: 3 Signs Your Makita Hammer Drill Needs Professional Repair
Some failures demand expertise. Replace your drill if you see:
Armature Burnout: The $0 DIY Fix
Charred copper bars visible through the brush ports or a burnt varnish smell mean the motor is toast. Cost reality: A new armature ($75) + labor ($60) = 75% of a new drill’s price.
Hammer Mechanism Collapse (HP333D Critical Failure)
If hammer mode produces a clunk but no impact force:
– Gearbox rebuild cost: $110+
– New drill cost: $129 (HP333D)
Walk away—Makita’s service centers often quote more than replacement value.
Prevent Future Failures: The 30-Second Makita Maintenance Routine
Avoid 90% of repairs with this daily habit:
- After concrete drilling: Blow vents with compressed air for 5 seconds. Why: Cement dust + motor heat = concrete inside your gearbox.
- Monthly: Wipe chuck threads with degreaser. Never use oil—attracts dust.
- Before storage: Run drill at 50% speed for 30 seconds to expel moisture.
Pro tip: Keep brushes clean by storing drills in rice-filled bins—absorbs humidity that corrodes contacts.
Don’t let a failed Makita hammer drill derail your project. Most power loss stems from worn brushes—a $12 fix requiring basic tools. Gearbox noise? Replace grease before gears strip. That mysterious gap on your HP333D? Likely normal operation. But when smoke appears or armature windings char, know when replacement beats repair. Implement the 30-second maintenance ritual after each use, and your Makita will outlast cheaper drills by 3x. Your next step: Grab that Torx bit and check your brushes tonight—80% of “dead” drills revive with this single fix.


