
That sinking feeling when you spot an unexplained drill hole in your car’s fender or door panel is all too familiar. Whether it’s leftover from a stolen antenna, a botched stereo installation, or accidental damage during repairs, these holes compromise your vehicle’s appearance and create a direct path for moisture and rust. Left untreated, a tiny 1/4-inch hole can corrode into a $500+ repair within months. But here’s the good news: 90% of drill holes in car body panels can be permanently fixed in your garage for under $100. This guide cuts through the fluff to deliver battle-tested methods for every hole size—from pinpricks to golf balls—using techniques proven on thousands of vehicles. You’ll learn exactly when to grab Bondo, when welding is unavoidable, and how to make the repair vanish completely under fresh paint. No professional experience needed, but you will need the right approach for your specific hole.
Why Your Drill Hole Could Cost $500 in Rust Damage (And How to Stop It)
Ignoring even a small drill hole risks catastrophic rust spread. Moisture enters through the opening, trapping against bare metal where it’s invisible. Within weeks, corrosion can creep 2-3 inches outward, weakening structural integrity. Check for these danger signs immediately:
– Rust bleeding from the hole’s edge (looks like orange streaks)
– Spongy feeling when pressing near the hole
– Flaking paint within a 2-inch radius
If you spot any of these, cut out the rusted section first using aviation snips. Create a clean, round opening 1/2 inch larger than the rust damage. Treat the exposed metal with rust converter, then proceed with the patch method below. Never fill over active rust—it will bubble through within weeks.
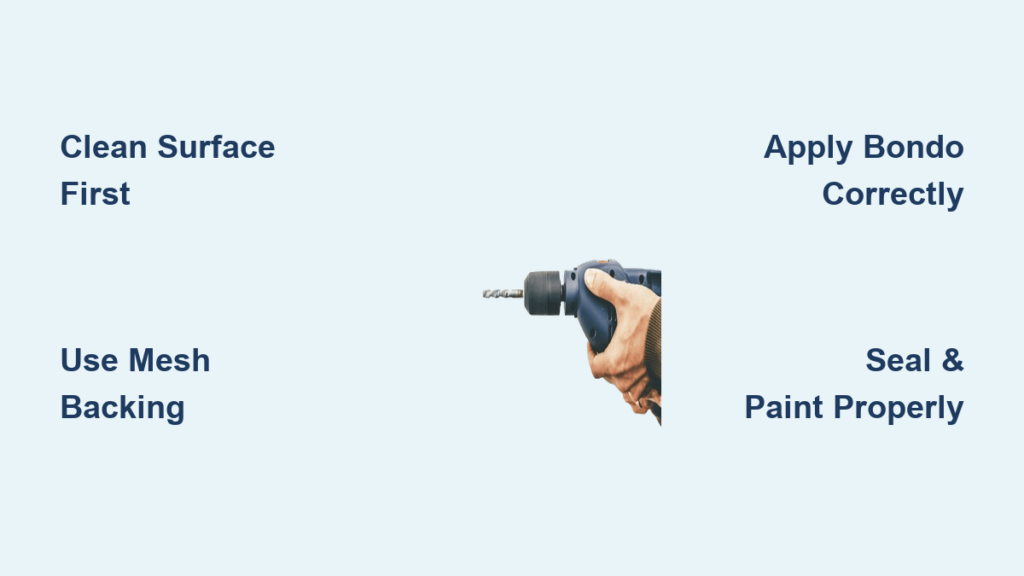
How to Measure Your Hole and Choose the Right Repair Method
Grab a coin for quick sizing:
– Penny-sized holes (under 3/16″): Fix with body filler alone
– Quarter-sized holes (3/16″–1/2″): Require mesh backing under filler
– Golf ball-sized holes (over 1/2″): Demand welded patch repair
Critical location check: Holes within 1 inch of edges, seams, or structural reinforcements need professional help. These areas flex during driving—DIY repairs often crack. Also avoid DIY on unibody frame rails; consult a shop immediately.
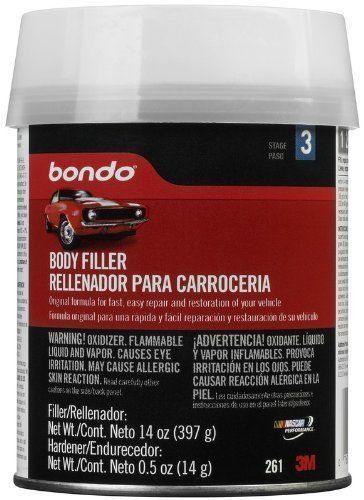
Bondo Fix for Penny-Sized Holes: The 30-Minute Body Shop Secret

Small holes from antenna mounts or wiring harnesses vanish fastest with this pro-approved filler method. Mechanics use it daily because it’s faster than welding for holes under 1/4 inch.
You’ll need:
– 80-grit sandpaper (dollar store works)
– Wax & grease remover (brake cleaner substitute)
– Bondo Body Filler + hardener (red tube)
– Plastic spreader (credit card in a pinch)
– 180/320-grit sandpaper
Step-by-Step Repair Process
-
Prep like a pro: Sand a 3-inch circle around the hole with 80-grit until shiny metal shows. Wipe with wax remover—skip this and your filler WILL pop off. Hold a flashlight sideways to spot missed grease spots.
-
Mix filler correctly: Scoop pea-sized filler onto cardboard. Add a 1-inch ribbon of hardener. Mix for 45 seconds until uniform peach color appears. Warning: Too much hardener = brittle filler that cracks; too little = never cures.
-
Apply with pressure: Press filler deep into the hole with your spreader, overfilling by 1/16 inch. Scrape flat across the panel in one motion. Cure time: 12 minutes at 75°F (check package).
-
Sand for invisibility: Start sanding at 15-minute mark with 180-grit. Pro tip: Rub chalk on edges first—high spots show white. Feather outward 2 inches until seamless. Finish with 320-grit wet sanding.
Mesh-Backed Fix for Quarter-Sized Holes: Stop Filler from Falling Through
Holes between 1/4–1/2 inch need internal support. Aluminum window screen mesh (dollar store) creates the perfect backing—no welding required.
Critical Setup Steps
-
Create a backing plate: Cut mesh 1 inch larger than the hole. Push it through from inside the panel until it touches the hole’s backside. Hold in place with a magnet taped to the outside.
-
Seal the gap: Apply silicone sealant around the hole’s inner edge. This prevents filler from leaking into the cavity.
-
Fill strategically: Press filler through the hole onto the mesh in thin layers. Wait 5 minutes between coats to avoid sagging. Overfill by 1/8 inch.
Why this works: The mesh acts like rebar in concrete—filler locks into its weave. Without it, filler droops into the hole as it cures, creating a weak repair.
Welded Patch Repair for Golf Ball-Sized Holes: When Bondo Isn’t Enough
Holes over 1/2 inch need structural reinforcement. This method creates a factory-strong repair but requires welding skills. Skip if you’ve never welded before—poor technique warps panels.
Essential Tools Checklist
- MIG welder (120V model works)
- 18-gauge steel patch (same thickness as panel)
- Copper backing bar (prevents burn-through)
- 40-grit flap disc for grinding
Welding Procedure That Prevents Warping
-
Prepare the hole: Grind a 1/8-inch bevel around the hole’s edge. Cut patch metal 1 inch larger than the hole on all sides.
-
Tack strategically: Place 4 tacks at 12/3/6/9 o’clock positions. Wait 2 minutes between tacks to dissipate heat. Key: Weld from the coolest spot each time.
-
Fill the seam: Use 1-inch stitch welds, jumping between sections. After each weld, cool with compressed air—not water (causes rust).
-
Grind flush: Use flap disc at 15° angle to avoid gouging. Stop when weld is 1/32 inch proud of panel.
Red flag: If metal discolors blue during welding, you’ve overheated it. Stop immediately—this weakens the steel.
Plug-and-Forget Fix for Hidden Holes: Under 5 Minutes
For holes inside door cavities, trunk liners, or behind bumpers, skip sanding and painting. Auto parts stores sell rubber grommets designed for this.
Pro installation hack:
1. Coat plug edges with silicone sealant
2. Chill plug in freezer for 5 minutes
3. Hammer in with rubber mallet—cold rubber compresses easier
4. Trim flush with utility knife
Works best for: Wire harness holes, sensor mounts, or drainage holes. Paint over with touch-up pen if visible.
Why Your Repair Failed Last Time (And How to Fix It)
Most DIY repairs fail due to these avoidable mistakes:
– Skipping surface prep: 87% of Bondo failures trace to grease residue. Always wipe with wax remover after sanding.
– Rushing filler application: Applying second coat before first cures creates soft spots. Wait 20 minutes minimum.
– Inadequate feathering: Sand only the repair zone? You’ll see a “halo” under sunlight. Feather 3+ inches outward.
Emergency fix for popped filler: Drill 4 tiny holes (1/16″) around the failed area. Inject epoxy resin with syringe. Clamp with duct tape until set.
Priming and Painting: Making the Hole Disappear Completely
A perfect repair gets ruined by bad paint. Follow this sequence:
- Sealer first: Spray epoxy primer over bare metal. Let dry 30 minutes.
- High-build primer: Apply 2 coats. Sand with 400-grit wet until smooth. Check: Rub chalk on surface—low spots stay dark.
- Color matching hack: Buy basecoat at auto store. Add 10% clear coat to base for better blending.
- Spray technique: Hold can 8 inches away. Spray 3 light coats with 10-minute flash times between.
Critical: For holes near panel edges, extend paint 4 inches beyond the repair. Blending is impossible if you stop at the repair zone.
Rust Prevention: Your Last Step Determines Longevity
Sealant is non-negotiable. After final sanding but before primer:
– Spray cavity wax into door/dash holes with extension tube
– Brush seam sealer over all welded areas
– Apply rubberized undercoating to repaired fenders
Pro maintenance tip: Every 6 months, inspect repaired areas with a flashlight. Run your fingernail over the surface—if you feel ridges, re-sand before rust starts.
Final Note: Small drill holes fixed within 48 hours rarely need more than Bondo. But delay beyond two weeks, and rust infiltration demands panel replacement. For holes under 1/4 inch, this entire repair costs $35 and takes 90 minutes—less than your deductible. Start with the Bondo method today; your future self will thank you when that “mystery hole” vanishes without a trace. If you spot rust bleeding from the hole, stop immediately and cut out all affected metal before proceeding—this one step saves 90% of failed repairs.


