
That stubborn drill hole from your misplaced shelf bracket or removed wall decor doesn’t have to be a permanent eyesore. Whether you’re preparing to move out of a rental or simply refreshing your space, knowing how to fill drill holes in drywall properly transforms a glaring flaw into an invisible repair. Most DIYers make critical mistakes that leave patches visible—like skipping primer or rushing sanding—resulting in telltale shadows and paint mismatches. But with the right materials and technique, you can erase even anchor-sized holes in under an hour. This guide reveals the exact process professional painters use to make drill holes disappear completely, including why your previous attempts might have failed and how to match any wall texture flawlessly.
Must-Have Tools for Repairing Drywall Drill Holes
Gathering these specific tools before starting prevents mid-repair frustration and ensures a smooth finish. Using the wrong compound or sanding too early guarantees visible patches—this isn’t just about convenience but structural integrity for lasting results.
Filler Selection by Hole Size
Choosing incorrectly here causes 90% of repair failures. Match your filler precisely to the drill hole diameter:
* Pinholes to 1/8″: Lightweight spackling paste (like DAP’s version) for zero shrinkage on nail holes
* 1/8″ to 1/2″ anchor holes: All-purpose joint compound—the only option for proper adhesion in screw-sized drill holes
* Over 1/2″: Plaster of Paris for the first layer, topped with joint compound (critical for toggle bolt holes)
* Emergency pinholes: Paintable caulk ONLY if immediate painting is required—never for structural holes
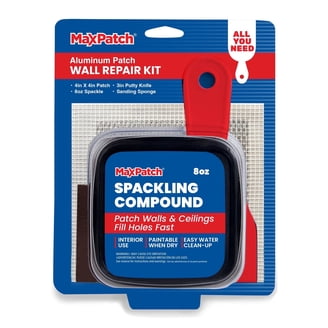
Non-Negotiable Tools List
- Flexible putty knives: 3-inch blade for hole filling, 6-inch for feathering edges
- Sanding system: 120-grit sanding sponge (initial shaping) + 220-grit (final smoothing)
- Oil-based stain-blocking primer: Kilz Original or B-I-N—water-based won’t seal properly
- Tack cloth: Removes dust that causes paint bumps (paper towels leave lint)
Fixing Anchor-Sized Drill Holes (1/8″ to 1/2″): The Standard Repair Process
This covers 80% of household drill holes—from stripped screw holes to anchor removals. The critical mistake here is underfilling; joint compound shrinks 15-20% as it dries, leaving depressions.
Why Vacuuming the Hole Is Non-Negotiable
Dust inside the hole prevents adhesion, causing future cracks. Insert your vacuum hose tip directly into the drill hole for 10 seconds before filling. If residue remains, wipe with rubbing alcohol on a cotton swab—water weakens drywall paper.
Perfect Filling Technique in 4 Steps
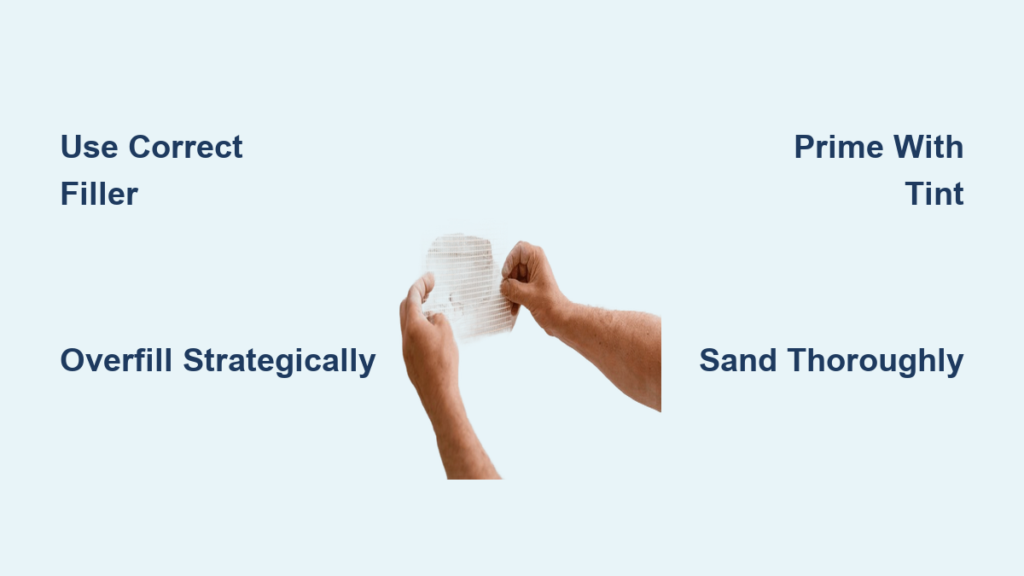
- Overfill strategically: Press joint compound deep into the hole with your 3-inch knife, then pile it 1/16″ above the wall surface
- Scrape at 30 degrees: Hold the knife blade at a shallow angle, dragging firmly toward you to create a feathered edge
- Wait 24 hours: Rushing this causes cracks—compound must cure completely before sanding
- Sand with light pressure: Use 120-grit sponge in circular motions until flush, checking with your fingertip
Repairing Tiny Drill Holes (Pinholes to 1/8″): Speed Without Sacrifice
Nail holes from picture hooks or electrical staples seem simple but often show through paint if mishandled. The trick is avoiding over-application—too much spackle creates shiny spots.
The Toothpaste Test for Pinhole Repairs
Dab a tiny amount on your fingertip—if it spreads like toothpaste, it’s the right consistency. Apply with the edge of your putty knife (not the blade) for microscopic control. One speck should cover 3-4 pinholes. Let dry 2 hours minimum before light sanding.
When to Skip Sanding Entirely
For hairline drill holes under 1/16″, apply paintable caulk with a toothpick. Wipe excess immediately with a damp microfiber cloth. The caulk dries flexible, eliminating sanding while matching flat paint sheens perfectly.
Patching Large Drill Holes (1/2″ to 2″): Reinforcement Techniques
:max_bytes(150000):strip_icc()/repair-a-large-hole-in-drywall-1824831_hero_1540-cba85d2dcdd34c338c8132be554694b2.jpg)
Drill holes from curtain rods or TV mounts require structural backing. Filling these with compound alone creates weak spots that crack under screw pressure.
The Cardboard Backing Hack
Cut a stiff cardboard rectangle 1″ wider than your hole. Thread a 4″ drywall screw through it, insert into the hole, and rotate clockwise until the cardboard lies flat against the back of the drywall. Tighten the screw until snug—this creates a solid anchor point for compound.
Mesh Tape: Your Secret for Crack Prevention
Apply self-adhesive fiberglass mesh tape over holes larger than 1/2″ before adding compound. Press firmly into the hole’s edges with your putty knife to embed the tape. This distributes stress and prevents hairline cracks that appear months later.
Why Skipping Primer Makes Drill Hole Repairs Stand Out

This single step causes 70% of visible repairs. Unprimed joint compound absorbs paint differently, creating a “halo” effect around your patch—a dead giveaway of amateur work.
The Tinted Primer Trick Professionals Use
Mix 1 ounce of your wall paint into the primer. This reduces the number of topcoats needed from three to two by neutralizing the white compound’s visibility. Apply with a 1.5-inch angled brush, feathering 4 inches beyond the patch edges.
When to Prime the Entire Wall Section
If your wall has eggshell or satin sheen, prime a 2-foot square around the repair. Sheened paints highlight texture differences—priming only the patch creates a visible square under certain lighting.
Painting Over Repairs: Matching Texture and Sheen Perfectly
Even perfect filling fails with poor painting technique. Your brush strokes must mimic the wall’s existing texture pattern, or the repair becomes a spotlight.
Feathering Paint Like a Pro
Load your brush with minimal paint. Starting 2 inches from the patch’s edge, use vertical strokes moving outward in decreasing pressure. For horizontal textures (like knockdown), use side-to-side motions. Always paint toward existing texture patterns—never against them.
The Cross-Hatch Method for Seamless Blending
- Apply first coat vertically across the repair
- After 1 hour, apply second coat horizontally
- For textured walls, use a damp sea sponge to stipple the wet paint
- Final coat should cover a 3-foot radius around the patch
Top 5 Mistakes That Ruin Drywall Drill Hole Repairs
Avoiding these guarantees invisible results where others fail. Each mistake creates a specific flaw you’ll notice within weeks.
Overfilling Holes: The “Bulge Effect”
Applying thick compound creates a permanent mound. Solution: Apply layers no thicker than 1/8″. For deep holes, wait 4 hours between coats—compound bonds better to cured layers.
Sanding Too Soon: Gummy Disaster
Joint compound feels dry on top but remains wet underneath. Test by pressing your fingernail—it should leave no mark. Sand when completely hard (minimum 6 hours for small holes).
Ignoring Texture Matching: The “Smooth Spot”
Flat paint on textured walls highlights repairs. For orange peel texture, spray texture compound from 18 inches away. For knockdown, apply with a trowel then flatten peaks with a drywall knife.
Pro Painter Secrets for Making Drill Holes Vanish
These advanced techniques turn good repairs into undetectable ones. They address issues most guides ignore—like sheen mismatches and seasonal curing.
The 30-Day Cure Rule for Heavy Objects
Never hang mirrors or shelves on fresh repairs before 30 days. Joint compound reaches full strength slowly—early stress creates micro-cracks invisible at first but obvious later.
Sheen Matching Under Different Lighting
Test your touch-up paint at multiple times of day. A repair blending at noon may glow under evening lamps. Keep leftover wall paint; store it upside down in a sealed container for future touch-ups.
Final Note: Mastering how to fill drill holes in drywall means understanding that the repair isn’t complete until the lighting reveals nothing. By selecting the exact filler for your hole size, waiting the full 24 hours for compound curing, and using tinted primer with cross-hatch painting, you achieve results indistinguishable from untouched drywall. Remember: texture matching matters more than color matching for invisibility—practice on cardboard first. For recurring holes in the same spot, install a backing plate during your first repair to prevent future damage. With these techniques, you’ll never pay a professional $150 for a 10-minute fix again.


