
Drilling porcelain tile ranks among the most nerve-wracking DIY tasks. Unlike ceramic or stone, porcelain’s extreme density (absorption rate below 0.5%) makes it prone to catastrophic cracking when conventional methods fail. One wrong move with a standard masonry bit can shatter your $200/square foot tile in seconds. Yet with the right approach, you can create clean, chip-free holes for towel bars, plumbing fixtures, or electrical outlets every time. This guide reveals the exact protocols tile installers use to drill porcelain successfully—even on glossy, fully vitrified surfaces. You’ll learn why diamond bits are non-negotiable, the critical cooling rhythm that prevents blowouts, and how to avoid the #1 mistake that ruins 80% of DIY attempts.
Why Standard Drill Bits Fail on Porcelain Tile
Porcelain’s engineered hardness (Mohs scale 7-8) instantly destroys carbide-tipped bits designed for softer materials. When you attempt drilling with regular masonry bits, the tip glazes over within seconds as friction heat exceeds 1,200°F—melting the diamond coating and causing micro-fractures in the tile. You’ll recognize failure by the acrid burning smell and the bit suddenly sliding across the surface like ice. This isn’t about skill; it’s physics. Porcelain requires diamond abrasion, not chipping action. Skipping specialized tools guarantees wasted time, destroyed tiles, and costly replacements.
Diamond Bit Selection: Your Only Real Options
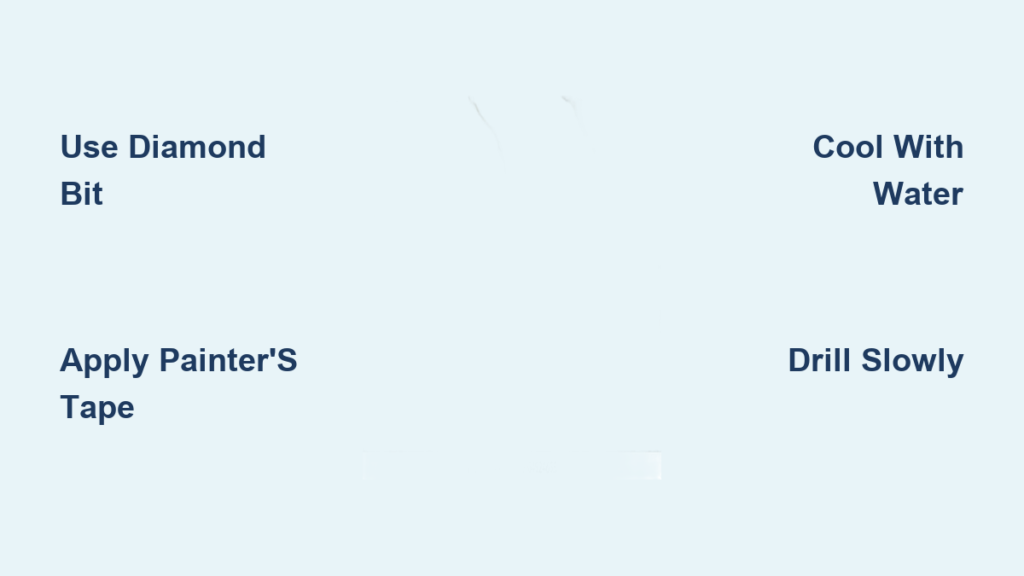
Small holes (1/8″–1/4″): Use spear-point diamond-tipped bits with aggressive cutting edges. The arrowhead shape grips the glaze immediately. Avoid glass bits—they wear out after two holes.
Large holes (1/2″+): Diamond core bits are mandatory. Their hollow cylinder design removes minimal material, reducing heat and stress. Rent these ($15–$25/day) if drilling just one plumbing hole.
Critical note: Never use hammer drill mode. The vibration creates hairline cracks invisible until water exposure weeks later.
Step-by-Step Drilling Process for Zero Cracks

Creating the Perfect Starting Point
Apply two layers of painter’s tape in an X over your mark—this absorbs initial bit pressure and prevents glaze skidding. Use a center punch to create a 1/16″ deep dimple through the tape. Test the dimple depth: Your fingernail should catch slightly when rubbed over it. Without this anchor point, even diamond bits will wander across the glassy surface, scratching your tile. Position your drill at 30 degrees and begin with feather-light pressure. Your goal isn’t to penetrate but to carve a 1/32″ deep groove in 60 seconds. Watch for the telltale white porcelain dust (not black smoke!) signaling proper abrasion.
Maintaining the Critical Drill Speed and Cooling Cycle
Once the groove holds the bit, slowly straighten to 90 degrees while maintaining 400–600 RPM—visible as a steady blur, not a high-pitched whine. Apply only enough pressure to keep dust flowing. Every 10–15 seconds, pause drilling and flood the hole with water from your spray bottle until slurry (milky porcelain mud) clears. This isn’t optional: Heat buildup dulls diamond grit within 30 seconds of dry drilling. You’ll know you’re on track when the bit advances 1/16″ per cooling cycle. For 1/4″ holes, expect 2–3 minutes total—not the 20 seconds typical for ceramic tile.
Preventing Backside Blowout During Breakthrough
As the bit nears the tile’s rear (about 80% through), reduce pressure by 50%. Place a scrap 2×4 clamped tightly behind the tile—this supports the fragile exit point where porcelain naturally fractures. When you feel resistance drop suddenly, stop drilling immediately. Let the bit spin freely in the hole for 5 seconds while spraying water to clear debris before full withdrawal. Rushing this moment causes spiderweb cracks radiating from the hole.
Drilling Large Plumbing Holes Without Disaster
For 3/4″–2″ holes required for shower valves, skip step-drilling—porcelain’s brittleness makes intermediate holes riskier. Instead:
1. Tape and dimple the center point
2. Start with 100 RPM and barely visible pressure
3. Use a continuous drip system (sponge on water bottle tip) instead of spray intervals
4. Pause every 5 seconds for 2 full seconds of water flow
5. At 75% depth, rotate the tile 180° and drill from the backside to meet the hole
This two-sided technique eliminates exit chipping. Core bits cost $30–$80 but pay for themselves when replacing a single $150 tile. Rent them from hardware stores if needed.
Fix These 3 Critical Mistakes Before They Ruin Your Tile

“My Bit Won’t Bite and Just Slides”
Why it happens: Insufficient dimple depth or skipping painter’s tape on high-gloss finishes.
Pro fix: Re-mark the spot, apply fresh tape, and use a carbide scribe (not center punch) to score a crosshatch pattern. Start at 45 degrees with 200 RPM until the bit catches.
“Tile Cracked Right as the Bit Broke Through”
Why it happens: No backer board or excessive pressure during exit.
Pro fix: Clamp a sacrificial plywood sheet behind the tile. Reduce pressure to “holding the drill steady” level during the final 1/8″. Drill from both sides for holes over 1/2″.
“Bit Stopped Cutting and Smells Burnt”
Why it happens: Dry drilling or RPMs above 600. Diamond coating glazes over instantly.
Pro fix: Stop immediately. Soak the bit in vinegar for 10 minutes to dissolve mineral deposits. Resume at 300 RPM with constant water flow. Replace bits showing black discoloration.
Post-Drill Finishing for Professional Results
After hole completion, flush thoroughly with water using a syringe to remove embedded slurry. Porcelain dust is hazardous—never blow it out. Deburr edges by rotating a diamond file clockwise inside the hole for 5 seconds. For shower fixtures, apply 100% silicone sealant around the hole’s backside before mounting hardware. This creates a waterproof barrier against moisture seepage behind walls—a frequent cause of tile delamination. Test hole integrity by inserting your fastener; it should slide in smoothly without catching. If resistance occurs, lightly sand with 220-grit wrapped around a dowel.
Non-Negotiable Safety Measures
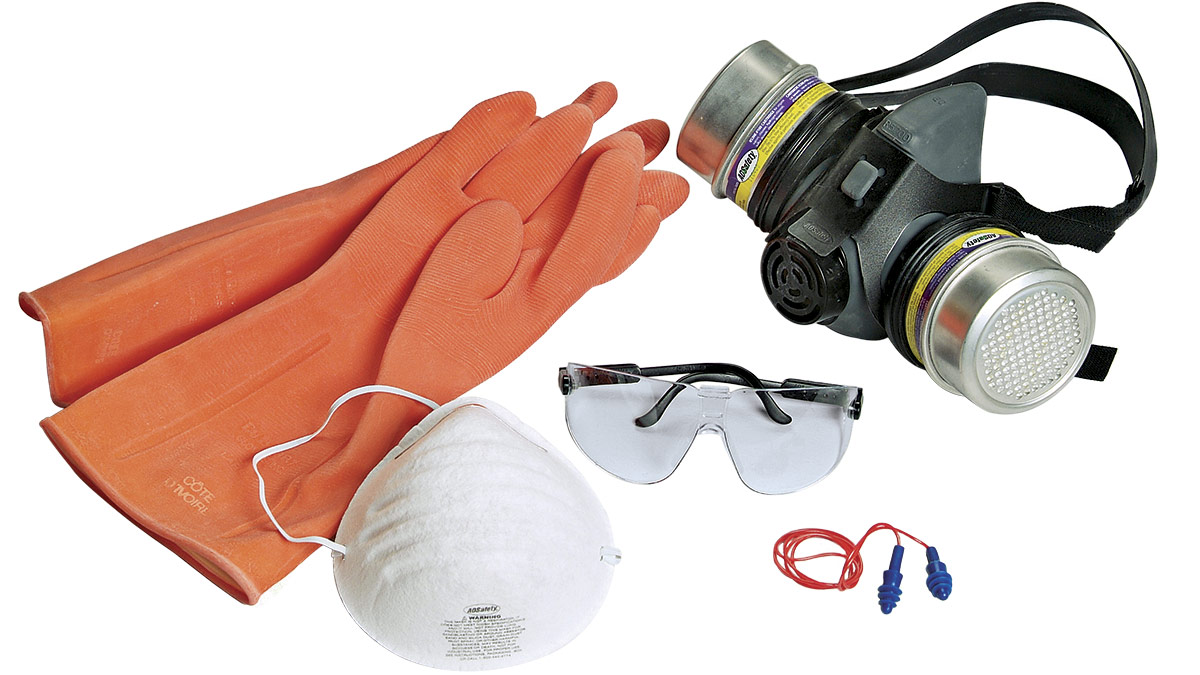
Porcelain dust contains crystalline silica—inhaling it just once can cause permanent lung damage. Always wear:
– N95 respirator (not a dust mask)
– ANSI Z87.1 safety goggles (dust seals prevent eye abrasion)
– Hearing protection (drilling generates 95+ dB)
Work in well-ventilated areas with a shop vac running nearby. Never hold tiles in your lap; secure them to a workbench with non-marring clamps. If drilling wall tiles, verify no wires or pipes exist behind your mark using a stud finder with AC detection.
When to Call a Tile Professional Immediately
Stop and call a pro if:
– Your tile is handmade, textured, or has metallic glazes (extra fragile)
– You’re drilling within 1″ of an edge (crack risk jumps 300%)
– The tile is already installed over drywall (backing support is compromised)
Professionals use diamond-impregnated annular cutters with vacuum dust collection—tools costing $500+ that most DIYers won’t own. For critical areas like shower niches or expensive imported tile, their $75/hour fee prevents $500+ replacement costs.
Drilling porcelain tile successfully hinges on respecting its unforgiving nature. By using diamond abrasion instead of impact, maintaining strict low-speed discipline, and implementing the cooling rhythm professionals rely on, you’ll achieve clean holes consistently. Remember: Patience isn’t optional—it’s the core technique. Every 10-second water pause saves you hours of tile replacement. Start with a spare tile to practice the dimple-and-groove method, and you’ll transform this feared task into a reliable skill. The next time you need to mount a fixture, you’ll approach that glossy surface with confidence, knowing exactly how to drill through porcelain tile without a single crack.


