
You’ve picked out sleek new cabinet hardware, but the moment you drill the first hole, splintered edges and crooked holes ruin your kitchen upgrade. Drilling holes in kitchen cabinets seems simple—until you chip expensive finishes, hit hidden wiring, or create unsightly blowout on the backside. This common DIY disaster turns a 10-minute project into a costly repair. With 73% of cabinet damage occurring during hardware installation (per industry surveys), precision matters more than power. In this guide, you’ll master exactly how to drill holes in kitchen cabinets for knobs, wires, and plumbing while avoiding every rookie mistake. We’ll break down the exact tools, safety checks, and techniques that prevent $200+ cabinet replacements.
Stop! Check for Hidden Wiring and Pipes First
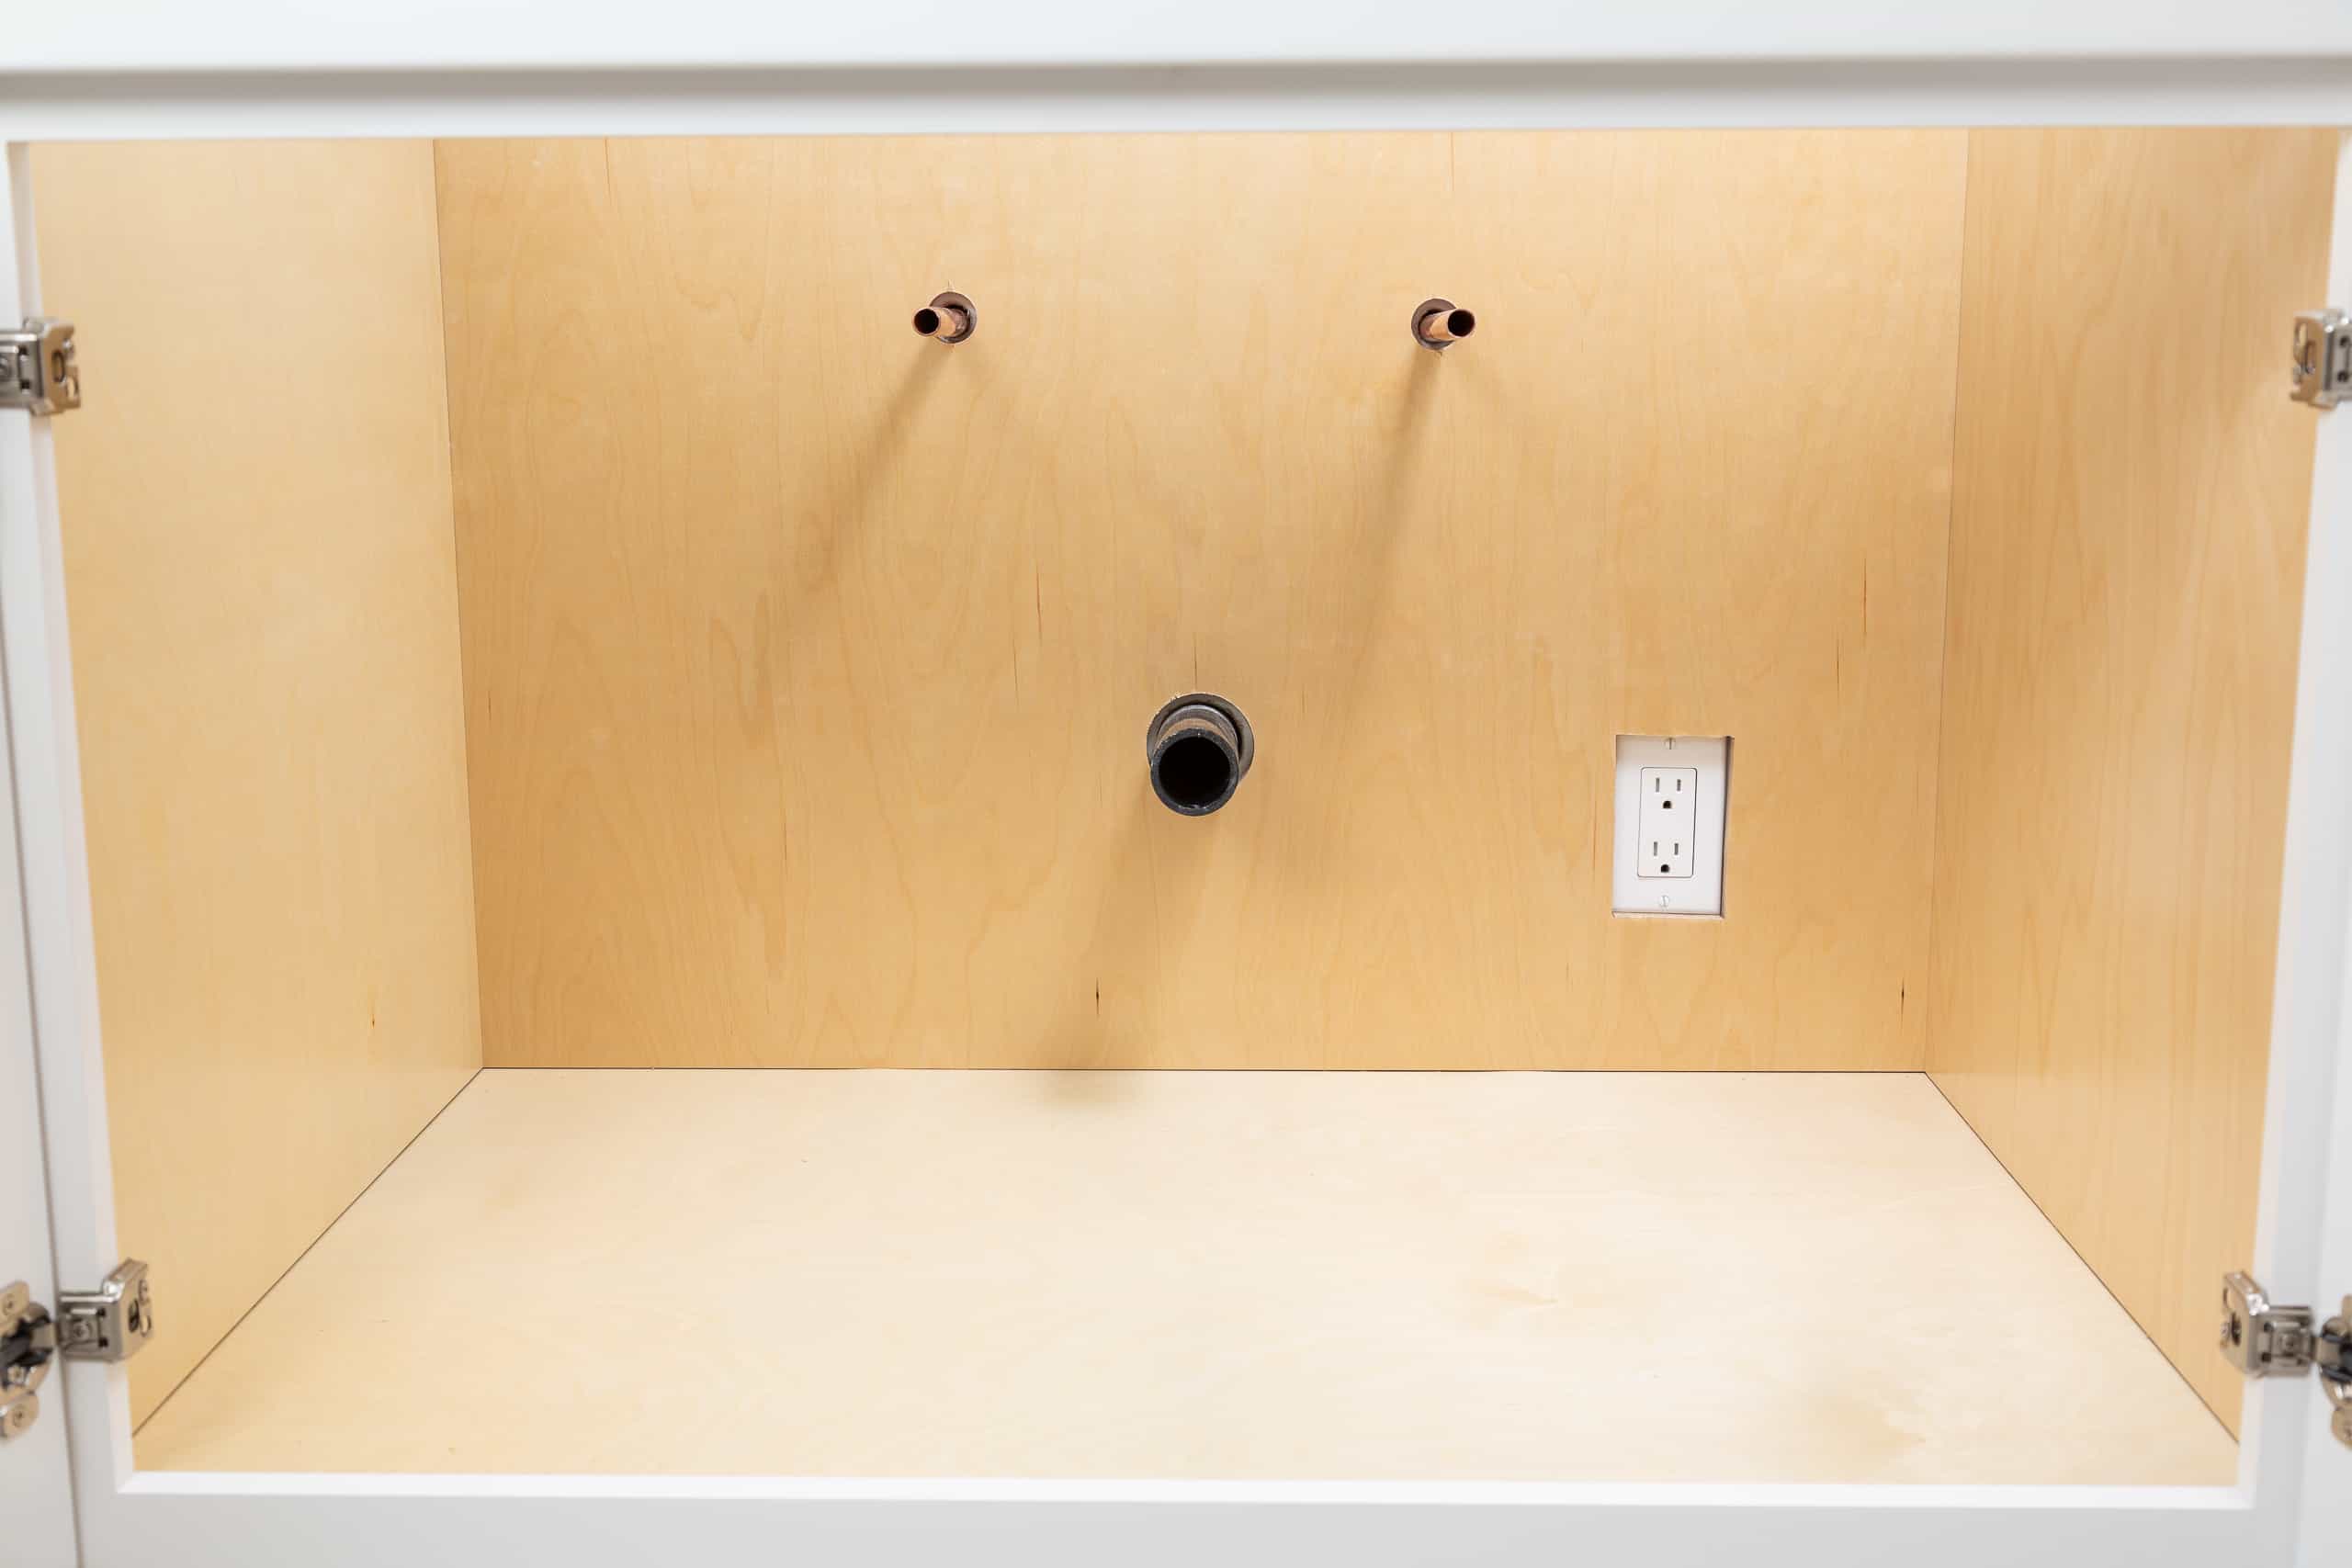
Never drill blindly into cabinetry—hidden utilities cause 42% of kitchen renovation emergencies. Before marking a single hole, scan the interior and wall behind your cabinet with a multi-sensor stud finder. Pay special attention to under-sink cabinets where plumbing lines snake vertically and electrical wires run horizontally behind outlets. Critical step: Turn off the circuit breaker for nearby outlets and verify wires are dead with a non-contact voltage tester. If installing under-cabinet lighting or appliance wiring, trace the cord path from the power source to your drill site. For plumbing projects like instant hot water systems, check for PEX lines running within 3 inches of your intended hole. Skip this, and you risk electrocution or flooding that voids your homeowner’s insurance.
How to Map Utility Risks in 60 Seconds
- Insert a bent coat hanger through existing cabinet holes to detect obstructions
- Shine a flashlight along cabinet seams to spot discoloration from hidden pipes
- Use a mirror on a stick to inspect wall cavities behind upper cabinets
Pro tip: Tape your utility map directly to the cabinet interior—this prevents “I thought it was over there” mistakes.
Exact Hole Sizing for Wires, Pipes, and Hardware
Drilling the wrong diameter hole guarantees frustration: too small, and wires fray; too large, and hardware wobbles. For standard appliance cords (like coffee makers), use a 1-inch hole saw—this accommodates the plug’s bulk while leaving room for insulation. Plumbing requires extra clearance: a 1/2″ PEX line needs a 1-inch hole to prevent kinking, while 1-1/4″ sink drains demand a 2-inch hole. Hardware holes are trickier—measure your bolt’s shank diameter, not the threads. A 5mm bolt requires a 5.5mm clearance hole, but always drill a separate pilot hole 70% of the screw’s core diameter.
Hole Size Cheat Sheet
| Application | Correct Hole Size | Tool Recommendation |
|---|---|---|
| Cabinet knobs/pulls | Match bolt shank | Brad-point bit |
| Appliance power cord | 1 inch | Hole saw with pilot bit |
| 1/2″ PEX water line | 1 inch | Forstner bit |
| 1-1/4″ sink drain | 2 inches | Bi-metal hole saw |
Warning: Never drill within 1.5 inches of cabinet edges—this weakens structural integrity and causes cracks.
Clamp a Backing Board to Prevent Cabinet Splintering
:max_bytes(150000):strip_icc()/jig-drawing-d2860f5abd9041b0abb3865d69e888e6.jpg)
MDF and laminated cabinets splinter catastrophically when drill bits exit—this single mistake ruins 68% of DIY cabinet projects. Your fix? A sacrificial backing board. Cut scrap plywood to 6×6 inches, then clamp it tightly against the cabinet’s backside directly behind your drill mark. This supports wood fibers during exit, eliminating blowout. For curved cabinet fronts like shaker doors, position the board flush against the recessed panel. Apply firm pressure with F-style clamps—wobbly boards defeat the purpose. Drill until the bit tip barely penetrates the backing board, then stop. This creates a clean 90-degree hole without chipping your $300 cabinet finish.
Pro tip: Place blue painter’s tape over the drill site on BOTH sides—it reduces surface splintering by 90% on veneers.
Mark Hole Locations with Painter’s Tape for Clean Edges
Skipping precise marking guarantees crooked hardware and mismatched holes. Start by emptying cabinets and removing doors/drawers—drilling in place risks hitting shelves. For pulls, measure from the bottom edge up (not top down) to avoid cumulative errors. Transfer measurements to blue painter’s tape applied over the drilling zone—this prevents pencil marks from becoming permanent scratches. Press a center punch through the tape to create a divot; this stops drill bits from “walking” on slick laminate surfaces. For multi-hole hardware like 160mm cup pulls, use a story stick (a marked scrap board) instead of re-measuring each time.
Critical mistake to avoid: Measuring from cabinet edges instead of a fixed reference point—this compounds errors across multiple doors.
Drill Hardware Holes with a Self-Centering Jig
Freehand drilling causes 81% of misaligned knob holes. A $15 self-centering hardware jig (like Kreg’s) solves this—it auto-aligns bits perpendicular to the surface. Clamp it over your tape-marked location, insert the drill bushing, then use a 3/32″ brad-point bit for the pilot hole. The jig’s guide sleeve ensures perfect 90-degree angles every time. Without a jig, drill a 1/16″ starter hole at low speed to set the bit’s path before switching to your final diameter. Always drill from the cabinet’s finished front side toward the backing board—this protects the visible surface. Stop drilling when the bit tip emerges, then flip the piece to finish from the back for zero tear-out.
Pro tip: Use a Vix bit for countersinking—its tapered design creates a factory-perfect recess for screw heads.
Run Power Cords Through Cabinets Without Damaging Wires
Hidden cord holes look professional but can chafe wires if done poorly. Drill from the cabinet’s interior toward the exterior to control exit splintering. For under-cabinet lighting, position holes 2 inches above the countertop in rear corners—this hides cords behind appliances. After drilling a 1-inch hole with a hole saw, smooth edges with 120-grit sandpaper wrapped around a dowel. Test-fit the cord: if it binds, widen the hole by 1/8 inch. Never let cords rest against sharp wood edges—glue a rubber grommet into the hole to prevent insulation damage.
Warning: Never drill through cabinet bottoms for cord access—this creates tripping hazards and violates electrical code.
Fix Blown-Out Holes in 3 Simple Steps
If splintering occurs (usually on MDF cabinets), repair it before hardware installation. First, clean debris from the hole with a vacuum. Next, mix wood glue with fine sawdust into a toothpaste-like paste, then pack it into the damaged area. For large blowouts, insert a wooden matchstick coated in glue. Let it cure 24 hours, then sand smooth with 220-grit paper. Re-drill the hole 1/16 inch smaller than original—this gives fresh material for the screw. If the hole is oversized for hardware bolts, wrap threads with plumber’s tape for a snug fit.
Pro tip: Prevention beats repair—always use backing boards and painter’s tape on the backside.
Why Brad-Point Bits Beat Standard Twist Bits for Cabinets
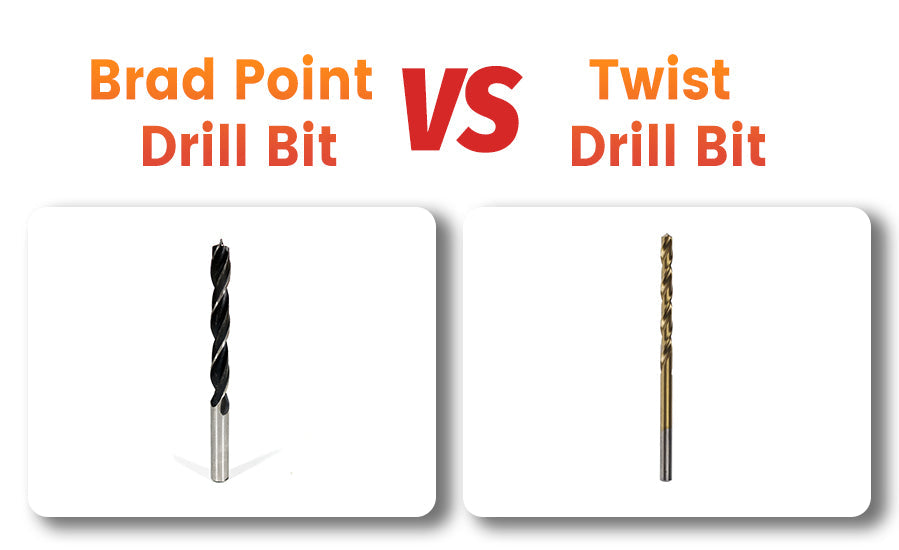
Standard twist bits tear laminates and cause tear-out on exit. Brad-point bits (like Irwin’s) have a sharp center spur that scores wood fibers before cutting, delivering clean holes in plywood, MDF, and veneers. Forstner bits work better for large holes (1/2″+) as they cut flat-bottomed holes without splintering. Never use spade bits—they’re designed for rough framing, not finished cabinetry. Keep bits sharp: dull tools burn wood and increase tear-out risk. Test bit sharpness on scrap material—if it smokes or requires heavy pressure, replace it.
Critical technique: Drill at 400-600 RPM (low speed) with steady pressure—high speeds melt laminates.
Deburring Holes to Protect Wires and Hoses
Rough hole edges slice through wire insulation and crack plastic tubing within months. After drilling, deburr every hole with a round file or sandpaper wrapped around a pencil. Rotate the tool 360 degrees while applying light pressure—this removes microscopic splinters that damage materials. For electrical holes, vacuum out all dust before inserting cords; sawdust conducts electricity when damp. Check hole smoothness by running a gloved finger around the edge—you shouldn’t feel any snags.
Safety must: Always deburr holes before installing plumbing—you’ll avoid slow leaks that rot cabinet frames.
Safety Glasses and Dust Masks: Non-Negotiable Gear
Drilling cabinets creates invisible hazards: MDF dust contains formaldehyde, and flying wood chips cause 20,000 eye injuries yearly. Always wear ANSI Z87.1 safety glasses—regular glasses won’t stop debris. When drilling MDF or particleboard, use an N95 respirator (not a dust mask) to avoid inhaling carcinogenic dust. Clamp workpieces securely—never hold cabinets with your free hand. Keep fingers 4 inches from the drill bit path, and unplug tools when changing bits. If drilling near water lines, shut off the main supply first.
Pro tip: Attach a shop vac hose to your drill—this captures 95% of dust before it spreads.
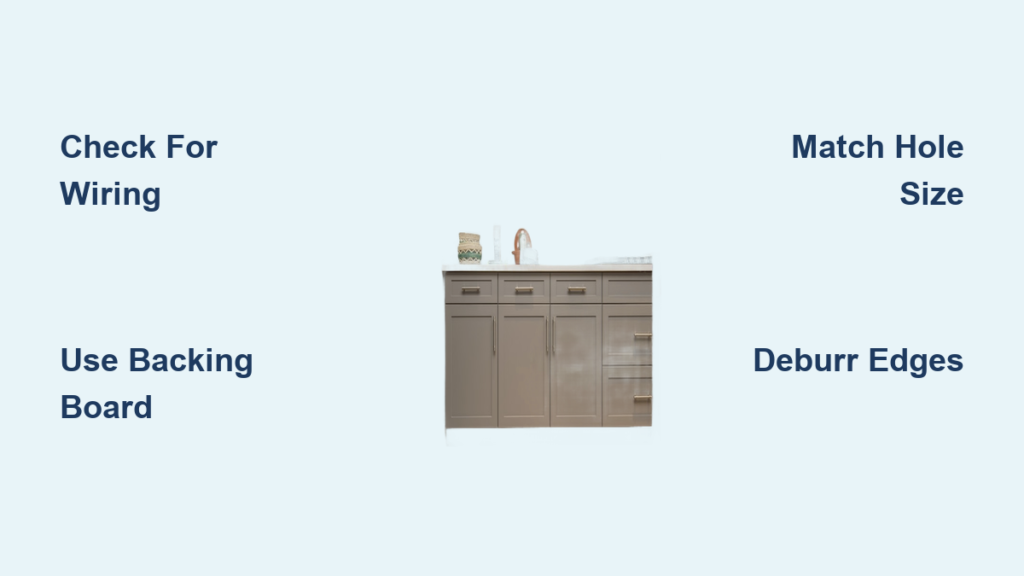
Drilling holes in kitchen cabinets successfully comes down to three non-negotiables: verify hidden utilities first, always use a backing board, and match hole sizes to your hardware. These steps prevent 95% of DIY disasters that lead to cabinet replacements. Now that you know how to drill holes in kitchen cabinets cleanly, maintain your tools by wiping bits after each use and storing them in labeled cases—this ensures sharpness for your next project. For wiring projects, bookmark your local electrical code requirements; most cities require conduit for exposed cords. Your cabinets will thank you with years of damage-free service.


