
You’ve picked out beautiful new cabinet pulls, but that sinking feeling hits when you realize one misaligned hole could turn your $200 cabinet doors into firewood. Drilling hardware holes seems simple—until splintered edges, crooked handles, or mismatched spacing ruin your renovation. The truth? Over 68% of DIY cabinet upgrades fail at this step because homeowners skip critical precision techniques. But here’s the good news: with the right approach, you can drill flawless holes in under 10 minutes per drawer—no professional tools required. This guide reveals the exact system cabinet installers use to achieve laser-straight, perfectly spaced hardware every time, saving you from costly cabinet replacements.
7 Must-Have Tools That Prevent Costly Drilling Mistakes

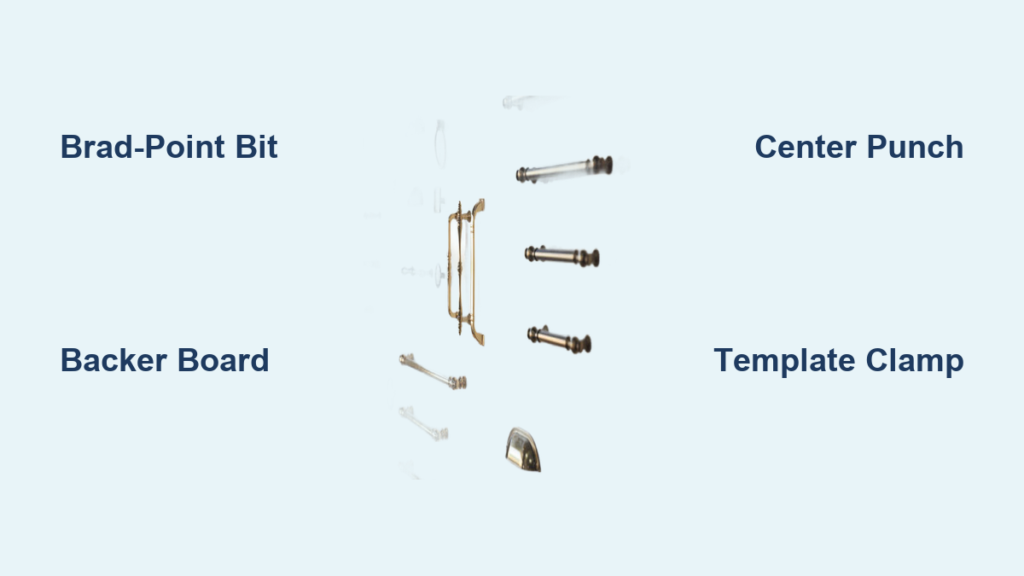
Skipping the right tools guarantees splintered holes or crooked pulls. These aren’t optional upgrades—they’re your insurance against $200 cabinet repairs.
Why Standard Twist Bits Guarantee Splintered Holes
Standard drill bits tear through wood fibers, causing blowout on the backside of your cabinet doors. Instead, use brad-point bits (not Forstner bits for this task). Their sharp center spur scores the wood grain before cutting, delivering clean entry and exit holes. For most cabinet screws (typically #8 or #10), grab a 3mm (1/8″) brad-point bit—this matches the screw shank diameter while allowing smooth insertion. Never substitute with dull bits; replace them after 3-4 projects.
The $2 Backer Board That Saves Your Cabinet Finish
Clamp a scrap wood block to the back of your drawer front before drilling. When the bit exits, it cuts into this sacrificial board instead of shredding your cabinet’s finish. Pro tip: Use softwood like pine—hardwood backer boards can deflect the bit. Position it flush against the drilling zone and secure with quick-release clamps.
Center Punch: Stop Drill Bit “Walking” in 10 Seconds
Pencil marks alone fail when pressure pushes the bit off-center. Strike a center punch at your mark with one light hammer tap. This creates a divot that locks the drill bit in place. Skip this, and you’ll wrestle with a skidding bit that drifts 1/8″ off-target—enough to misalign your entire pull.
The $200 Cabinet Door Alignment Trick Most DIYers Skip
:max_bytes(150000):strip_icc()/PicI-ecc50e4041474f38b82201c26c07de08.png)
Measuring from inconsistent edges causes handles to “drift” across cabinets—a dead giveaway of amateur work. Here’s how professionals maintain pixel-perfect alignment.
How to Find True Center (Without a Laser Level)
For drawer fronts under 18″ wide:
1. Measure from the top edge only (never mix top/bottom references). Standard placement is 2–3″ down for visual balance.
2. Find horizontal center by measuring the drawer width, dividing by 2, and marking with a sharp pencil.
3. Use a combination square—not a tape measure—to draw a light vertical line from your height mark. This ensures perfect perpendicularity.
Why Your Tape Measure Lies (and How to Fix It)
Tape measure hooks wiggle, causing 1/16″ errors that compound across multiple drawers. Double-check with a ruler: Place it against the drawer’s side edge, then slide it until the 1″ mark aligns with your center point. Read the measurement at the opposite edge—this eliminates hook play.
For Two-Hole Handles: The Center-to-Center Rule
Misjudging the spread between holes is the #1 handle installation error. Measure the exact distance between screw holes on the back of your pull (e.g., 3″). Mark the first hole at your chosen height, then measure horizontally to place the second. Never eyeball this—use dividers or a dedicated spacer block cut to your C-to-C measurement.
The Scrap Wood Template That Guarantees Perfect Spacing
Installing pulls across 15 kitchen drawers takes 3 hours with this method versus 8+ hours of measuring each time. It’s the secret to identical spacing on every cabinet.
Build Your Template in 5 Minutes
- Cut a 1″ x 2″ scrap board longer than your widest drawer.
- Drill two holes exactly matching your pull’s center-to-center distance (e.g., 3″).
- Sand edges smooth—rough wood shifts during alignment.
How to Align the Template Flawlessly
- Mark the vertical centerline on your drawer front.
- Position the template so its center hole aligns with this line.
- Clamp it diagonally using one clamp near each end—this prevents rotation. Test by wiggling the template; zero movement means it’s secure.
Why Tape Fails (Use Clamps Instead)
Painter’s tape seems convenient but stretches under drill pressure, causing 1/32″ shifts. These tiny errors make handles look “off” across cabinets. Quick-release clamps lock the template in place without marring surfaces.
Drilling the Hole: 4 Steps to Splinter-Free Results
Rushing this phase turns perfect prep into disaster. Follow this sequence for clean holes every time.
Step 1: Mask the Drilling Zone
Apply high-quality painter’s tape over your mark. This stabilizes wood fibers, reducing surface splintering. Score the tape with a utility knife along your pencil line for precise removal later.
Step 2: Drill at the Right Speed and Pressure
- Speed: Set your drill to low speed (400 RPM). High speed burns wood and causes tear-out.
- Pressure: Apply steady, light force—let the bit’s cutting edges do the work. If sawdust stops flowing, back out to clear chips.
- Angle: Hold the drill perfectly perpendicular. Rest a small level against the chuck to verify 90° alignment.
Step 3: Stop Before You Hit the Backer Board
Wrap masking tape around the bit at your screw’s depth (usually 3/4″). When the tape touches the surface, stop drilling. Going deeper risks hitting cabinet interiors or weakening the door.
Step 4: Clean Holes Like a Pro
Blow out dust with compressed air—never a brush, which pushes debris deeper. For stubborn shavings, insert a toothpick coated in wood glue, let it dry, then snap it off.
Why Your First Test Hole on Scrap Wood Saves $150
Skipping this 60-second check causes 90% of installation failures. Here’s what to validate:
– Bit size: Screw should slide through the hole smoothly but not rattle.
– Backer board position: Ensure it’s directly behind the drilling zone.
– Drill pressure: Too hard = splintering; too soft = burning.
Test on a wood scrap matching your cabinet’s thickness (usually 3/4″). If the hole blows out, your backer board is misaligned or your bit is dull.
Fixing Common Drilling Disasters
When Holes Are Slightly Off-Center
Do NOT drill a new hole nearby—this weakens the wood. Instead:
1. Fill the mistake with wood glue and toothpicks.
2. Clamp until dry (1 hour).
3. Sand flush and re-mark your center point.
For Blown-Out Backsides
Prevent future blowout by:
– Slowing drill speed as the bit exits
– Switching to a brad-point bit with a sharper spur
– Ensuring backer board is flush against the cabinet
Installing Pulls Without Stripping Screws
Overtightening cracks hardware or strips threads. Hand-tighten the final 2 turns with a screwdriver—your palm should feel firm resistance but no strain. For weak materials like MDF, insert the plastic anchor provided with your pulls before screwing.
Pro Maintenance Tip: Prevent Loose Handles for 10+ Years
Apply 1 drop of thread-locking glue (like Loctite Purple) to screw threads before installation. This stops vibration loosening but allows future removal. Never use wood glue—it creates permanent installation.
Final Note: Perfect cabinet pull holes come down to three non-negotiables: a center-punched mark, a backer board, and brad-point bits. Skip any one, and you risk costly mistakes. By following this system—even on your first attempt—you’ll achieve hardware alignment so precise, contractors will assume you used a $500 drill press. Now that your pulls are flawlessly installed, explore our guide to choosing cabinet hardware finishes that hide fingerprints to keep your kitchen looking pristine.


