
Your new faucet is ready for installation, but you’re staring at your beautiful granite countertop wondering how to drill a hole without causing catastrophic damage. Granite ranks 6-7 on the Mohs hardness scale, making it significantly harder than marble and capable of destroying ordinary drill bits in seconds. With the right tools and techniques, you can create clean, professional-looking holes for faucets, soap dispensers, or plumbing fixtures without cracking your expensive countertop. This guide reveals the exact process professionals use to drill granite countertops successfully every time.
Essential Tools for Drilling Granite Countertops

Gathering the proper equipment before starting is critical—using the wrong tools is the #1 reason DIYers fail when attempting to drill granite. Standard masonry bits will shatter or overheat within seconds on this dense stone.
Must-Have Granite Drilling Equipment
Diamond-Tipped Core Bits (Non-Negotiable)
Forget regular drill bits—granite demands diamond-tipped tools specifically designed for stone. For faucet installations (typically 1-3/8″), use a continuous rim diamond hole saw. Larger holes (like 1.5″ drain openings) require a diamond core bit with segmented edges for better heat dissipation. The diamond segments must have 25-35 concentration to handle granite’s quartz content.
Precision Water Cooling System
This is your second most important tool after the bit itself. Prepare either:
– A spray bottle filled with water (for small holes)
– A continuous water feed system with tubing connected to a small reservoir
– A dam made of clay around the drilling area filled with water
Critical Safety Gear
Granite dust contains crystalline silica, a known respiratory hazard. You must have:
– N95 or P100 respirator (regular dust masks won’t protect you)
– Safety glasses with side shields (ANSI Z87.1+ standard)
– Hearing protection (diamond bits create high-pitched noise exceeding 85 dB)
– Cut-resistant gloves with vibration dampening
Preparing Your Granite Countertop for Drilling
Skipping proper preparation causes 80% of failed granite drilling attempts. Follow these exact steps before touching your drill to the stone.
Step 1: Marking the Hole Location Precisely
Clean the area with isopropyl alcohol and a lint-free cloth to remove any oils or residues. Apply painter’s tape in an “X” pattern over your intended hole location—this prevents surface chipping. Use a grease pencil to mark the exact center point, then create a small divot with a center punch. This tiny indentation prevents the drill bit from “walking” across the polished surface when you begin drilling.
Step 2: Verify Structural Support
If drilling an installed countertop, ensure solid support underneath. Place a 2×4 or piece of plywood directly beneath the drilling location, clamped securely to prevent movement. For through-holes, add a backer board on the underside to prevent blowout when the bit breaks through. Measure twice to ensure your hole won’t intersect with existing plumbing or electrical lines—use a stud finder with stud and pipe detection capabilities.
Step-by-Step Granite Drilling Process
Start with a Precision Pilot Hole
Begin with a 1/8″ carbide-tipped bit at a 30-45 degree angle to create a starter hole. This initial angled approach creates a self-centering groove that prevents bit wandering. Drill only 1/8″ deep, then gradually straighten to 90 degrees as you deepen the pilot hole. For holes larger than 1/2″, progress through incremental sizes (1/4″, 3/8″) before using your final diameter bit.
Maintain Perfect Water Cooling During Drilling
This is the make-or-break step: Without constant water cooling, your diamond bit will overheat within seconds, causing the diamond segments to de-bond from the steel body. Set up your water delivery system to provide 0.5 gallons per minute for a 1/2″ bit. As you drill, you should see a steady slurry of granite particles mixing with water—this indicates proper cooling. If the water stops flowing or the slurry dries up, stop immediately and reapply water before continuing.
Execute Proper Drilling Technique
Set your drill to 300-600 RPM (lower speeds for larger bits) and apply only 15-25 pounds of pressure—roughly the weight of the drill itself. Let the diamonds do the grinding; excessive force causes overheating and increases cracking risk. Drill at a consistent 1-2 inches per minute, retracting every 15-20 seconds to clear debris from the hole. As you approach breakthrough (about 1/4″ from the bottom), reduce pressure by 50% to prevent underside chipping.
Professional Tips for Flawless Granite Holes
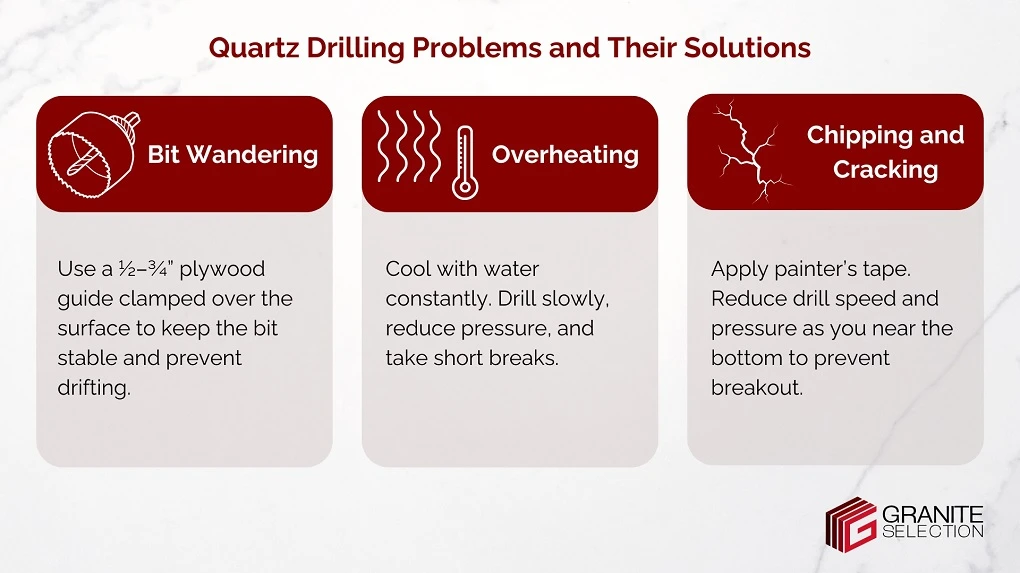
Prevent Common Drilling Failures
Bit walking solution: If your bit starts sliding, stop immediately. Clean the area, reapply painter’s tape, and use a center punch to deepen your guide mark. For stubborn cases, drill a 1/8″ pilot hole with a carbide bit first.
Overheating fix: If you smell burning or see smoke, stop drilling immediately. Let the bit cool completely in water before resuming at a slower speed with increased water flow. Never continue drilling when the bit is overheating—this permanently damages diamond segments.
Chip clogging remedy: When granite particles clog the hole, retract the bit and use a shop vacuum to clear debris before continuing. Increase water flow by 50% to prevent recurrence.
Hole-Specific Drilling Guidelines

For faucet installations (1-3/8″ holes):
Use a continuous rim diamond hole saw with variable speed drill set to 400 RPM. Drill from the top side for cleaner finish. Takes approximately 3-5 minutes with proper technique.
For soap dispenser holes (1-1/4″):
Apply extra painter’s tape around the perimeter to prevent chipping on the thinner edge. Use a 1/4″ pilot hole first, then step up to final size. Keep RPMs at 500 for this smaller diameter.
For sink drain holes (1.5″):
Requires more water flow (0.75 GPM) and lower RPMs (300). Drill from both sides if possible—start from top, then flip and complete from bottom to minimize underside chipping.
Critical Safety Protocols You Must Follow
Silica dust protection: Granite dust contains crystalline silica, which can cause silicosis with even short-term exposure. A P100 respirator is non-negotiable—regular dust masks offer zero protection against these microscopic particles. Pair this with a HEPA vacuum running continuously to capture airborne particles.
Vibration management: Drilling granite creates significant vibration that can cause hand-arm vibration syndrome with prolonged exposure. Limit drilling sessions to 20 minutes at a time, take 10-minute breaks, and wear vibration-dampening gloves. If your hands start tingling, stop immediately.
Bit seizure emergency procedure: If the bit suddenly stops while drilling (seizes), turn off the drill but maintain light pressure. Do not force the drill—this can shatter the granite. Let the bit cool completely before attempting to free it.
When to Call a Professional Stone Fabricator
While many holes can be DIY’d successfully, certain situations warrant professional help:
- Holes larger than 2 inches in diameter (requires specialized equipment)
- Granite thinner than 1.25 inches (extremely prone to cracking)
- Holes within 2 inches of an edge (high risk of splitting)
- Multiple holes close together (creates stress points)
- When working with expensive or rare granite varieties
Professionals charge $75-95 for standard 1/2″ holes, which includes specialized bits and their expertise—often worth the investment for critical installations.
Final Tips for Perfect Granite Countertop Holes
Drilling granite successfully comes down to three non-negotiable elements: the right diamond-tipped bit, constant water cooling, and controlled drilling pressure. Remember that patience pays off—rushing causes 90% of granite drilling failures. A 1.5″ hole should take 3-5 minutes of steady, patient drilling at proper RPMs.
After drilling, clean the hole thoroughly with compressed air (not water) if you’ll be applying adhesives. For a professional finish, lightly deburr the edges with a 120-grit diamond pad. Always drill from the finished side when possible for the cleanest appearance.
Pro tip: Keep your drill perfectly perpendicular to the surface—any angle increases cracking risk. Use a speed square against the countertop edge as a visual guide to maintain 90 degrees throughout drilling.
With these techniques, you’ll create clean, professional holes in your granite countertop without costly damage. The key is respecting granite’s extreme hardness by using diamond tools, maintaining constant cooling, and applying steady, light pressure—letting the bits do the work rather than forcing them through the stone.


