
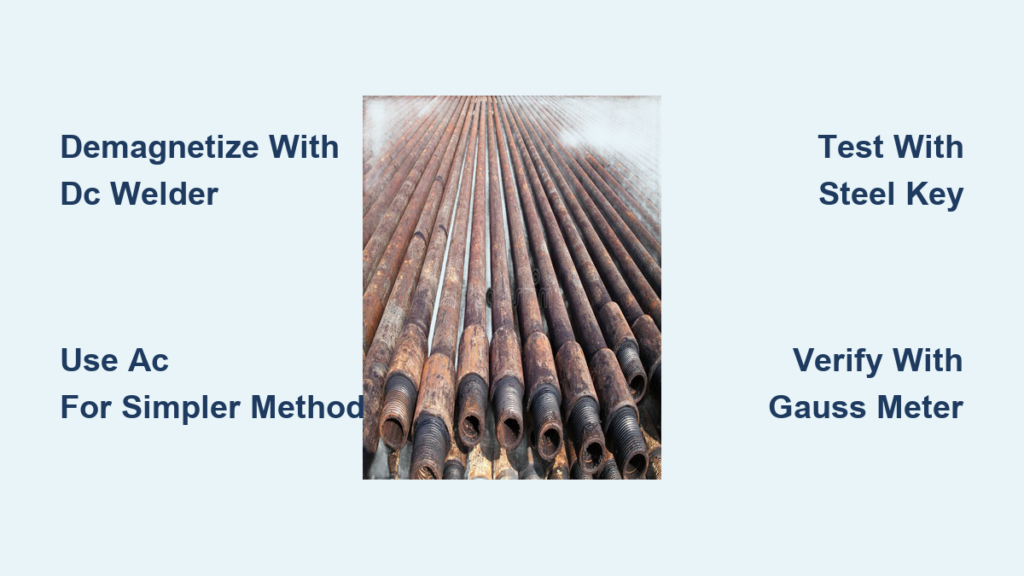
Welding magnetized drill pipe turns a routine job into a frustrating battle against physics. That erratic arc that dances uncontrollably, the inconsistent weld bead that looks more like a scribble than professional work—these are the telltale signs you’re dealing with magnetic arc blow. This common problem occurs because drill pipe often develops residual magnetism during its manufacturing or service life, creating invisible forces that disrupt your welding arc. When you need to repair or fabricate drill stem components, knowing how to demagnetize drill pipe isn’t just helpful—it’s essential for achieving strong, reliable welds that meet industry standards. In this guide, you’ll discover proven field techniques to eliminate magnetic interference and create stable, high-quality welds every time.
Why Magnetic Drill Pipe Causes Catastrophic Weld Failures
Magnetic arc blow isn’t just annoying—it directly compromises weld integrity. When residual magnetism exceeds 10 gauss in your drill pipe, the welding arc becomes unstable, leading to serious defects that can cause catastrophic field failures. You’ll notice the arc pulling violently to one side, making consistent travel impossible. This instability creates multiple critical issues:
- Incomplete fusion where the weld metal fails to properly bond with the base material
- Excessive porosity as the erratic arc traps gases in the cooling weld metal
- Inconsistent penetration resulting in weak spots along the weld seam
- Poor bead profile that requires extensive grinding and rework
The underlying physics is straightforward: the magnetic field around your drill pipe interacts with the electrical current of your welding arc, creating Lorentz forces that push the arc away from its intended path. Without proper demagnetization, you’re essentially fighting against invisible forces that guarantee substandard results, regardless of your welding skill level.
Essential Safety Measures Before Demagnetizing Drill Pipe
Before you even consider connecting your welder, implement these critical safety protocols. Working with high-amperage electrical systems demands respect—failure to follow these precautions could result in serious injury or equipment damage.
Required Personal Protective Equipment:
* Insulated gloves rated for 1000V—verify they’re dry and free of punctures before use
* Welding helmet with appropriate shade lens for arc protection
* Fire-resistant clothing made from 100% cotton or specialized FR materials
* Safety glasses with side shields worn under your welding helmet
* Heavy-duty leather work boots with non-slip soles
Critical Electrical Safety Steps:
* Implement strict lock-out/tag-out procedures before making any electrical connections
* Use only tools with insulated handles rated for electrical work
* Inspect all cables for cuts, fraying, or damaged insulation—replace immediately if compromised
* Ensure your work area is dry and free of flammable materials
* Keep a Class ABC fire extinguisher within immediate reach
The Field-Proven DC Welder Demagnetization Technique
This method uses equipment you already have on-site and delivers reliable results when executed correctly. Follow these precise steps to eliminate magnetic interference from your drill pipe.
Step-by-Step DC Demagnetization Process
- Prepare the work area: Position the drill pipe on non-conductive wooden blocks, ensuring it’s stable and won’t roll
- Create the electromagnet coil: Wrap the stinger (electrode) cable tightly around the pipe section needing demagnetization—aim for 10-20 tight, even turns
- Establish proper connections: Attach your work lead clamp directly to the pipe at one end, then clip the electrode holder to the wrapped coil
- Set correct parameters: Configure your DC welder for DCEP (DC+) polarity at 80-100 amps—start low and increase only if necessary
- Apply controlled current: Energize the circuit for 1-2 seconds, then immediately reverse polarity to DCEN and repeat
Expert Tips for Maximum Effectiveness
- Maintain consistent wrapping direction—either all clockwise or all counter-clockwise
- For stubborn magnetism, increase amperage to 120-130A but reduce duration to prevent overheating
- Test magnetism frequently using a small steel object like a key or nail
- If magnetism persists, add additional cable wraps rather than dramatically increasing amperage
Critical mistake to avoid: Never leave the coil energized for more than 2-3 seconds at a time—excessive heat damages both the cable insulation and the pipe’s metallurgical properties.
AC Welder Demagnetization: The Simpler Field Alternative
When you have an AC-capable welder available, this streamlined method provides excellent results with less setup complexity. Follow this precise procedure:
- Connect the stinger lead directly to the pipe at your intended weld location
- Attach the work (ground) lead to the pipe approximately 6-12 inches away
- Set your welder to AC mode at 50-70 amps
- Energize the circuit for 5-10 seconds while slowly moving the ground clamp along the pipe
- Test for residual magnetism using a small steel object
This technique works because AC current naturally reverses polarity 60 times per second, scrambling the magnetic domains within the steel. For best results, move the ground clamp steadily along the pipe during energization—this “wipes” the magnetic field progressively rather than attempting to neutralize the entire section at once.
Troubleshooting Persistent Magnetism in Drill Pipe
Even with proper technique, some drill pipe sections resist demagnetization. When you encounter stubborn magnetic fields, implement these field-tested solutions:
For High-Strength Magnetism (>15 Gauss)
- Layered wrapping technique: Create multiple coil layers around the pipe rather than a single thick wrap
- Pulse method: Apply 3-second bursts with 5-second cooling intervals between cycles
- Directional reversal: After initial demagnetization, repeat the process with the coil wrapped in the opposite direction
Emergency Field Solution for Critical Jobs
When time is limited and standard methods fail, try this field-proven technique:
- Heat the pipe section to 250-300°F using an oxy-fuel torch
- Apply the DC demagnetization method while the pipe is warm
- Allow slow cooling away from magnetic influences
Important: Never exceed 400°F when using heat-assisted demagnetization, as higher temperatures can alter the steel’s metallurgical properties.
Verifying Complete Demagnetization Before Welding
Don’t trust your eyes alone—use these reliable verification methods to confirm your drill pipe is truly demagnetized:
- Key test: Hold a small steel key near the pipe—if it shows any attraction, repeat the demagnetization process
- Compass method: Place a magnetic compass near the pipe; the needle should remain stable without deflection
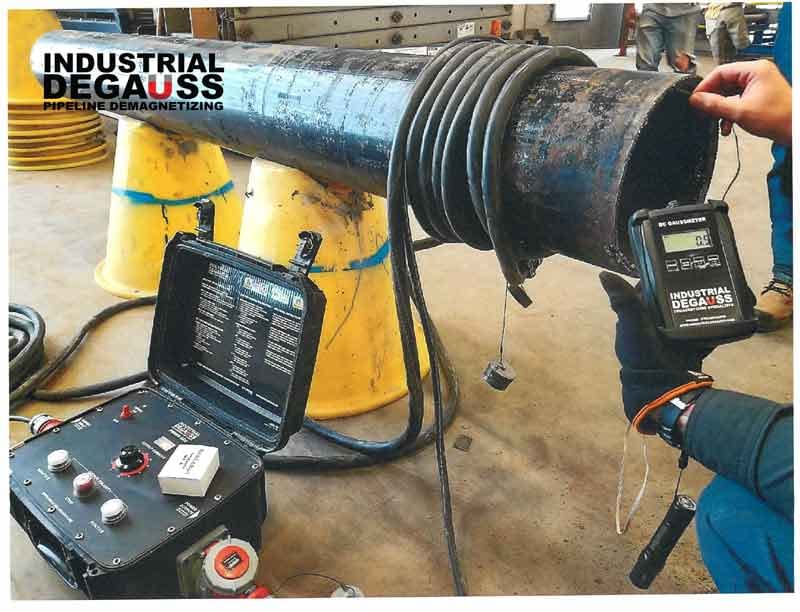
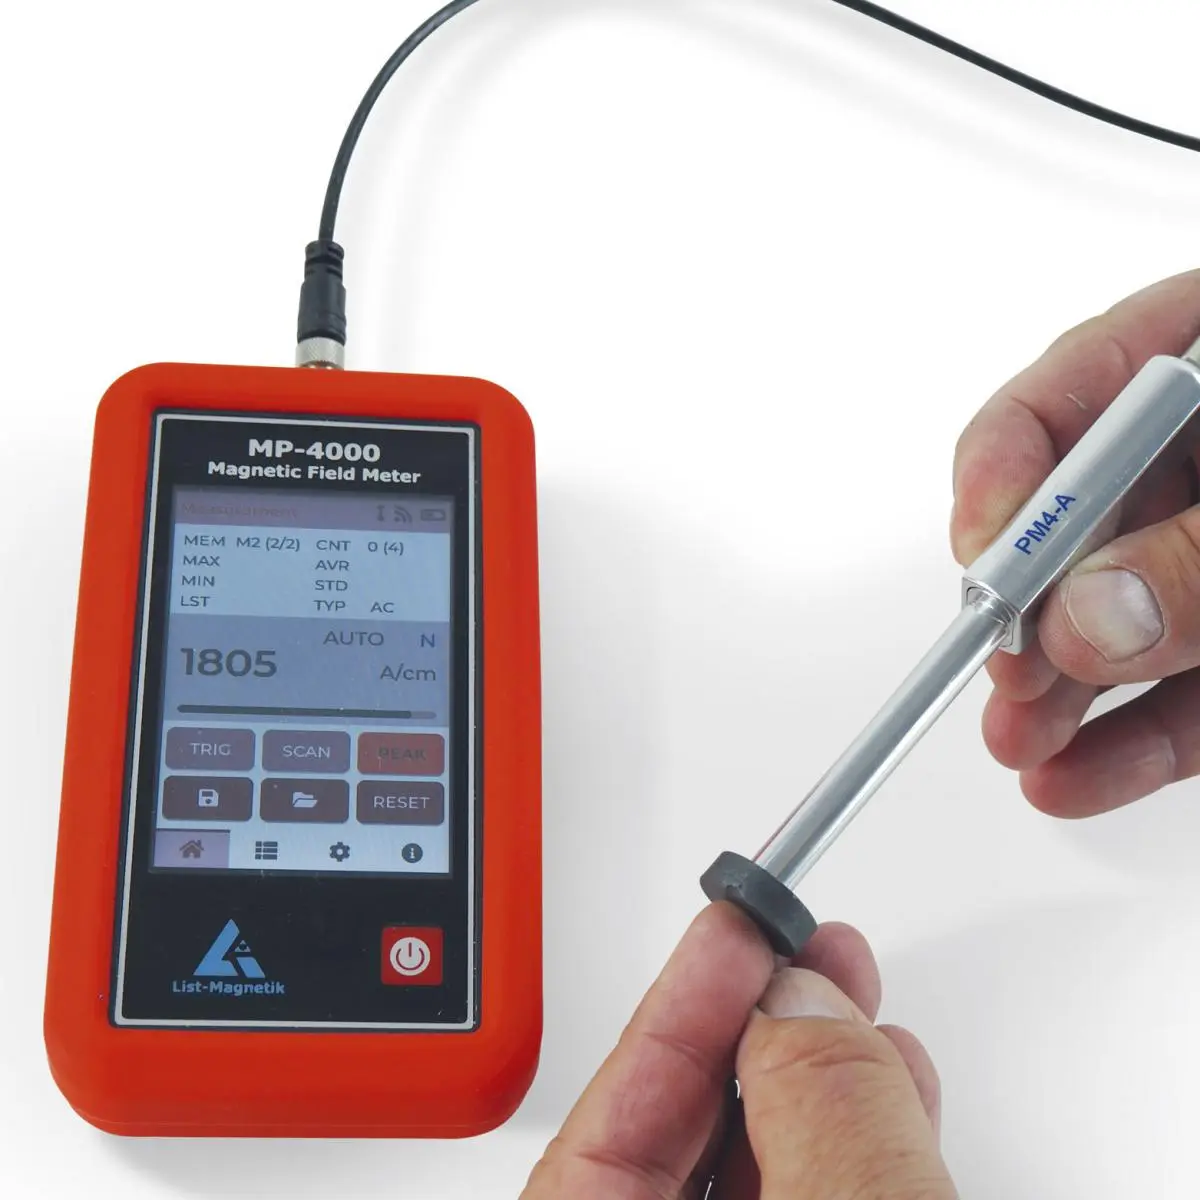
- Professional verification: For critical applications, use a gauss meter to confirm field strength is below 5 gauss
Critical acceptance standard: Your drill pipe must show no measurable attraction to small steel objects at 6 inches distance before welding begins. Any residual magnetism above 10 gauss will likely cause arc blow during welding.
Maintaining Demagnetized Pipe During Welding
Even properly demagnetized pipe can become re-magnetized during the welding process. Prevent this common issue with these professional techniques:
- Position your ground clamp as close as possible to the weld zone (within 6 inches)
- Use a trailing ground clamp that moves with your welding progress
- Maintain consistent travel speed—varying speed creates fluctuating magnetic fields
- For longer welds, periodically recheck magnetism every 12-18 inches
When welding high-carbon drill pipe, implement preheating to 200°F minimum to prevent thermal shock that can induce new magnetic fields. Monitor temperature carefully with a magnetic-indicator thermometer to stay within safe parameters.
Final Verification and Quality Control
Before declaring your welding project complete, conduct these essential quality checks:
- Perform a final magnetic field test at multiple points around the weld circumference
- Conduct 100% visual inspection with 4X magnification for bead consistency
- Verify dimensional accuracy—welds should stay within ±1/16″ of centerline
- For critical applications, perform non-destructive testing using magnetic particle inspection
Document your demagnetization process with pre- and post-magnetism readings, along with welding parameters used. This record-keeping proves due diligence if questions arise about weld integrity later.
The Bottom Line on Drill Pipe Demagnetization
Successfully demagnetizing drill pipe transforms welding from a frustrating battle into a predictable, high-quality process. The DC welder method provides the most reliable field solution for most applications, while the AC technique offers a valuable alternative when available. Remember that safety must always come first—never compromise on electrical precautions when working with high-amperage systems. By implementing these proven techniques and verification protocols, you’ll consistently achieve strong, reliable welds that meet industry standards. Proper demagnetization isn’t just about making your welding job easier—it’s about ensuring the structural integrity of every connection in your drill stem assembly, which directly impacts operational safety and equipment longevity in the field.


