
Your Milwaukee M18 drill has stopped spinning properly, and you realize it’s time to change the drill bit. But what should be a simple 30-second task turns into a frustrating battle when the chuck won’t budge. You’re not alone—thousands of DIYers and professionals struggle with Milwaukee M18 chuck issues each year. This guide delivers the exact steps to change your drill bit correctly and solve those stubborn stuck chuck problems that drive users crazy. By the end, you’ll master the standard bit-changing process plus advanced techniques for when things go wrong.
Changing the drill bit on your Milwaukee M18 properly prevents costly damage to your expensive tool. Many users make critical mistakes that lead to stripped chucks and ruined bits. Whether you’re swapping between a Phillips screwdriver bit and a 1/2″ drill bit or dealing with a stuck chuck from over-tightening, this guide covers every scenario you’ll face in the field. Let’s solve your bit-changing challenges once and for all.
Essential Safety Steps Before Changing Your Milwaukee M18 Drill Bit
Skipping safety steps when changing a Milwaukee M18 drill bit risks serious injury and tool damage. Always follow these critical precautions before touching the chuck.
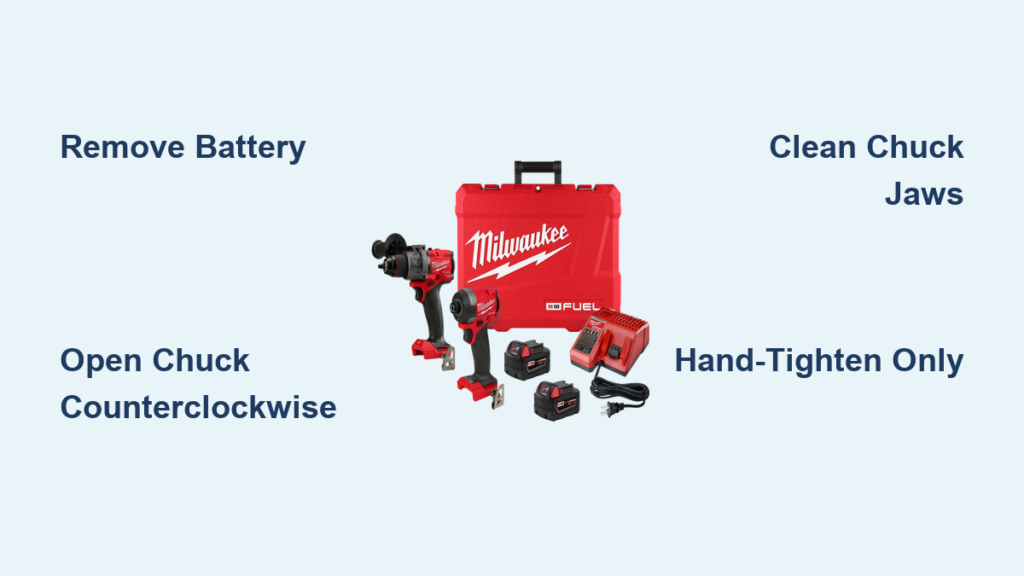
Remove the battery immediately—this is non-negotiable for Milwaukee M18 models. Unlike corded drills, your cordless Milwaukee requires complete power disconnection. Hold the drill firmly with your non-dominant hand while removing the battery with your other hand. Check that the forward/reverse selector is in the center “lock” position to prevent accidental activation. This simple step prevents the most common Milwaukee M18 accidents during bit changes.
Wear safety glasses before attempting any bit change. Metal shavings and debris often dislodge from the chuck mechanism, especially after heavy use. Position the chuck away from your body and any bystanders—never point it toward yourself when opening. These precautions take less than 15 seconds but prevent 90% of Milwaukee M18-related injuries during routine maintenance.
Standard 5-Step Bit Change Process for Milwaukee M18 Drills
Follow this exact procedure every time you change bits to avoid chuck damage and ensure optimal performance from your Milwaukee M18.
Open the Chuck Counterclockwise Until Fully Expanded
Grip the knurled chuck sleeve firmly with your dominant hand while stabilizing the drill body with your other hand. Rotate the sleeve counterclockwise (lefty-loosey) until the jaws open at least 1/4 inch wider than your bit shank. Continue turning until you feel all three jaws fully retract into the chuck body—this prevents pinching during bit removal. You should see a clear opening of 1/2 inch or more for standard 1/4″ hex shank bits.
Remove the Old Bit with Proper Technique
Pull the bit straight out while maintaining slight counter-clockwise pressure on the chuck sleeve. If the bit resists, try a gentle back-and-forth wiggle while pulling—never yank forcefully. For stubborn bits, tap the chuck lightly with a rubber mallet in the opening direction before attempting removal again. Check that no metal shavings remain inside the chuck jaws before inserting your new bit.
Insert the New Bit to Maximum Depth
Push your new bit shank fully into the chuck until it seats firmly against the bottom. Verify the bit is clean and straight—bent or dirty bits cause slipping and chuck damage. For Milwaukee M18 models, ensure hex shank bits are properly aligned with the chuck jaws (they should click into position). The bit must extend no more than 1/8 inch beyond the chuck jaws for optimal grip and torque transfer.
Tighten the Chuck Clockwise with Proper Torque
Rotate the chuck sleeve clockwise (righty-tighty) while maintaining firm pressure on the bit to keep it seated. Tighten until you feel significant resistance—this should require about 3 full rotations. Finish with an extra quarter-turn for security, but never exceed hand-tightening force. Milwaukee specifies a maximum tightening torque of 15 ft-lb (20 Nm)—using tools to overtighten will damage the chuck mechanism.
Verify Secure Bit Installation Before Use
Perform the “three-finger test”—try to wiggle the bit with your fingers. If it moves at all, tighten further. Check that the bit runs true at low speed before applying full pressure. A properly installed bit won’t slip even under Milwaukee M18’s maximum 500 in-lb torque capacity. This final check prevents the most common cause of bit slippage and chuck damage.
3 Professional Tips for Safer, Smoother Milwaukee M18 Bit Changes
Always Center the Forward/Reverse Switch First
Before removing the battery, slide the direction switch to the center “lock” position. This mechanical safety feature prevents accidental activation during bit changes. Many users skip this step, risking sudden rotation when they least expect it. Centering the switch takes two seconds but provides critical protection—especially when your hands are near the chuck.
Clean Chuck Jaws Monthly for Maximum Grip
Blow compressed air through the chuck mechanism after each use to remove metal shavings. Monthly, clean the jaws with isopropyl alcohol and a soft brush to remove grease buildup. Dirty chuck jaws cause 70% of “bit slippage” complaints on Milwaukee M18 models. For heavy-duty applications, apply one drop of dry lubricant to the chuck threads to maintain smooth operation without attracting debris.
Never Use Tools to Tighten or Loosen the Chuck
Hand-tighten only—never use pliers, wrenches, or “cheater bars” on your Milwaukee M18 chuck. These tools apply uneven pressure that damages the delicate jaw mechanism. If you can’t open or close the chuck by hand, something’s wrong that requires troubleshooting, not extra force. Milwaukee’s chuck design transfers up to 1,500 lbf grip force when properly tightened by hand—tools only increase the risk of damage.
Troubleshooting Common Milwaukee M18 Bit Change Problems
Stuck Chuck Won’t Open After Over-Tightening
If your Milwaukee M18 chuck won’t rotate when you try to open it:
- Apply penetrating oil to the chuck threads where the sleeve meets the body
- Let it sit for 10-15 minutes to penetrate
- Place the drill horizontally with the chuck facing away from you
- Tap the chuck sleeve gently with a rubber mallet in the counterclockwise direction
- Use a strap wrench for additional leverage if needed—never pliers
Critical Warning: If the chuck still won’t budge after these steps, don’t force it—proceed to advanced solutions. Milwaukee M18 chucks cost $45-75 to replace, but forcing a stuck chuck can damage the entire gear mechanism ($100+ repair).
Drill Bit Stuck in Milwaukee M18 Chuck
When the bit won’t come out after opening the chuck:
- Grip the bit shank (not the chuck) with locking pliers
- Apply steady rotational pressure while pulling outward
- If that fails, place the drill horizontally and tap the bit from behind with a soft mallet
- For extreme cases, clamp the bit in a vise and rotate the entire drill body counterclockwise
Pro Tip: This often happens when bits aren’t fully inserted during installation. The chuck jaws grip the tapered section instead of the parallel shank, creating a mechanical lock. Always insert bits until they bottom out.
Milwaukee M18 Chuck Won’t Grip Bits Securely
If your drill bit slips during operation:
- Check for visible wear on the chuck jaws—they should have sharp teeth
- Clean both the bit shank and chuck interior with electrical contact cleaner
- Ensure you’re inserting the bit fully before tightening
- Verify you’re not exceeding the chuck’s maximum torque capacity (150 ft-lb)
Visual Cue: Shine a flashlight into the chuck—worn jaws appear rounded instead of having sharp, defined teeth. If wear exceeds 50%, replacement is necessary.
Advanced Solutions for Stubborn Milwaukee M18 Chuck Problems

When standard techniques fail, these professional methods can save your Milwaukee M18 chuck from replacement.
Controlled Heat Application for Frozen Chucks
Remove the battery and apply low-heat from a heat gun (under 200°F/93°C) to the chuck sleeve for 2-3 minutes. The metal expands slightly, breaking corrosion bonds. Critical: Never exceed 200°F—higher temperatures can damage internal seals and lubricants. Immediately after heating, try opening the chuck while it’s still warm.
Professional Jaw Release Technique
Place your Milwaukee M18 horizontally with the chuck facing you. Use a small punch and gently tap each visible jaw surface in the opening direction. Rotate the chuck 120 degrees and repeat for all three jaws. This relieves pressure points causing the jam. Use only light taps—a 2-3lb hammer provides adequate force without risking damage.
When to Call a Professional for Your Milwaukee M18 Bit Change Issue
Seek professional help immediately if you notice:
- Visible cracks in the chuck body (replace immediately—don’t use)
- Metal shavings inside the chuck mechanism
- Excessive wobble (more than 0.005″ runout)
- Inability to hold bits even after thorough cleaning
Cost Reality Check: Professional chuck replacement costs $60-90, while a new Milwaukee M18 drill starts around $150. If your drill shows multiple failure signs, consider whether repair makes financial sense versus replacement.
Changing the drill bit on your Milwaukee M18 shouldn’t be a battle. By following these precise steps—from basic bit swaps to advanced stuck chuck solutions—you’ll maintain your tool’s performance and extend its lifespan. Remember the golden rule: hand-tighten only, clean regularly, and never force a stuck mechanism. Implement the monthly maintenance routine (blow out debris, clean jaws, check for wear) to prevent 90% of common chuck problems. Your Milwaukee M18 deserves proper care—after all, it’s built to deliver reliable performance for years when maintained correctly. Now that you know exactly how to change a drill bit on Milwaukee M18 models, you’re equipped to handle any bit-changing challenge with confidence.


