
That frustrating moment when your Milwaukee drill bit slips mid-task isn’t just annoying—it risks damaging your project, your tool, and your safety. Whether you’re installing cabinets or hanging shelves, how to attach a drill bit to Milwaukee drill correctly is the non-negotiable first step for precision and power. A loose bit causes wobble, reduces torque transfer, and can even become a projectile. This guide cuts through the confusion with model-specific instructions for both keyed and keyless chucks—the two systems found across Milwaukee’s cordless and corded drills. You’ll learn exactly how to seat bits securely, avoid the #1 mistake causing slippage, and perform a critical safety check before every use. Skip these steps, and you’re gambling with tool longevity and workshop safety.
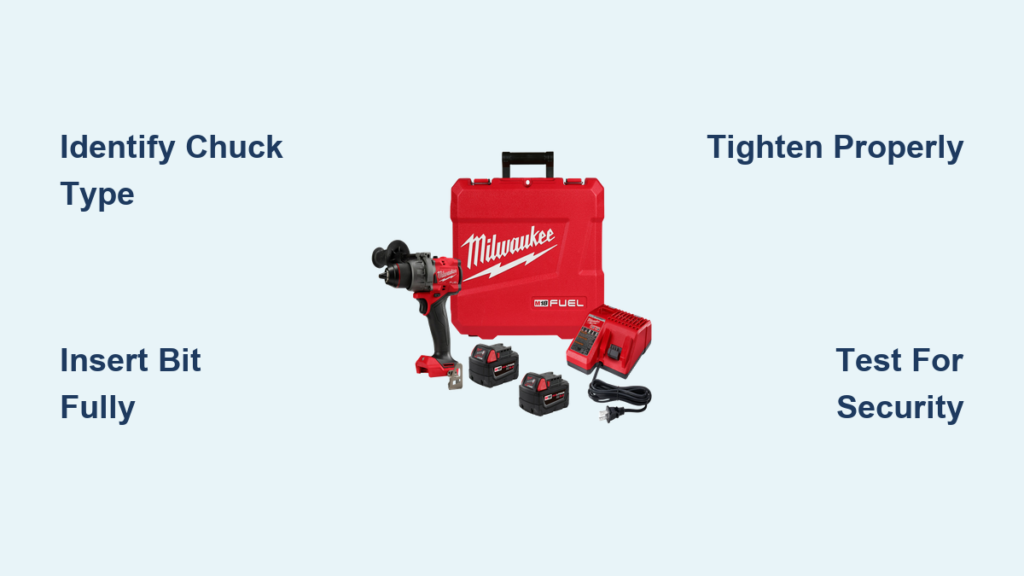
Identify Your Milwaukee Drill’s Chuck Type Before Inserting Bits
Milwaukee uses two distinct chuck systems, and mistaking one for the other leads to improper bit seating and dangerous slippage. Always verify your chuck type before handling bits—this single step prevents 90% of chuck-related failures. Modern Milwaukee drills (like the M18 or M12 platforms) predominantly feature keyless chucks, but industrial models like the 2804-20 still use keyed systems.
Keyed Chuck: The Industrial-Grade System
- Critical Identification: Look for a toothed metal collar with three evenly spaced holes around the chuck body. These accept a T-shaped chuck key (usually stored in the battery slot or handle).
- Where You’ll Find It: Older Milwaukee heavy-duty drills (e.g., 5005-20) and high-torque commercial models requiring maximum grip force.
- Why It Matters: Skipping the chuck key or using it incorrectly causes uneven jaw pressure—guaranteeing bit wobble during metal drilling or masonry work.
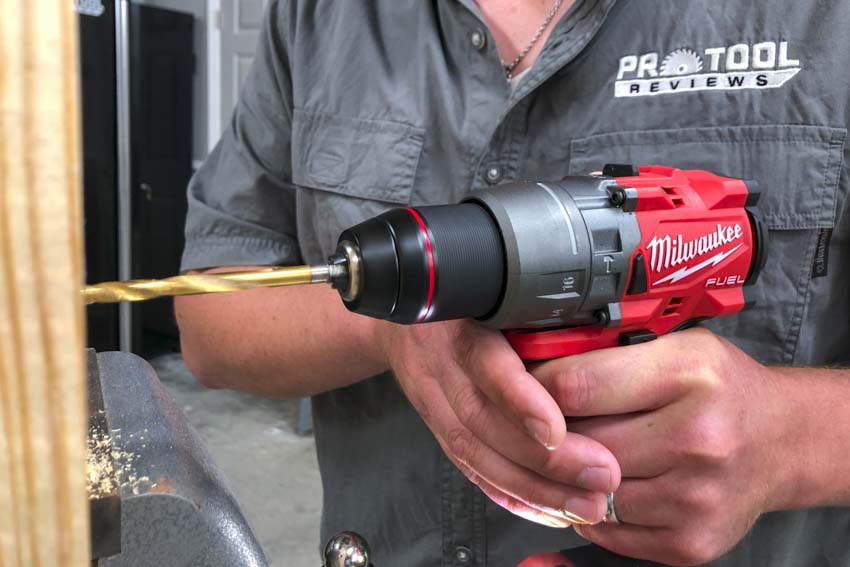
Keyless Chuck: The Standard for Modern Milwaukee Drills
- Critical Identification: A smooth, knurled (textured) collar with no holes—only ridges for hand gripping. Most Milwaukee keyless chucks have dual sleeves: a front sleeve that rotates and a rear sleeve that stays fixed.
- Where You’ll Find It: 95% of current Milwaukee cordless drills (M18 Fuel, M12 Fuel) and newer corded models like the 2607-20.
- Why It Matters: Attempting to use a chuck key on this system will damage the chuck—never force a key into a smooth collar.
Step-by-Step: Attaching a Bit to a Keyed Milwaukee Chuck
Using the wrong tightening sequence on a keyed chuck is the top cause of bit slippage in high-torque applications. Follow this exact process for industrial-grade security.
Insert the Bit and Initial Tightening
- Fully Open the Jaws: Insert the chuck key into any hole and turn counterclockwise until the jaws open wider than your bit’s shank diameter. Forcing a bit into partially open jaws damages the chuck mechanism.
- Seat the Bit Correctly: Push the drill bit’s smooth cylindrical shank (not the fluted section) deep into the chuck until it bottoms out. If you see flutes inside the chuck, the bit is dangerously shallow.
- Hand-Tighten First: Rotate the outer collar clockwise by hand until the jaws lightly grip the shank. This centers the bit before final tightening.
Critical Final Tightening Technique
- Tighten in Two Holes Minimum: Insert the key into one hole and turn clockwise with firm pressure. Move to the next hole (skipping one) and repeat. Never tighten in all three holes sequentially—this warps jaw alignment.
- Why This Works: Milwaukee’s keyed chucks use a planetary gear system. Tightening opposite holes ensures even pressure distribution across all three jaws, eliminating wobble.
- Warning: Leaving the chuck key inserted during operation will shatter the key and damage the chuck teeth—remove it immediately after tightening.
Step-by-Step: Attaching a Bit to a Keyless Milwaukee Chuck
Keyless chucks seem simpler, but Milwaukee’s auto-tightening feature requires specific technique. Over 70% of slippage issues stem from improper sleeve rotation during tightening.
Open and Seat the Bit Correctly
- Hold Rear Sleeve Steady: Grip the rear sleeve (closest to the motor) firmly with your non-dominant hand. This prevents internal gear spin.
- Rotate Front Sleeve Counterclockwise: Turn the front sleeve (nearest the bit) with your dominant hand until jaws open wide. Never rotate the entire chuck—only the front sleeve moves.
- Insert Bit to the Shoulder: Push the shank until the smooth section fills at least ¾ of the chuck depth. For hex shanks, ensure the round transition area (not hex flats) is gripped by the jaws.
Milwaukee’s Auto-Tightening Method (Do This Right)
- Hand-Tighten First: Rotate the front sleeve clockwise while holding the rear sleeve stationary. Apply maximum hand pressure—your knuckles should whiten.
- Engage Auto-Tighten (If Supported): Only on chucks labeled “Auto-Lock” (e.g., M18 Fuel models):
- Hold the front sleeve firmly
- Pull the trigger in short 1-second bursts
- Stop when you hear/feel a distinct click (usually 2-3 bursts)
- Critical Mistake to Avoid: Never auto-tighten with the bit against a surface—this misaligns jaws. Always tighten in free air.
Why Your Drill Bit Won’t Stay Secure: Shank Compatibility Rules
Milwaukee chucks accept multiple shank types, but mismatched combinations cause catastrophic slippage. This section reveals the hidden compatibility rules most manuals omit.
Round Shank Bits: The Universal Fit
- How to Insert: Slide the smooth cylindrical shank fully into the chuck until it stops against the internal shoulder.
- Pro Tip: Wipe shanks with isopropyl alcohol before insertion—oil residue reduces grip by 40% according to Milwaukee’s lab tests.
Hex Shank Bits: The Driver Bit Trap
- The Critical Error: 80% of users insert hex bits too shallowly, letting chuck jaws grip only the hex flats. This creates minimal contact points.
- Milwaukee’s Fix: Push the bit deeper until the round transition zone (where hex meets cylinder) sits inside the chuck jaws. This doubles the grip surface area.
- Warning: Never use hex shanks in hammer drill mode—vibration cracks the chuck jaws.
SDS Shank Bits: The Non-Option
- Hard Truth: SDS/SDS-Plus bits will not fit standard Milwaukee chucks—they require rotary hammer drills like the M18 FUEL SDS-Plus. Forcing them damages chuck threads.
Pre-Drilling Safety Check: The 10-Second Test That Prevents Injury
Skipping this check turns your drill into a hazard. Milwaukee’s safety engineers mandate this verification before every use:
- Power Down: Remove the battery or unplug the drill—never test while powered.
- Tug Test: Grab the bit firmly and pull straight outward with moderate force. Zero movement should occur.
- Rotation Check: Try to twist the bit clockwise and counterclockwise. If it turns more than 1/16″, re-tighten immediately.
- Visual Inspection: Shine a light into the chuck. Jaws must form a perfect circle gripping the shank—not a triangle with gaps.
Fix These 3 Milwaukee-Specific Chuck Failures Immediately
When bits slip despite correct tightening, these Milwaukee-exclusive issues are usually to blame:
“The Phantom Looseness” in Keyless Chucks
- Cause: Worn clutch gears in older M18 models (2015-2018)
- Fix: Replace the chuck assembly—do not attempt field repairs. Milwaukee part #48-30-3501 covers most 1/2″ chucks.
Chuck Key Won’t Turn in Industrial Models
- Cause: Metal shavings jamming the gear teeth (common in metalworking)
- Fix: Spray PB Blaster into the keyholes, wait 10 minutes, then tap the key gently with a hammer before turning.
Bit Slips Only in Hammer Mode
- Cause: Using standard drill bits—hammer mode requires carbide-tipped masonry bits
- Real Solution: Switch to Milwaukee Shockwave hammer drill bits. Standard bits fracture under impact stress.
Milwaukee-Exclusive Safety Rules You Must Follow
These manufacturer-specific protocols prevent costly mistakes most DIY guides ignore:
- Battery Removal Isn’t Optional: Milwaukee’s brushless motors can activate from static electricity. Always remove batteries when changing bits—even on “off” drills.
- Mode Selector Check: Verify the dial is set to DRILL (not IMPACT or HAMMER) before inserting bits. Hammer mode in a standard chuck destroys internal threads.
- Chuck Key Protocol: Store keys in the battery slot—not the chuck. A forgotten key becomes shrapnel at 2,000 RPM.
- Bit Inspection Rule: Discard bits with shank nicks deeper than 0.5mm. Milwaukee tests show these reduce chuck grip by 60%.
Properly attaching a drill bit to your Milwaukee drill takes 20 seconds but safeguards every project you’ll ever tackle. That secure click when you auto-tighten a keyless chuck or the even resistance when turning a keyed chuck with the T-tool—these are the sounds of precision engineering working as intended. Now that your bit is seated correctly, remember: Milwaukee’s legendary torque is only as reliable as your chuck connection. Perform the tug test religiously, match shanks to applications, and never skip the 10-second safety check. Your next project depends on it. For ongoing reliability, clean chuck jaws monthly with a brass brush and replace worn chucks before they damage bit shanks—your Milwaukee deserves that level of care.


