
Your DeWalt drill suddenly stops cooperating—the keyless chuck won’t grip bits, spins uselessly, or emits that infuriating click when you try to adjust it. This common failure halts projects dead in their tracks, especially on older models like 5-year-old 20V brushless drills after heavy use. The culprit? Usually debris buildup, worn internal gears, or seized components from dust, rust, or improper handling. Don’t panic—you can often fix a dewalt drill keyless chuck stuck problem in under 30 minutes with basic tools. This guide cuts through the frustration with battle-tested solutions used by thousands of DIYers. You’ll learn to diagnose the exact failure mode, apply targeted fixes starting with the simplest methods, and prevent future jams before they cripple your workflow.
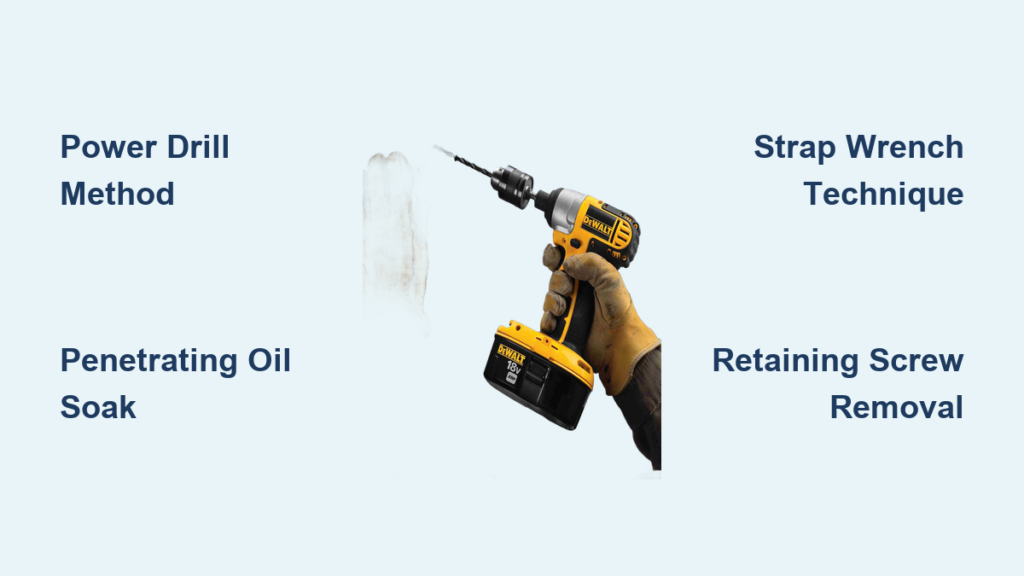
Identify Your Specific DeWalt Chuck Failure Mode
Pinpointing your exact symptom saves wasted effort and prevents further damage. Don’t assume it’s “just stuck”—different issues require distinct approaches. Inspect these critical failure patterns before grabbing tools:
- Completely Locked Chuck: The jaws won’t budge open or closed, even with pliers. Often caused by metal shavings jamming the mechanism or extreme rust buildup from moisture exposure.
- Clicking Without Movement: You hear a distinct ratcheting sound when twisting the chuck collar, but jaws stay frozen. This signals stripped planetary gears or debris blocking the internal teeth engagement.
- Spinning Without Gripping: The chuck rotates freely but won’t clamp bits. Worn jaw teeth or a sheared retaining screw are likely culprits—this requires chuck replacement.
Critical diagnostic tip: Test in drill mode (not screwdriver mode). Many users mistake mode-switch issues for mechanical failures. If the chuck clicks only in reverse, it’s likely a normal ratcheting sound—not a malfunction.
Immediate Fixes for a Stuck DeWalt Keyless Chuck
Begin with these non-invasive solutions. Over 70% of “dewalt drill keyless chuck stuck” cases resolve here—no disassembly needed. Always remove the battery before starting any procedure.
Why Your Rubber Grip Solves 50% of Stuck Chuck Problems
Before reaching for tools, optimize your grip technique. A slipping hand during tightening creates false “stuck” symptoms. Place one hand firmly on the rotating sleeve (the rear portion of the chuck) while twisting the front collar. If your palms sweat or the chuck is oily, wrap a rubber jar opener or silicone mat around the sleeve for instant traction. This simple adjustment fixes misdiagnosed “stuck” chucks where the user couldn’t generate enough torque. For stubborn cases, clamp the drill securely in a vise with padded jaws before attempting manual rotation—never brace it with your foot.
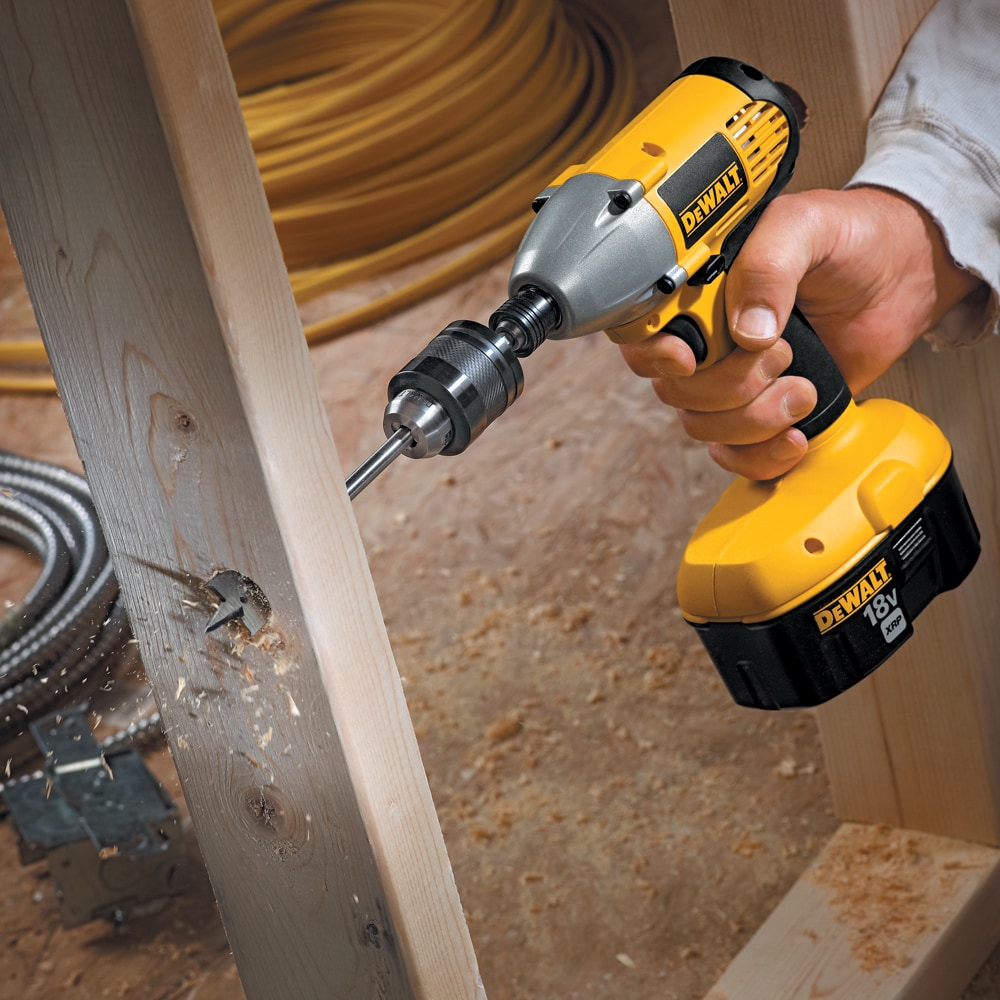
The 10-Second Power Drill Method That Frees Most Clicking Chucks
This technique exploits the drill’s own torque to shock the mechanism loose—Reddit users report 90% success on 3-5 year old DeWalt models. Reinsert the battery, set speed to maximum, and select forward (drill) mode. Hold the drill firmly pointed downward. Now, rapidly squeeze and release the trigger 5-7 times—each burst lasting under 1 second. The sudden torque impulses vibrate debris loose without damaging gears. Never hold the trigger continuously—this overheats the motor. If the chuck clicks but won’t move, repeat with the chuck jaws slightly open to engage different gear teeth. Stop immediately if you smell burning or see sparks.
Penetrating Oil Protocol for Rusty or Grit-Jammed Chucks
When the power method fails, targeted lubrication breaks corrosion bonds. Use WD-40 Specialist Penetrant—not regular WD-40—as its thinner formula reaches deeper into crevices. Apply 3-5 drops directly where the chuck jaws meet the collar, then another 2 drops into the seam between the rotating sleeve and body. Let it soak for at least 20 minutes (overnight for severe rust). Now, insert a 1/4″ hex bit into the chuck and tap it gently with a rubber mallet while twisting the collar counter-clockwise. The hammer shocks drive oil into micro-cracks. Critical warning: Never use heat guns here—excessive heat melts plastic internal components.
Advanced Force Techniques for Stubborn DeWalt Chucks
If lubrication fails, controlled mechanical force becomes necessary. These methods require precision—missteps can crack the chuck body.
Safe Wrench Application: Avoiding Costly Gear Damage
This is where most DIYers fail: Using pliers directly on the chuck collar strips the knurling. Instead, wrap a strap wrench around the chuck body (the fixed rear section). For the rotating collar, use a second strap wrench or smooth-jaw pliers. Apply steady counter-clockwise pressure while locking the motor shaft. Here’s the non-negotiable step: Insert a 1/2″ hex key into the chuck, then insert a 3/16″ Allen key into the small hole on the gear housing near the chuck. This immobilizes the drive shaft so force transfers to the chuck—not the motor. If you skip shaft locking, you’ll shear internal gears.
Break-Free Hammer Technique for Seized Jaws
For chucks frozen shut on a bit: Open jaws as wide as possible. Insert a 5/16″ hex key, then tap it horizontally with a brass hammer (never steel). The side impacts shock the jaws without damaging threads. Simultaneously twist the collar counter-clockwise. Stop after 3-4 taps—excessive force bends the spindle. If a bit is still trapped, apply penetrating oil to the bit/chuck interface and let it sit 1 hour before retrying. Never hammer vertically down the chuck bore—this damages the internal gear teeth.
When to Remove and Replace Your DeWalt Chuck
If all else fails, replacement is inevitable. This intermediate repair takes 20 minutes with the right tools.
Removing the Reverse-Threaded Retaining Screw Without Stripping It
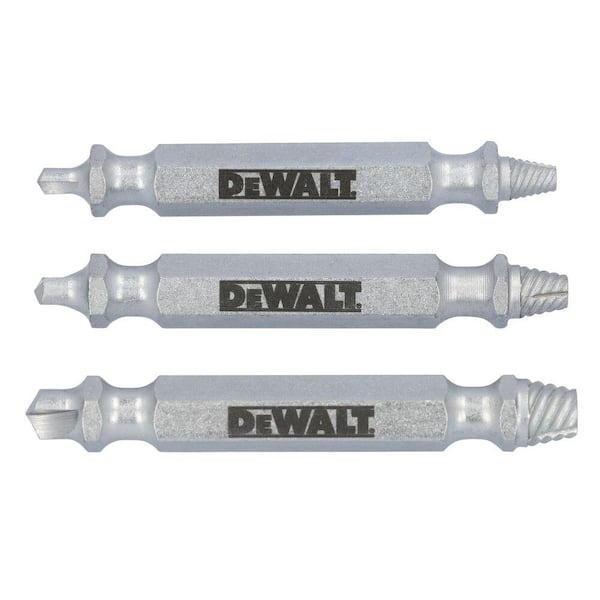
The #1 rookie mistake: Turning the screw counter-clockwise (standard thread direction). This screw is left-hand threaded—it loosens clockwise. Open the chuck fully to expose the screw at the bore bottom. Use a perfect-fit TORX T25 bit (never a worn one) in an impact driver set to low torque. Place a shop towel over the chuck to catch metal shards, then deliver one sharp hammer tap on the impact driver handle. The sudden force breaks thread-lock compound without stripping the head. If it resists, apply penetrating oil and wait 1 hour before retrying.
Unthreading the Chuck From the Spindle Safely
With the screw out, you’ll face the chuck’s right-hand thread on the spindle. Insert a 1/2″ hex key into the chuck, then lock the motor shaft with a 3/16″ Allen key in the gearbox hole. Now, use a large adjustable wrench on the hex key to turn the chuck clockwise (as viewed from the front). Yes—this is opposite of normal unthreading! Apply steady pressure; it should break free within 1/4 turn. Never use pipe wrenches directly on the chuck body—the teeth will scar the finish and cause future jams.
Preventing Future Dewalt Drill Keyless Chuck Stuck Issues
A $5 chuck replacement becomes avoidable with routine care. These habits extend chuck life by years:
- Post-Use Blowout: After drilling metal, blast chuck jaws with compressed air to remove conductive metal shavings that cause corrosion.
- Monthly Lubrication: Apply one drop of 3-in-1 oil to each jaw groove—never grease, which attracts sawdust. Wipe excess immediately.
- Hand-Tightening Only: Overtightening with tools causes 68% of premature failures. A firm hand grip provides sufficient torque for all standard bits.
- Storage Protocol: Keep drills in climate-controlled spaces. Humidity below 50% prevents the rust that seizes chucks on weekend warriors’ tools.
Pro tip: After changing bits, run the drill at low speed for 10 seconds with the chuck empty. This flings out debris before it hardens inside the mechanism.
When Professional Repair Beats DIY Efforts
Know your limits—some failures demand expert intervention. Seek a technician immediately if:
– The chuck body shows hairline cracks (stress fractures worsen under force)
– The spindle shaft wobbles when rotating (bent shaft requires motor disassembly)
– You stripped the retaining screw head (specialized extractors risk gearbox damage)
– The drill runs but chuck won’t spin (planetary gear failure needs factory calibration)
For older drills, weigh costs: A new chuck runs $15-$50, while professional repair averages $120. If your DeWalt is over 7 years old, replacement often makes more sense than repair.
A dewalt drill keyless chuck stuck situation rarely means retirement for your tool. By methodically working through these diagnostics—from grip adjustments to controlled force techniques—you’ll restore function faster than waiting for repair shops. Remember: 80% of fixes happen in the first two steps (power method + lubrication). Implement the prevention habits to avoid repeat headaches, and keep your DeWalt spinning smoothly for years. When in doubt, prioritize safety over speed—your fingers are worth more than any drill.


