
Your Bosch 18V drill battery suddenly won’t charge, showing no lights on the fuel gauge or triggering a fast-flashing red/green sequence on the charger. You press the test button—nothing happens. The tool refuses to power up, halting your project mid-task. This frustrating scenario affects thousands of DIYers and professionals monthly, especially with popular models like the Bosch 18V 5.0Ah packs. Don’t panic yet—most “dead” Bosch batteries aren’t truly dead. In this guide, you’ll learn exactly why your Bosch drill battery isn’t charging and how to diagnose and fix the top three culprits: BMS lockouts, charger faults, and internal failures. You’ll get back to work faster with actionable steps tailored to your specific symptoms.
Why Your Bosch 18V Battery Won’t Charge (Top 3 Causes)
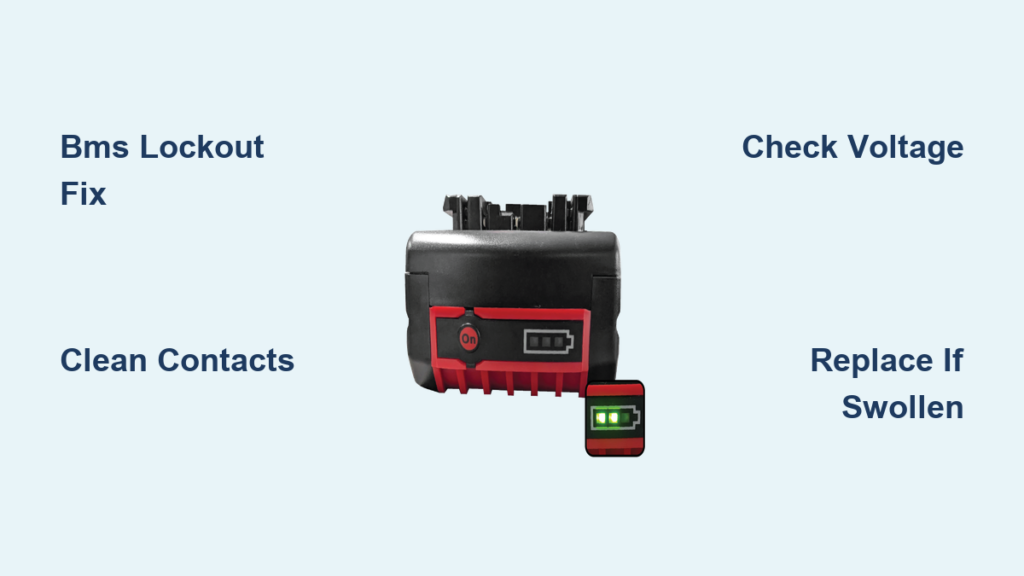
When your Bosch drill battery not charging, three specific failures dominate repair forums and technician reports. Identifying which one applies to your situation saves hours of wasted effort.
BMS Lockout from Deep Discharge
The #1 reason for Bosch batteries showing 12V at the terminals (instead of 18-21V) is a Battery Management System (BMS) safety lockout. Lithium-ion cells dip below 2.5V per cell—often from storage at 0% charge—triggering permanent protection mode. Your charger detects this fault and aborts charging to prevent fire. Symptoms include:
– Total pack voltage stuck between 10V-13V
– Fuel gauge completely unresponsive
– Charger flashing alternating red/green (model-dependent)
This isn’t a “dead battery”—it’s a recoverable safety feature.
Faulty Charger or Dirty Contacts
Before assuming battery failure, rule out simpler issues. Corroded terminals or a failing charger mimic battery problems:
– Oxidized contacts: Greenish buildup on battery prongs or charger pins blocks current flow
– Charger fault codes: Solid red light (Bosch GAL1880) or rapid red flashes indicate internal failure
– Outlet issues: Test with another device—many users overlook tripped GFCI outlets
Pro tip: Wipe contacts with 90%+ isopropyl alcohol on a cotton swab. If the charger works with another battery, your original pack is suspect.
Internal Battery Failure (Cells or BMS)
True hardware failures show these red flags:
– Swollen cells: Visible bulging in the 18650 battery cylinders (immediate replacement required)
– Burnt BMS components: Charred spots or melted plastic on the circuit board
– Disconnected wires: Broken thermistor leads (thin wires near cells)
If voltage reads 0V across main terminals after cleaning contacts, internal damage is likely. Never use a physically damaged pack—fire risk is extreme.
Critical Safety Steps Before Opening Your Bosch Battery
Stop immediately if you’re uncomfortable with high-risk electronics work. Lithium-ion packs can explode during repair attempts. If proceeding:
- Wear ANSI-approved safety goggles—cells can rupture violently
- Work outdoors on concrete—never indoors or near flammables
- Keep metal tools 3+ feet away—accidental terminal contact causes 200+ amp arcs
- Assume all components are live—capacitors hold charge even at 0V reading
- Have a Class D fire extinguisher ready—water won’t stop lithium fires
This isn’t routine maintenance—it’s hazardous component-level repair. If unsure, skip to battery replacement options.
Diagnose the Problem: Battery, Charger, or Drill?

Follow this sequence to isolate the fault in under 10 minutes. No tools required for initial checks.
Test the Charger with Another Battery
Plug a known-good Bosch battery into your charger:
– ✅ Solid green light: Charger works—problem is your original battery
– ❌ Flashing red/green or no light: Charger is faulty—replace it (Bosch GAL1880 costs $35)
– ⚠️ Charger accepts battery but won’t charge: Clean terminals as described earlier
Check for Physical Damage and Clean Terminals
Inspect your “dead” battery in bright light:
1. Squeeze test: Gently press sides—if you feel sponginess or see gaps between case halves, stop. Swollen cells mean immediate disposal at a recycling center.
2. Terminal inspection: Shine light on the 3-prong connector (2 large pins + center data pin). Green corrosion = clean with alcohol and toothbrush.
3. Fuel gauge test: Press the charge-level button 5 times rapidly. No LEDs? BMS is locked or dead.
Verify Tool Compatibility
A faulty drill can mimic battery issues:
– Insert the suspect battery into another Bosch tool (e.g., driver instead of drill)
– If it powers the second tool, your original drill’s motor or switch is defective
– If both tools reject the battery, the pack is confirmed faulty
Voltage Testing: Is Your Battery Pack Recoverable?
Grab a $15 digital multimeter for these critical checks. Never skip safety gear.
Measuring Total Pack Voltage Safely (12V Reading Explained)
Set multimeter to DC voltage (20V range):
1. Place black probe on large negative terminal (marked “-“)
2. Place red probe on large positive terminal (marked “+”)
– Healthy: 18V-21.6V (fully charged) down to 15V (discharged)
– Recoverable: 12.6V-15V (BMS lockout—can be revived)
– Dead: <12.6V (permanent cell damage—replace pack)
If reading 12.3V like most failed packs, BMS lockout is confirmed. Proceed to revival.
Checking Individual Cell Voltages (Advanced)
Extreme caution: Shorting adjacent cell tabs causes instant fire. Only attempt if:
– You have experience with series circuits
– Cells show no physical damage
– Total pack voltage >10V
Measure between BMS sense wires (6-pin white connector):
1. Black probe on pin 1 (negative)
2. Red probe on pin 2 = Cell 1 voltage
3. Red probe on pin 3 = Cells 1+2 voltage
– Healthy cell: 3.2V-4.2V
– Critical failure: Any reading <2.5V
If one cell reads 0.8V while others show 3.5V, that cell is dead—pack requires professional rebuilding.
Reviving a “Bricked” Bosch Battery (BMS Lockout Fix)
Warning: This carries fire risk. Proceed only if total voltage is 10V-15V and cells are undamaged.
Required Tools: Bench Power Supply Setup
You need:
– Adjustable DC power supply (or hobby charger like ISDT Q8 Max)
– Alligator clip leads
– Safety gloves and goggles
– Critical settings: 12.6V voltage limit, 100mA current limit
Step-by-Step Controlled Voltage Recovery
- Open battery case by prying plastic clips (no screws on most 5.0Ah packs)
- Locate main cell pack terminals (nickel strips connecting all cells—not BMS output)
- Connect power supply:
– Black lead to pack negative (last cell’s negative tab)
– Red lead to pack positive (first cell’s positive tab) - Set supply to 12.6V / 100mA and activate output
- Monitor constantly: Check voltage every 60 seconds
- At 13.5V (2.7V/cell), disconnect supply—BMS should “wake up”
- Reassemble pack loosely and test in Bosch charger
Why 100mA Current and 12.6V Are Critical
Higher current (e.g., 500mA) overheats weak cells. 12.6V targets 2.52V per cell—the exact BMS unlock threshold. Exceeding 15V risks thermal runaway. Most users succeed in 20-40 minutes if cells are intact.
When Replacement Beats Repair: Swollen Cells and Dead Packs
Don’t waste time on unrecoverable packs. Replace immediately if:
Recognizing Irreversible Damage
- Swollen cells: Visible cylinder bulging or case separation
- Voltage below 10V: Indicates internal short or dead cell
- Burnt smell: From electrolyte leakage—irreparable hazard
- BMS physical damage: Charring or melted components
Cost Comparison: DIY Repair vs. New Bosch Battery
| Option | Cost | Time | Success Rate | Safety Risk |
|---|---|---|---|---|
| DIY revival | $0 | 30 min | 65%* | High |
| Cell replacement | $40 (cells) | 2 hrs | 45% | Extreme |
| New Bosch 5.0Ah | $129 | 0 | 100% | None |
| *For packs with 10V+ voltage and no physical damage |
For most users, a new battery is smarter. Genuine Bosch packs include 3-year warranties—counterfeits fail rapidly.
Bosch Battery Maintenance: Prevent “Not Charging” Failures
Extend battery life 2-3x with these pro habits:
Optimal Storage Charge Levels (30-50%)
Store packs at partial charge:
– Never leave at 0% or 100% for >2 weeks
– Ideal storage: 35% charge in 50°F/10°C environment
– Check voltage quarterly—recharge if below 15V
Avoiding Deep Discharge in Daily Use
- Stop using tools when power noticeably drops (not when dead)
- Remove battery from drill after use—parasitic drain occurs
- Never leave on charger after full indicator—degrades cells
Final Takeaway: 80% of Bosch drill battery not charging cases stem from BMS lockouts due to deep discharge—often fixable with controlled revival. But if your pack shows swelling, 0V, or physical damage, replace it immediately. Prioritize safety over savings: Lithium fires burn at 1,400°F and reignite hours later. For reliable performance, buy genuine Bosch batteries and store them at 35-40% charge. When in doubt, visit a certified recycling center—never trash lithium packs.
Next Step: If revival fails, check Bosch’s official recycling partners at Bosch Power Tools Support for safe disposal. Consider investing in a second battery to avoid downtime—rotate usage to prolong lifespan.


