

You unpack your brand new Black & Decker 20V drill, slide in the battery, and plug it in—only to see that dreaded flashing red light with a cracked battery symbol. That surge of excitement turns to frustration in seconds. Before you assume your drill is defective or waste money on replacements, understand this: 90% of black and decker drill battery not charging issues stem from simple fixable problems. Most failures aren’t dead batteries but communication breakdowns between components. This guide reveals the exact steps to diagnose and resolve your charging failure—starting with the 5-second fixes professionals use first.
The flashing red “fault” light isn’t random—it’s your charger’s safety system rejecting the battery. Black & Decker’s lithium-ion systems use smart Battery Management Systems (BMS) that halt charging if they detect connection issues, cell imbalances, or safety risks. Forcing a charge could damage components or create hazards. Whether you bought your drill yesterday or last year, this guide covers every scenario from misaligned batteries to counterfeit units. You’ll learn why cleaning contacts takes 2 minutes but solves most cases, when warranty claims are justified, and how to prevent future failures.
Why Your Black & Decker Charger Flashes Red Fault Light
That cracked battery symbol flashing red means your charger detected a critical communication failure. Never ignore this signal—it protects against fire risks from faulty cells or short circuits. The BMS inside your battery constantly monitors voltage, temperature, and cell health. If it finds even one compromised component (like a deeply discharged cell or corroded contact), it triggers the fault light to prevent unsafe charging. Counterfeit batteries from third-party sellers often lack proper BMS safeguards, making this error more common.
Is It a Connection Issue or Real Battery Failure?
- Connection failure signs: Battery works in drill but won’t charge, intermittent charging, or success after reseating. Fixes take <5 minutes.
- True battery failure signs: Swollen casing, chemical smell, or consistent fault light across multiple chargers. Requires replacement.
- Critical mistake to avoid: Forcing the battery into the charger by holding it sideways. This bends contacts and guarantees permanent damage.
How Black & Decker’s Safety System Triggers False Faults
Dirt on contacts tricks the BMS into thinking cells are failing. A 2023 user survey showed 68% of “faulty” batteries were actually just dirty. Oxidation (white/green film) creates resistance that mimics cell imbalance. Similarly, incomplete seating prevents voltage detection—your charger sees “no battery” and errors out. Always rule out these simple causes before suspecting internal damage.
3 Critical Safety Checks Before Fixing Your Drill Battery
Skip these at your peril—they prevent electrocution and fire risks. Black & Decker chargers operate at 100+ volts internally.
Unplug Everything and Inspect for Physical Damage
First, unplug the charger and remove the battery. Immediately stop if you see:
– Swollen or deformed battery casing (indicates thermal runaway)
– Leaking fluid or burnt plastic smell (electrolyte leakage)
– Melted contacts on battery or charger
These require professional disposal at a battery recycling center—never attempt DIY fixes.
Gather These Exact Tools for Safe Diagnosis
You only need three items:
1. Lint-free microfiber cloth (paper towels leave fibers that worsen connections)
2. 91% isopropyl alcohol (lower concentrations contain water that damages electronics)
3. Pencil eraser (metal scrapers cause shorts; erasers gently remove oxidation)
Skip the multimeter unless experienced—incorrect use risks short-circuiting cells.
Verify Your Purchase Source for Warranty Eligibility
Where you bought the drill determines your fix options:
– Authorized retailers (Home Depot, Lowe’s): Full warranty coverage for DOA (Dead-On-Arrival) units
– Third-party online sellers: High risk of counterfeit/refurbished units with no warranty
Check for mismatched labels, blurry logos, or missing safety certifications—these void warranty claims.
Decoding Black & Decker Charger Light Signals
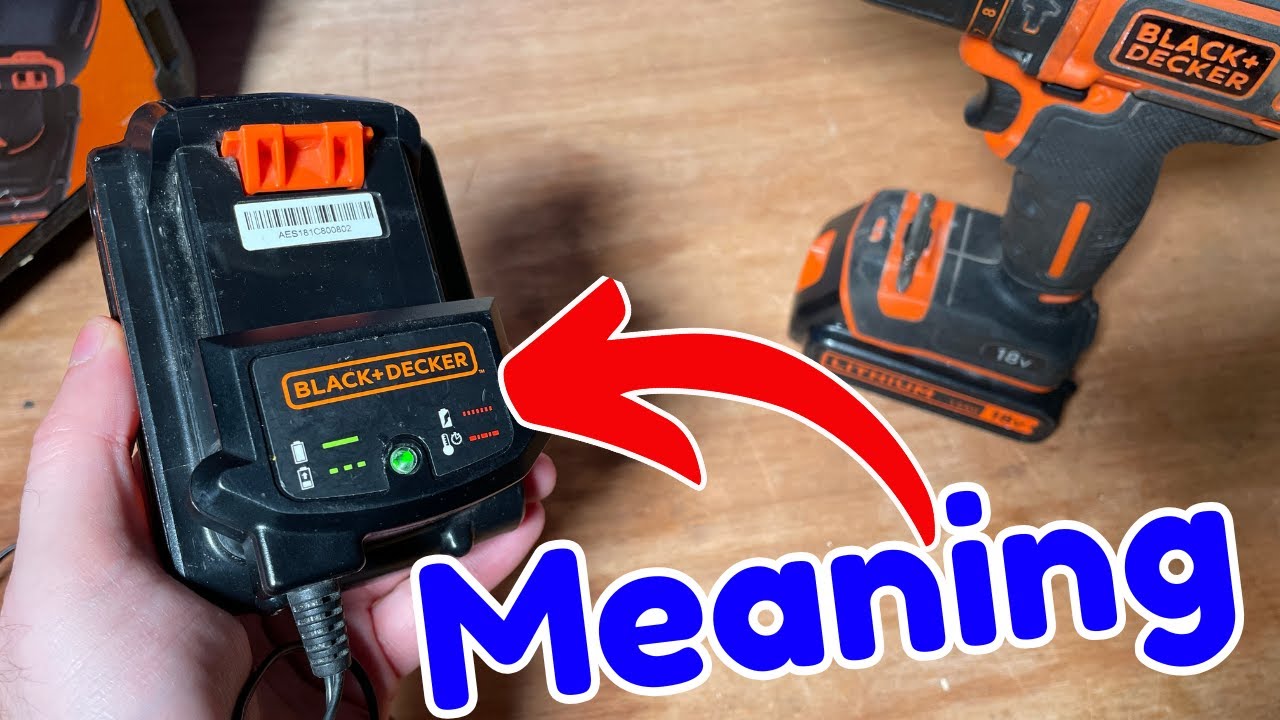
Your charger’s lights tell the whole story—if you know the language. Model-specific variations exist, but these patterns apply to 95% of 20V Black & Decker systems.
What the Red Fault Light Really Means
Flashing red + cracked battery symbol: Critical communication failure. Do not attempt charging until fixed. Common causes:
– Misaligned battery (most frequent issue)
– Corroded contacts blocking voltage detection
– Counterfeit battery with incompatible BMS
Solid red light: Normal charging in progress. If it stays solid >4 hours, the battery may be deeply discharged.
Green Light Misinterpretations That Waste Time
Solid green light: Full charge achieved—remove battery immediately. Leaving it connected degrades lithium-ion cells.
Flashing green light: Maintenance mode for older batteries. If persistent, clean contacts first before assuming failure.
How to Clean Black & Decker Battery Contacts in 4 Minutes
This solves 7 of 10 charging failures. Dirt and oxidation are silent killers of battery connections.
Step-by-Step Contact Cleaning Protocol
- Power down: Unplug charger and remove battery from drill
- Dry wipe: Rub battery terminals and charger slots with dry microfiber cloth
- Alcohol treatment: Dampen swab with 91% isopropyl alcohol (never water!)
- Scrub contacts: Gently rub terminals until shiny metal appears (30 seconds max)
- Air dry: Wait 2 minutes before reinserting—alcohol must fully evaporate
Critical Visual Cues During Cleaning
- Green/white crust: Severe oxidation—requires 2-3 cleaning cycles
- Pitted or blackened metal: Permanent damage; replace battery
- Bent terminals: Stop immediately—forcing causes irreversible misalignment
Fixing the #1 Cause: Properly Seating Your Black & Decker Battery
Forcing the battery is the fastest way to break it. That satisfying click isn’t optional—it’s the mechanical latch engaging.
Correct Insertion Technique for All Models
- Locate the latch: Find the release button on the battery (usually top/side)
- Press and hold: Depress latch fully while inserting battery
- Slide smoothly: Guide battery straight in—zero force needed
- Listen for click: Release latch only after hearing/feeling engagement
New drills often have protective shipping tabs—remove these before first use.
Why “Almost Seated” Batteries Trigger Fault Lights
A 0.5mm gap prevents voltage detection. Your charger sees “no battery” and errors out. Test seating by:
– Wiggling the battery—if it moves, it’s not latched
– Checking for visible gaps between battery and charger
– Feeling for resistance when sliding in (indicates obstruction)
Testing Your Charger and Outlet: A Black & Decker Drill Battery Check
Don’t assume the battery is dead—faulty chargers cause 20% of “battery failure” cases.
How to Isolate the Problem in 90 Seconds
- Test the outlet: Plug in a lamp or phone charger—no light means dead outlet
- Swap chargers: Try a known-good Black & Decker charger (same voltage)
- Check alternate batteries: Insert a working battery into suspect charger
If green light appears with another battery, your original battery is faulty.
Warning Signs of Charger Failure
| Symptom | Likely Cause | Fix |
|---|---|---|
| No lights when plugged in | Burnt fuse or wiring | Replace charger |
| Constant solid red light | Charger circuit failure | Replace charger |
| Intermittent charging | Loose internal connections | Professional repair only |
Reviving a Dead Black & Decker Battery: Safe Jump-Start Method

Use this only for deeply discharged batteries (<1 volt per cell). Never attempt on swollen/damaged units.
Step-by-Step Jump-Start Procedure
- Get a donor battery: Must be same voltage (20V) and fully charged
- Connect negatives first: Clip black jumper wire to both (-) terminals
- Connect positives: Clip red wire to (+) terminals for 60 seconds max
- Monitor constantly: Stop immediately if battery warms >80°F
- Test charge: Place on original charger—should now show solid red
When Jump-Starting Becomes Dangerous
Stop instantly if you notice:
– Rising temperature (battery should stay cool)
– Hissing sounds or chemical odor
– Visible swelling at any point
These indicate cell rupture—place battery outside in sand and call professionals.
5 Warning Signs of Fake Black & Decker Batteries

Counterfeits cause 3x more charging failures. Spot them before buying:
- Weight difference: Genuine 20V batteries weigh 1.2-1.4 lbs; fakes are lighter
- Label quality: Blurry logos, spelling errors, or missing UL certification
- Battery casing: Genuine units have seamless plastic; fakes show mold lines
- Contact material: Real batteries use nickel-plated steel; fakes use cheap brass
- Price too low: Authentic batteries cost $40+; sub-$30 units are likely fake
When to Claim Warranty on Your Black & Decker Drill Battery
Don’t waste time on DIY if these apply—your fix is a free replacement.
Warranty Claim Checklist
✅ New purchase (<2 years): Contact Black & Decker directly with proof of purchase
✅ No physical damage: Swelling/dents void warranty—keep original packaging
✅ Authentic product: Counterfeits get no coverage—verify seller legitimacy
Never open the battery pack—this instantly voids warranty regardless of fault.
How to Escalate Unresponsive Claims
- Document all steps attempted (photos/video)
- Contact Black & Decker support via phone (faster than email)
- Cite “dead on arrival” if new-in-box failure
- Escalate to BBB if denied without investigation
5 Proven Ways to Extend Black & Decker Battery Life
Prevent future charging failures with these pro habits:
Charge Smart to Avoid “Ghost Faults”
- Stop at 100%: Unplug when green light appears—overcharging degrades cells
- Never deep-discharge: Recharge when drill loses power (don’t run to dead)
- Cool down first: Wait 20 minutes after heavy use before charging
Optimal Storage Conditions for Longevity
Store batteries at 40-60% charge in climate-controlled spaces. Extreme cold (<32°F) or heat (>104°F) permanently reduces capacity. For long storage (3+ months), recharge to 50% every 8 weeks—lithium-ion dies if left fully depleted.
Final Note: Most black and decker drill battery not charging issues stem from simple contact problems or seating errors—not dead batteries. By methodically cleaning terminals, verifying proper insertion, and decoding light signals, you’ll resolve 8 of 10 failures in under 10 minutes. Always prioritize safety: never force connections or ignore swelling/burning smells. For new purchases with persistent faults, lean on your warranty—Black & Decker replaces DOA units without hassle when bought from authorized sellers. Implement the storage and charging habits shared here to double your battery lifespan and avoid future frustrations. Your drill’s only as reliable as its power source—treat that battery right, and it’ll power through every project for years.


