That slow-draining sink or shower has finally reached the breaking point. Chemical cleaners failed, plunging just pushed gunk deeper, and now you’re staring at a puddle of standing water. Before calling a plumber, grab your Cobra drain auger – the manual snake that tackles clogs chemicals can’t touch. Unlike temporary fixes, this tool physically removes hair, grease, and debris from pipes when used correctly. But here’s the catch: most DIYers fail because they treat it like a plumbing spear instead of a precision instrument. This guide reveals the exact technique professionals use to clear 95% of household clogs in under 15 minutes – no expensive service calls needed.
You’ll avoid the frustration of kinked cables and slipping handles that turn simple jobs into nightmares. Forget brute force; success hinges on mastering the “twist-feed-reset” rhythm that navigates pipes without damage. By the end, you’ll confidently clear bathroom sinks, showers, and tubs while protecting your plumbing. Let’s transform that frustrating clog into a victory.
Essential Safety and Setup Steps Before Cranking
Skipping proper setup causes 70% of Cobra auger failures – from shattered pipes to cables jammed beyond retrieval. These non-negotiable steps prevent costly mistakes before the cable touches your drain.
Gear Up and Prepare the Drain Opening
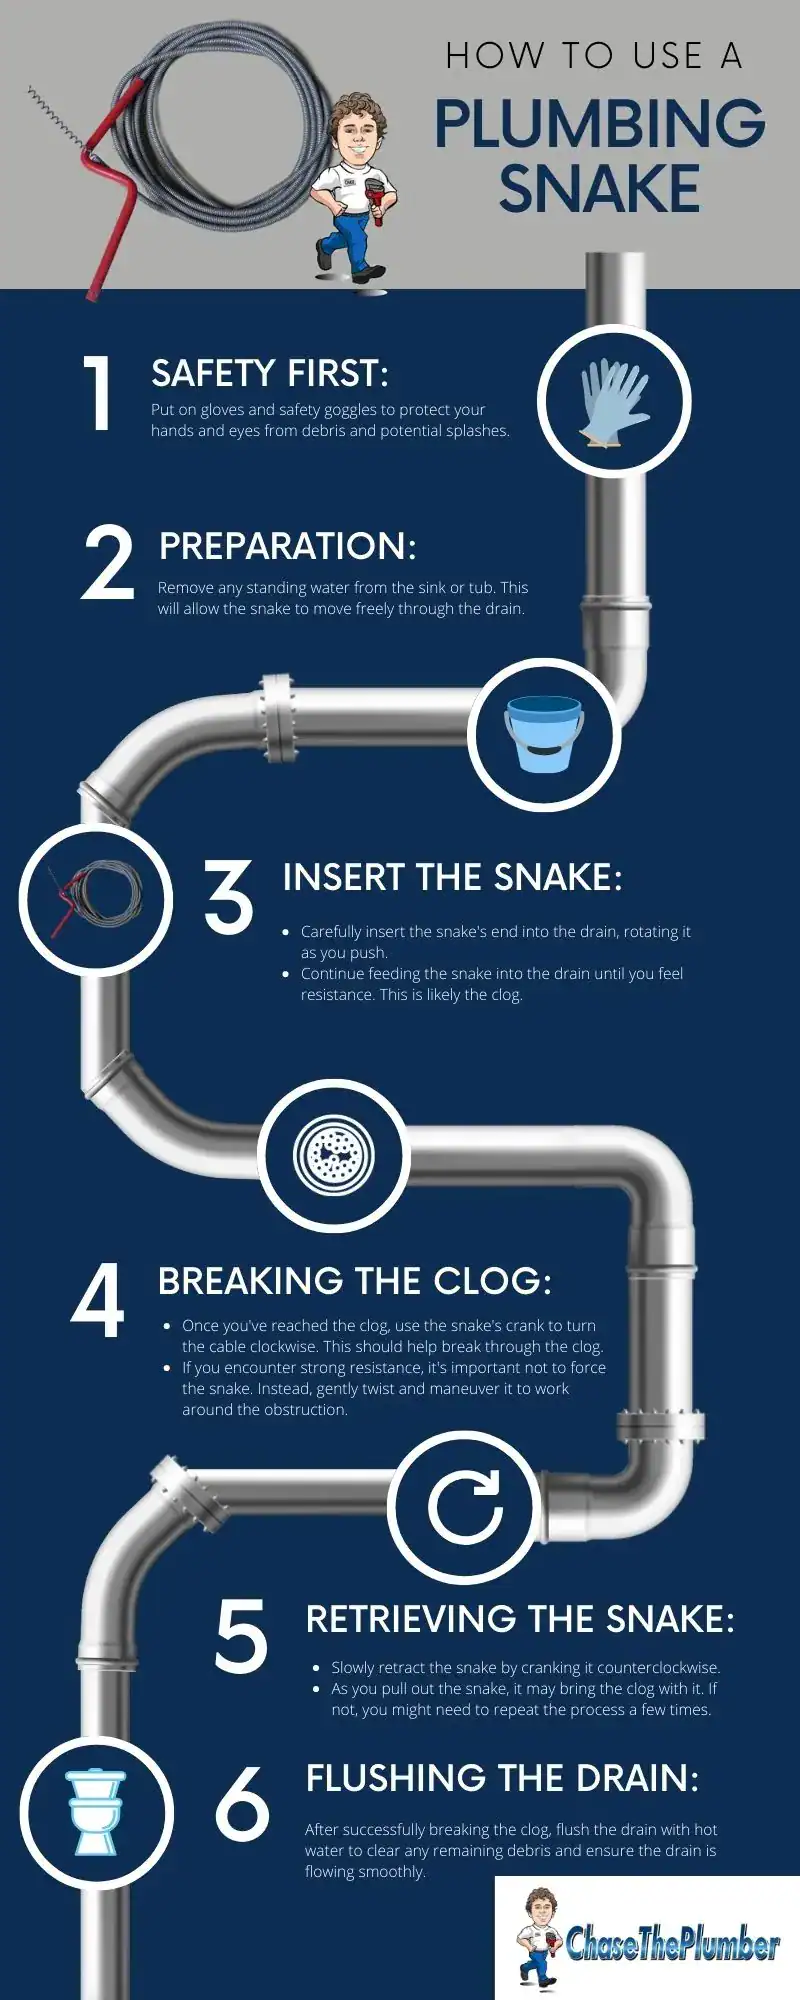
Pull on heavy-duty rubber gloves and safety glasses immediately. That “clean” drain water contains bacteria, and cable snaps can send debris flying at 50mph. Remove strainers or overflow plates with a screwdriver – for pop-up sink stoppers, unscrew the pivot rod underneath first. Place a 5-gallon bucket directly under the drain opening and lay old towels on the floor. Pro tip: Keep a second bucket filled with soapy water nearby for cleaning the cable mid-operation. Never skip bucket placement – one slip during retrieval can flood cabinets or floors with sewage.
Lubricate Correctly: The Silicone Secret Most DIYers Miss
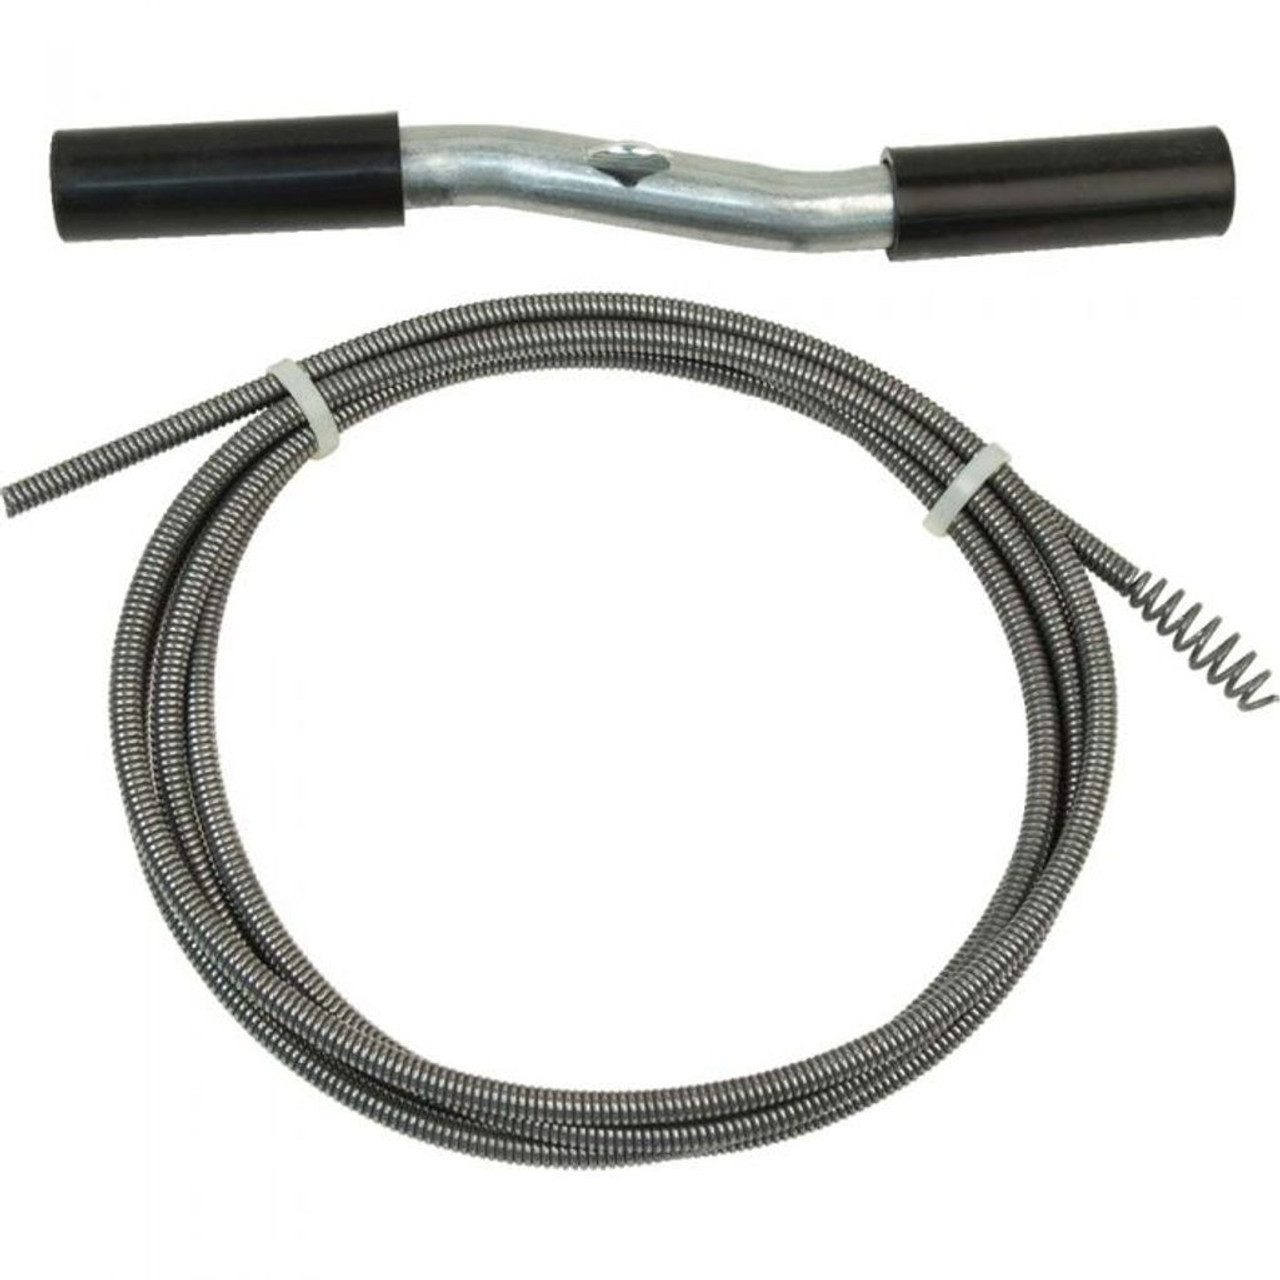
Uncoil the entire cable on a flat surface and inspect for kinks, frayed wires, or rust spots. A damaged cable will snap inside your pipe, creating an emergency. Now, apply a thin film of 100% silicone lubricant (like Oatey Ultra Gel) to the first 3-4 feet of cable. Critical warning: Petroleum products like WD-40 or motor oil will melt PVC pipes within hours – silicone is the only safe option. This lubrication reduces friction by 60%, letting the cable glide through bends instead of binding. Skip this step, and you’ll fight a tangled mess within 2 feet of insertion.
Secure the Handle: The Make-or-Break Step
Straighten the first 4 feet of cable by hand – any coil here guarantees instant kinking. Slide the T-handle down to within 3 inches of the drain opening, then crank the set screw until it bites into the cable. Test by yanking the handle – if it slips, retighten. This connection must transfer all your cranking force to the cable. Most user complaints (“the handle spins uselessly!”) stem from loose set screws. For stubborn clogs, clamp a small C-clamp behind the handle for extra grip – it costs $3 but prevents hand fatigue.
Mastering the Twist-Feed-Reset Technique for Clog Removal
Forcing the cable is how amateurs crack pipes. The Cobra auger works through controlled rotation, not pressure. This method clears clogs in 90% of household drains when executed precisely.
Initial Insertion: Clockwise Rotation Only
Insert only the cable’s tip into the drain opening, holding the secured handle. Rotate clockwise only – counter-clockwise unwinds the cable’s coil and causes instant kinks. Crank 3-4 full turns while applying zero forward pressure. This “bites” the cable into the pipe wall, creating traction. Only after rotation begins should you add gentle thumb pressure against the handle to feed the cable. If you feel resistance immediately, stop – you’re likely hitting a P-trap bend. Back out 6 inches and restart with slower rotation.
The Crank-and-Reset Cycle: Your Key to Deep Clogs
When the handle nears the drain (typically after 12-18 inches of cable feed), stop immediately. Do not force it further. This is the reset point:
1. Loosen the set screw completely
2. Slide the handle back 12 inches along the cable
3. Retighten the set screw firmly
4. Resume clockwise cranking while feeding
Most DIYers break cables by skipping resets. Each cycle advances the cable 1-2 feet. For a standard 25-foot auger, expect 10-15 resets per job. Maintain a steady rhythm: 5 seconds cranking, 3 seconds resetting. If the cable stops feeding after 3 feet, you’ve likely hit a 90-degree bend – gently wiggle the cable side-to-side while cranking to navigate the turn.
Breaking Through the Clog Without Damage
When resistance increases sharply (like hitting a wall), you’ve found the blockage. Never apply force – this jams hair deeper. Instead:
– Crank clockwise 2 full turns
– Back off counter-clockwise 1/2 turn
– Repeat while applying light forward pressure
You’ll feel the cable “grab” the clog (usually hair or grease) after 10-20 seconds. A sudden drop in resistance means you’ve penetrated it. If resistance remains solid after 1 minute, stop – you may be against a pipe joint or main line blockage. Forcing further risks puncturing pipes.
Retrieval: Why 90% of DIYers Re-Clog Their Drains
This is where most users fail. Pulling the cable straight out leaves debris behind, guaranteeing a repeat clog within days. Instead:
1. Keep cranking clockwise continuously
2. Slowly retract the cable at 1 inch per second
3. Wipe gunk off the cable with a rag as it emerges
The clockwise rotation wraps debris around the cable like a corkscrew, pulling it out completely. If you see hair or grease building up on the cable during retrieval, pause cranking for 2 seconds to let it accumulate, then resume. Never stop rotating – this pushes debris backward into the pipe. Expect 2-5 minutes for full cable retrieval on a severe clog.
Avoiding Costly Mistakes: Pro Tips Most Guides Skip
The flimsy T-handle that comes with budget augers causes hand blisters and ineffective cranking. Upgrade immediately with these field-tested solutions.
Three Critical Errors That Wreck Pipes
- Kinked cable insertion: Feeding a coiled cable guarantees a “corkscrew jam” in the first bend. Always straighten 4+ feet before starting.
- Wrong lubricant: Petroleum-based oils degrade PVC seals. Silicone is non-reactive and lasts 3x longer in pipes.
- Forcing bends: If the cable stops at 3-4 feet in a sink, you’re likely at the P-trap. Back out and restart with slower, wiggling motion.
Game-Changing Upgrades for $10 or Less

- C-clamp handle mod: Clamp a 1-inch C-clamp onto the cable 6 inches behind the T-handle. The flat jaw gives 3x more torque with zero slippage.
- Post-clearing flush: After retrieval, pour 2 gallons of near-boiling water down the drain to dissolve residual grease.
- Cable preservation: Wipe the cable with a rag soaked in WD-40 only after cleaning – this prevents rust without harming pipes (unlike lubricants used during operation).
For frequent clogs, invest in a drum-style auger ($35). Its enclosed cable drum eliminates tangles and provides smoother cranking – essential for main line blockages beyond 20 feet.
When to Stop and Call a Professional Plumber
Your Cobra auger has limits. Pushing beyond them risks catastrophic damage requiring $500+ repairs. Stop immediately if:
– You’ve fed the entire cable length with no clog contact
– The cable won’t rotate after hitting solid resistance
– Water backs up into other fixtures during operation
– You smell sewer gas (indicates a broken seal)
These signal main line blockages, collapsed pipes, or complex junctions requiring camera inspection. Never attempt to clear toilets with a sink auger – the wider diameter requires a specialized closet auger to avoid cracking porcelain. For recurring clogs every 2-3 weeks, schedule a professional hydro-jetting service – it blasts pipe walls clean for 6-12 months.
Mastering your Cobra drain auger saves $150+ per emergency call while giving immediate control over clogs. Remember: rotation beats force, resets prevent kinks, and clockwise retrieval removes debris. After your first success, store the auger under the sink with silicone lube and rags – you’ll clear future clogs in under 8 minutes. For stubborn kitchen sink blockages, combine this technique with a baking soda/vinegar flush beforehand to dissolve grease. Your drains will thank you.