
That pristine sheet of Perspex you’ve been saving for your custom lighting project now needs a clean hole for wiring. But one wrong move—a dull bit, excessive speed, or improper clamping—and you’ll face the dreaded white-fringed crack or melted edge that ruins the optical clarity. Unlike wood or metal, acrylic demands surgical precision because it’s prone to stress fractures when heat builds or pressure fluctuates. The secret isn’t brute force; it’s respecting how Perspex behaves under stress. By the end of this guide, you’ll drill flawless holes every time, whether you’re mounting a display case or installing a custom aquarium overflow. We’ll cover the exact drill settings, clamping tricks, and finishing techniques professionals use to avoid costly mistakes.
Essential Tools and Material Setup for Flawless Drilling
Your drill bit choice and workpiece security make or break the outcome. Skip these steps, and even a steady hand won’t save you from blowout cracks as the bit exits. Here’s exactly what to use and how to position it.
Critical Drill Bits and Speed Settings for Acrylic
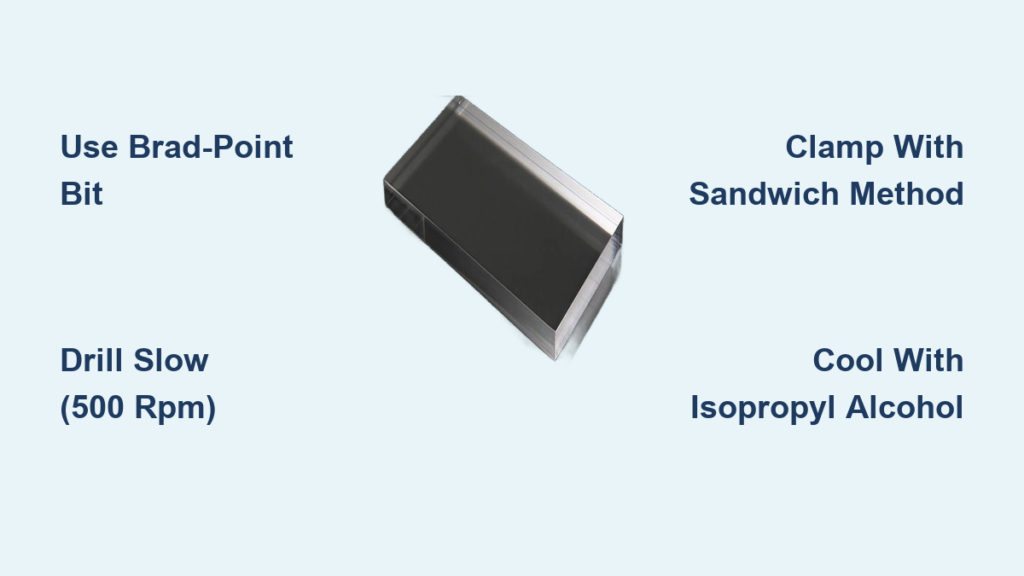
Forget standard metal bits—they’ll melt your Perspex. Brad-point bits are your safest bet: their sharp central tip prevents wandering, while the outer spurs score a clean circle before the main cut, eliminating top-surface chipping. For holes over 1/4 inch, switch to a Forstner bit (keep it razor-sharp) for flat-bottomed precision. Never use spade bits—they grab and splinter acrylic instantly. Crucially, set your drill to 500–1,000 RPM for 1/4-inch holes. Larger bits? Drop to 300 RPM. High speed is the #1 cause of melting, so if you see smoke or “gummy” plastic, stop immediately and slow down.
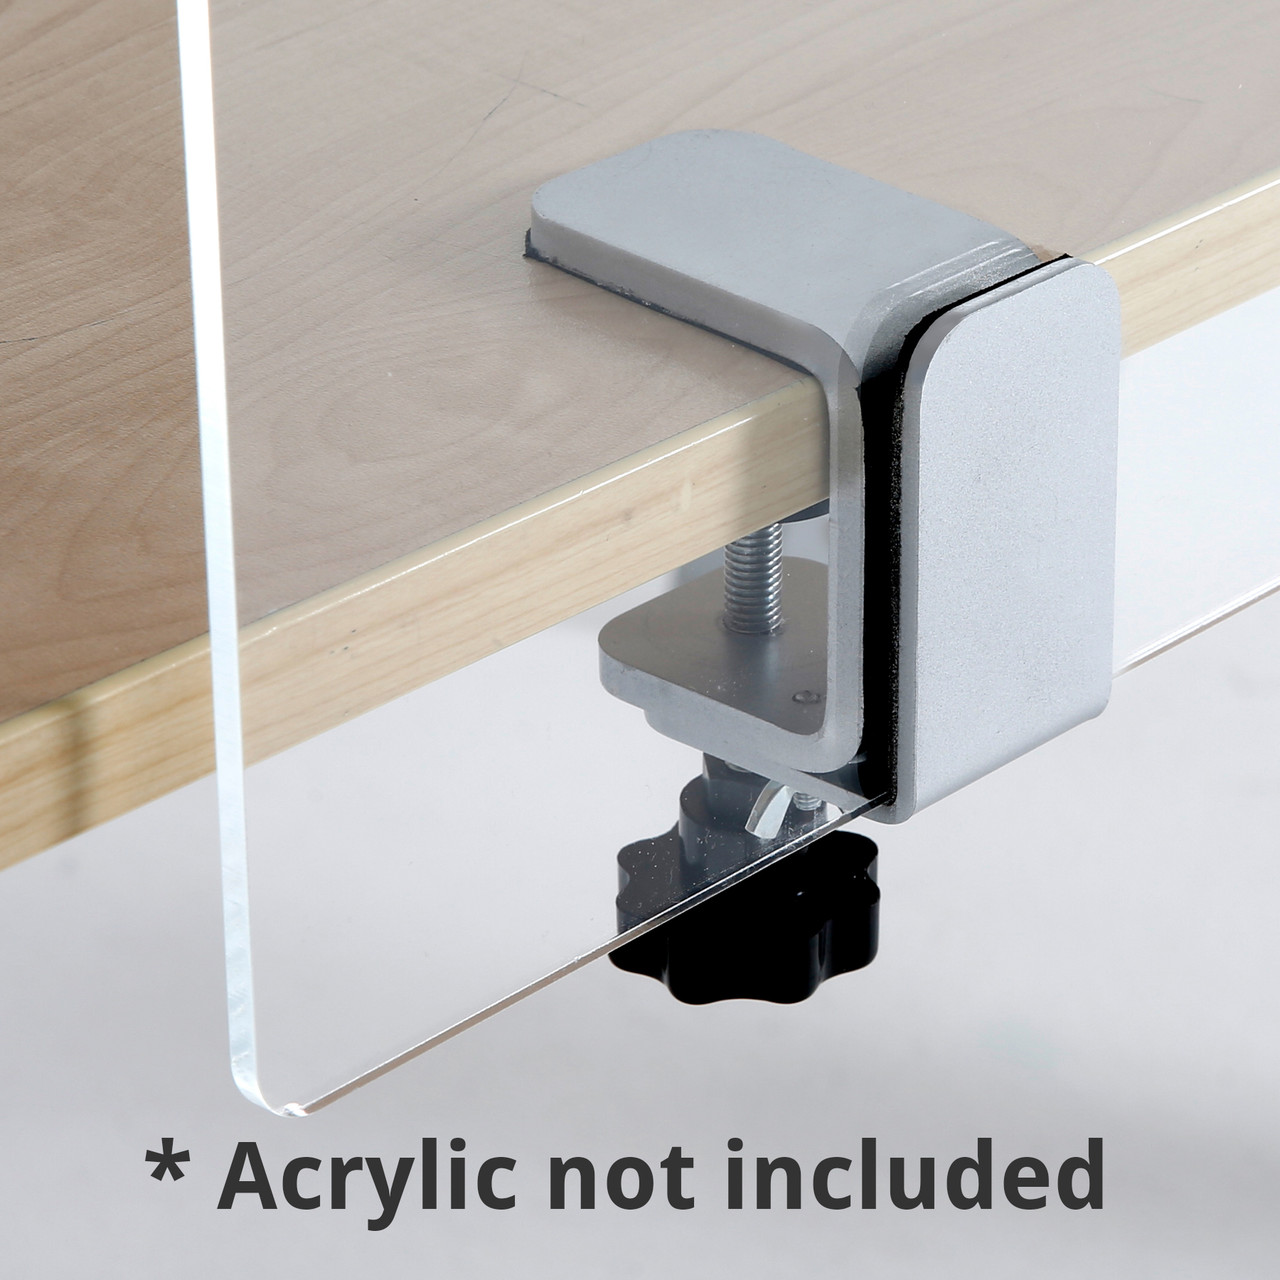
The Clamping Sandwich Method That Prevents Blowout
This five-minute setup eliminates 90% of cracking failures:
1. Place a scrap plywood or MDF board (your backing board) on the workbench.
2. Lay the Perspex sheet on top, aligning your marked hole location.
3. Position a second scrap board (your top clamping board) directly over the drill point—this absorbs exit pressure.
4. Clamp all three layers tightly with F-style clamps.
5. Apply painter’s tape over the drill point on both sides to reduce surface chipping.
Why this works: The top board stops the bit from tearing out the top surface, while the backing board supports the acrylic as the bit exits. Without this sandwich, the Perspex flexes at the last millimeter, causing catastrophic blowout.
Step-by-Step Drilling Process for Crystal-Clear Holes
Now for the actual drilling—where patience trumps power. Rushing here guarantees melted edges or cracks radiating from the hole. Follow these exact steps.
Starting Drilling Without Walking or Chipping
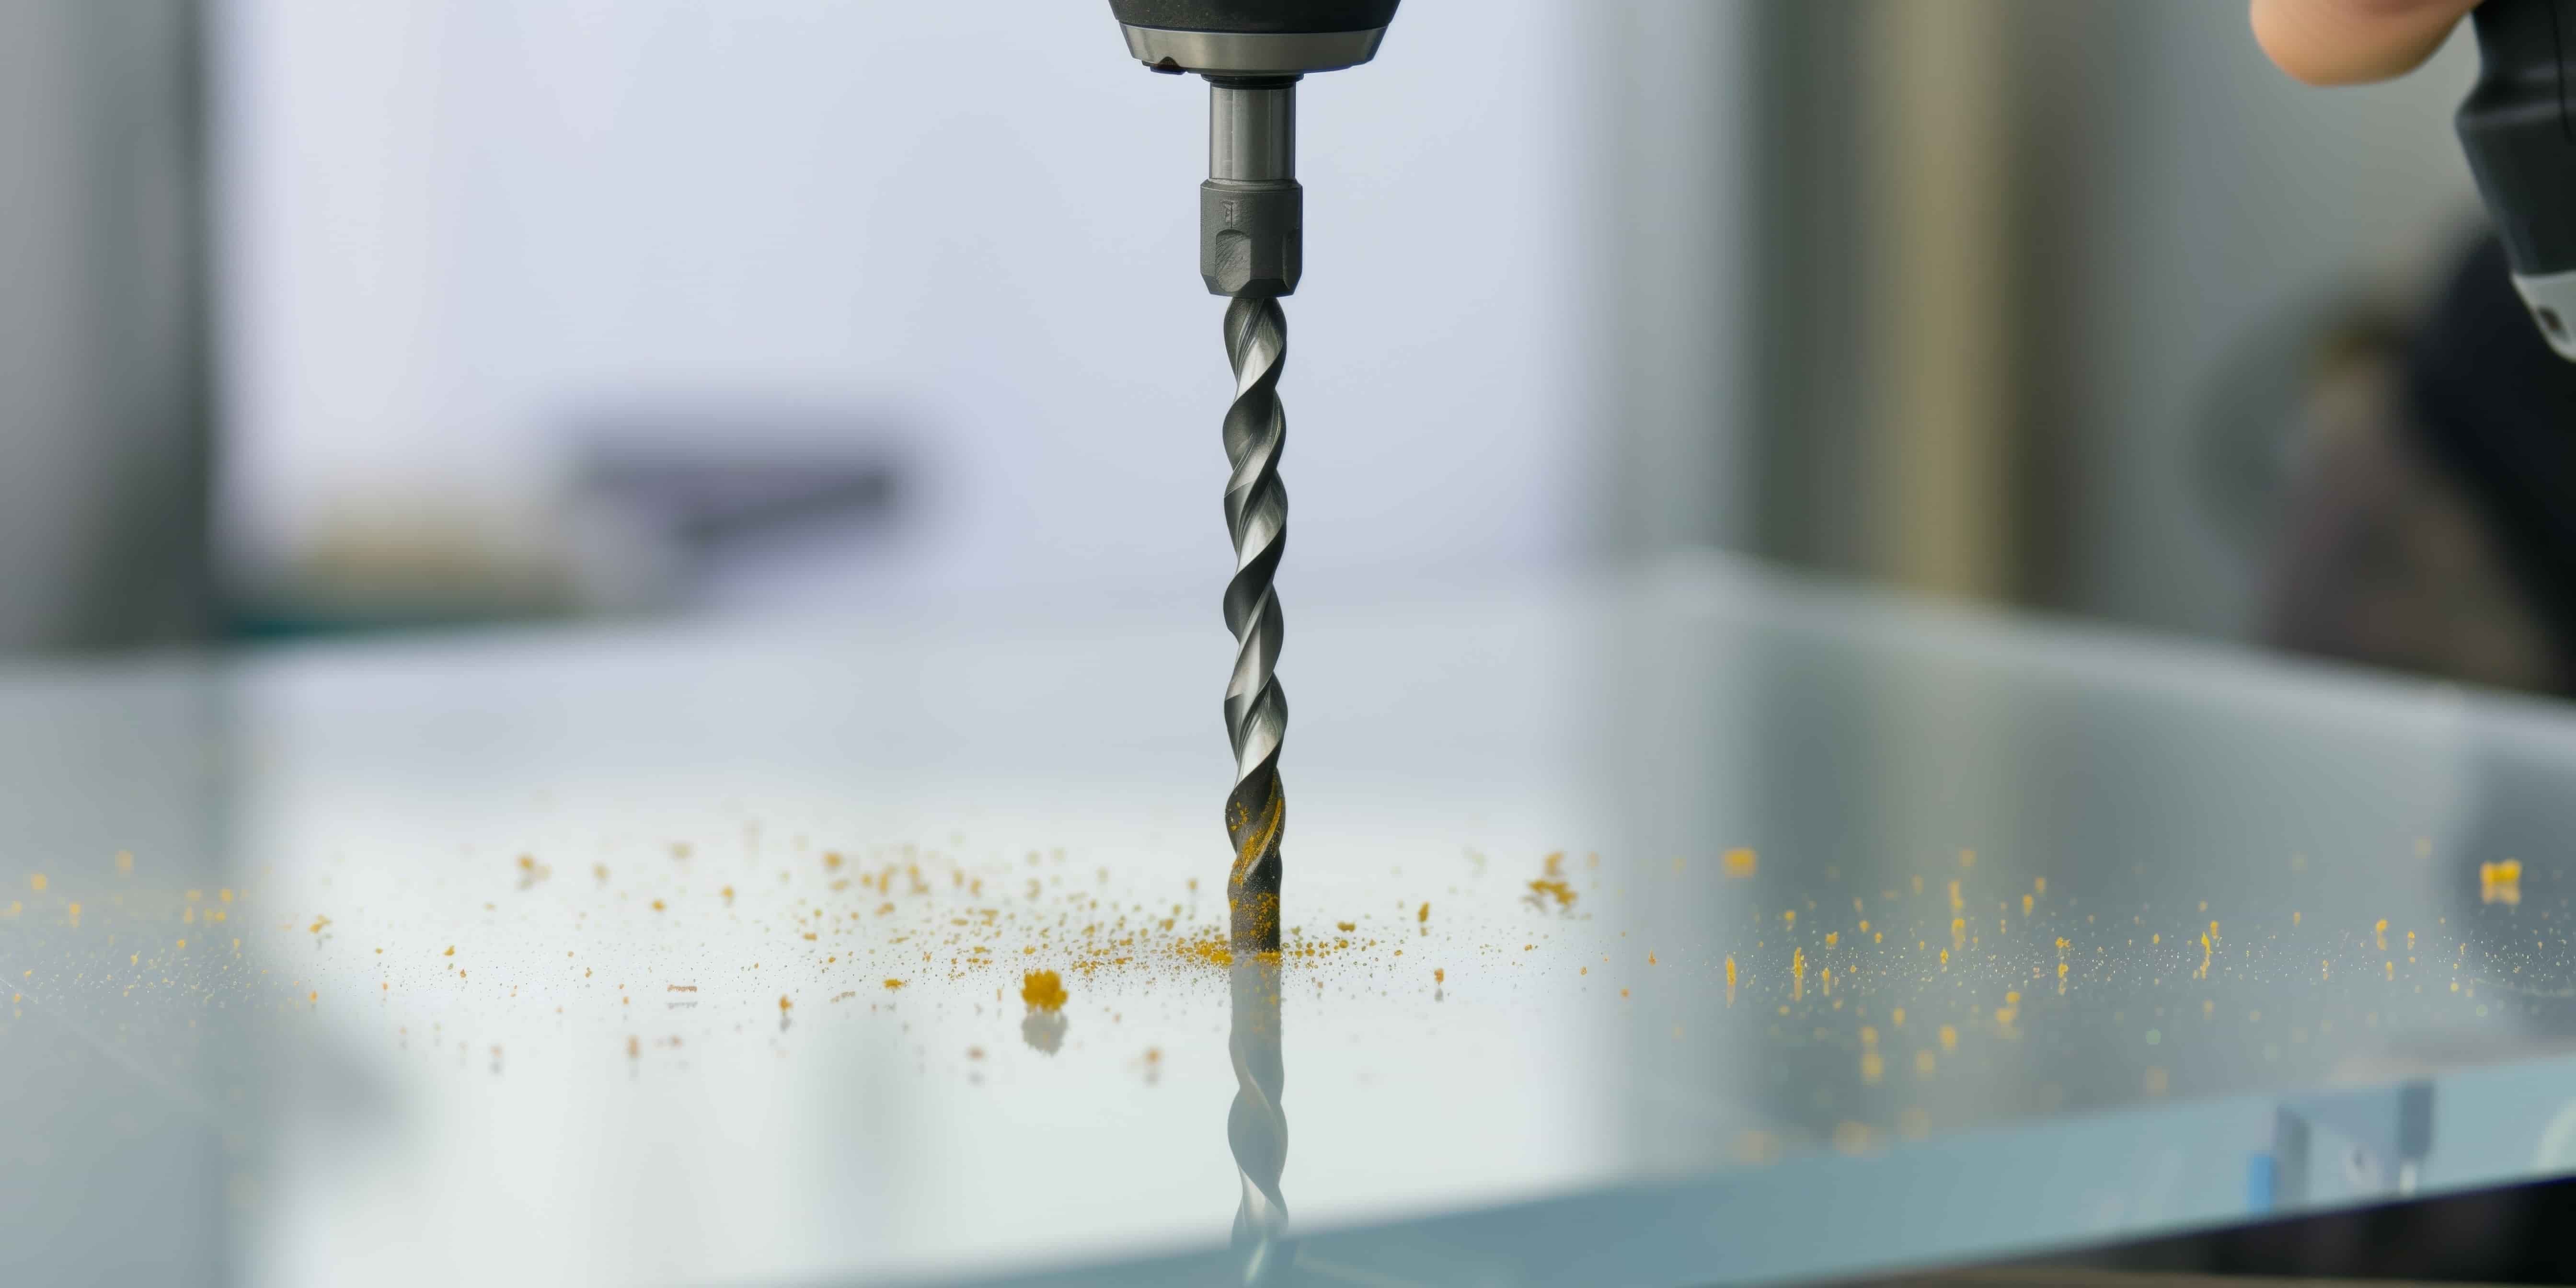
Begin with isopropyl alcohol as your coolant—spray a light mist on the drill point before starting. Never use oil, as it stresses cast acrylic. Align the bit with your tape-marked center point, then:
– Start at the lowest drill speed with zero pressure. Let the bit’s tip bite naturally.
– Apply feather-light downward pressure just until you see fine, curly shavings (powder means you’re melting it).
– For Perspex thicker than 1/4 inch, use “peck drilling”: Drill 2mm deep, lift completely to clear chips, then repeat. This prevents heat buildup from trapped shavings.
Pro tip: If the bit walks, stop and make a deeper center-punch dimple with an awl—it gives the tip a secure anchor.
Exiting the Hole Without Blowout
The final 1–2mm is where most failures happen. As the bit nears the backing board:
– Reduce pressure by 70%. You should barely feel resistance.
– Stop drilling the moment the bit tip pierces through the Perspex into the backing board.
– Flip the workpiece and finish the last 1mm from the back side using the pilot hole as a guide.
This two-sided approach eliminates exit cracks. If flipping isn’t possible, drill through the top board only until the bit’s shoulder touches the Perspex—this creates a clean exit channel.
Deburring and Polishing for Optical Clarity
Skip this, and your hole will have sharp, jagged edges that catch light and ruin aesthetics. First, remove the burr:
– Hold a sharp utility knife at 45 degrees and gently scrape inward from the hole’s edge on both sides.
– Wrap 400-grit sandpaper around a pen to chamfer the edge, then progress to 600- and 1,000-grit for smoothness.
– For laser-like clarity, buff with a drill-mounted wheel and plastic polish compound—move slowly to avoid overheating.
Critical note: Polish after drilling—not before. Heat from polishing can reactivate stress fractures from drilling.
Pro Techniques for Problem-Specific Scenarios
Drilling Large Holes (1/2 Inch and Above) Without Cracks
For oversized holes, skip hole saws—they cause instant blowout. Instead:
1. Drill a 1/8-inch pilot hole at the center.
2. Step up to a 1/4-inch bit to widen it.
3. Finish with your target-size bit at 300 RPM.
Always drill halfway from one side, flip, and complete from the reverse. This distributes stress evenly.
Tapping Threads in Perspex Without Splitting
Want to screw components directly into the hole? Drill to the exact tap size (e.g., 3.3mm for M4 screws), then:
– Use isopropyl alcohol as lubricant while turning the tap.
– Rotate 1/4 turn forward, then 1/8 turn back to clear chips.
– Never force it—if resistance increases, back out and clean the tap.
4 Costly Mistakes That Ruin Perspex Holes

Why Your Acrylic Melts During Drilling
Smoke or cloudy edges mean your drill speed is too high. Perspex melts at 160°C (320°F), and friction from fast drilling hits that in seconds. Fix: Halve your RPM and add alcohol coolant. If melting persists, replace your bit—dull edges generate excess heat.
The Clamping Error That Causes Invisible Stress Cracks
Loose clamps let Perspex vibrate (“chatter”), creating hairline cracks that spread days later. Fix: Tighten clamps until the top board indents the Perspex slightly. If using a vise, add felt pads to prevent surface marring.
Skipping the Backing Board (Guaranteed Blowout)
Drilling directly on a metal table? The exit tear-out will be catastrophic. Fix: Always use a sacrificial plywood layer—it’s non-negotiable for clean holes.
Forcing the Drill Bit (The #1 Beginner Error)
Leaning into the drill creates uneven pressure, cracking the hole’s perimeter. Fix: Let the bit’s sharp edges cut naturally. If you need more than finger pressure, slow your RPM or sharpen the bit.
When to Avoid Drilling Entirely
Some projects demand laser-cut precision—like intricate patterns or thin sheets under 3mm. Lasers vaporize acrylic cleanly, leaving polished edges. But for single holes in thick Perspex (over 1/4 inch), drilling with these techniques beats outsourcing costs.
Final Checklist for Perfect Perspex Holes
Before starting, verify:
– ✅ Drill speed set to 500 RPM or lower
– ✅ Sharp brad-point or Forstner bit selected
– ✅ Workpiece secured in a three-layer clamping sandwich
– ✅ Isopropyl alcohol coolant ready
– ✅ Peck-drilling for depths over 1/4 inch
Drilling Perspex isn’t about strength—it’s about finesse. By matching your drill speed to the bit size, supporting the material completely, and letting the tool do the work, you’ll create holes so clean they look factory-made. The next time you tackle a Perspex project, skip the anxiety: just clamp, cool, and drill slowly. Within minutes, you’ll have a stress-free hole ready for wiring, mounting, or display—no cracks, no melting, just crystal clarity. For complex shapes, consider laser cutting, but for most DIY needs, this method delivers professional results at your workbench.


