
You’ve picked the perfect towel bar for your bathroom renovation, measured twice, and marked your ceramic tile—only to watch in horror as the drill bit skates across the surface, leaving a spiderweb of cracks. Drilling into tile seems simple until it shatters beneath your drill, wasting hours of work and expensive materials. The truth? Over 60% of DIY tile drilling failures stem from using incorrect tools or techniques, not user error. This guide reveals the exact methods professional tile setters use to create clean, crack-free holes every time—whether you’re mounting a soap dish in a ceramic backsplash or drilling through dense porcelain floor tile. You’ll learn why standard masonry bits fail, the critical 45-degree starting technique that prevents skating, and how to choose the right diamond bit for your specific tile type.
Most disastrous tile drilling attempts happen because people treat tile like wood or drywall. But tile’s brittle glaze and dense body demand specialized approaches. Forget generic “drill slowly” advice—you need precise pressure control, strategic cooling, and the right bit for your tile’s composition. By the end of this guide, you’ll know exactly how to drill into tile without cracks, saving money on replacement tiles and avoiding the frustration of ruined projects. Let’s transform your next drilling attempt from potential disaster to flawless execution.
Essential Tile Drilling Tools You Can’t Skip
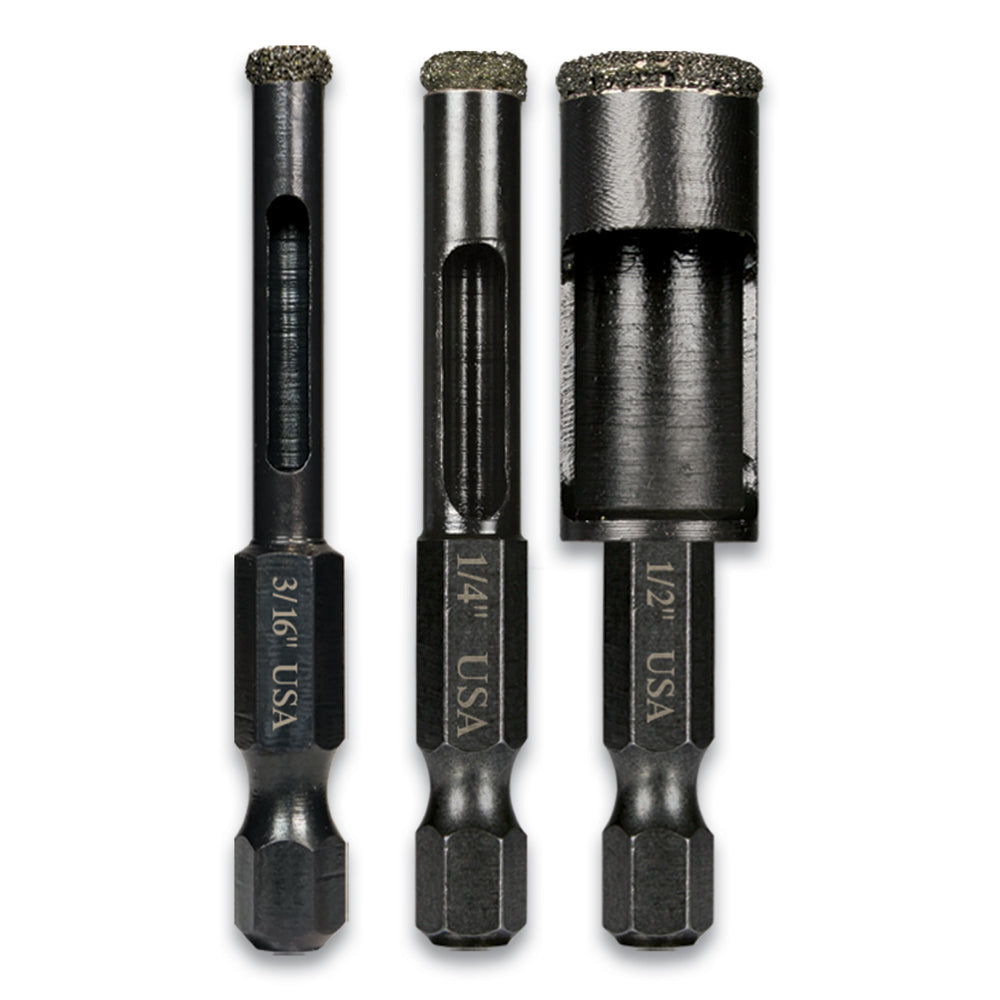
Using the wrong drill bit is the fastest route to shattered tile. Standard masonry bits lack the hardness to penetrate tile’s glazed surface without wandering or overheating. For ceramic tile, a carbide-tipped spear-point bit can work for small holes if handled with extreme care, but it risks chipping on harder surfaces. Porcelain tile—a denser, single-fired material—requires diamond grit to cut through its crystalline structure. Diamond-tipped hole saws are non-negotiable for porcelain or large holes (over 1/2″), while smaller diamond core bits handle most mounting hardware.
Why Diamond Bits Beat Carbide for Porcelain Tile
Carbide bits dull rapidly when drilling porcelain, creating excessive heat that causes micro-cracks. Diamond bits, with their industrial-grade grit coating, maintain sharpness through multiple holes. For frequent drilling, invest in a diamond hole saw rated for “glass and porcelain”—these cut 3x faster with less vibration. Never use a hammer drill setting on tile; the percussive action transmits shockwaves through the brittle material. Stick to a standard variable-speed drill with the hammer function disabled. Your drill’s variable trigger is crucial: start at 200-400 RPM (the slowest setting) and increase only if the bit isn’t cutting.
Must-Have Safety Gear for Tile Drilling
Ceramic dust contains crystalline silica, which can cause permanent lung damage with repeated exposure. Skip the flimsy workshop mask—use an N95 respirator rated for silica. Safety glasses with side shields prevent tile shards from embedding in your eyes during blowout. Keep a damp microfiber cloth nearby to wipe dust immediately; dry sweeping kicks particles into the air. If drilling wall tile near electrical, turn off the circuit at the breaker—tile dust conducts electricity.
Marking and Securing Tile for Perfect Hole Placement
A single slip while marking guarantees a misaligned hole. Clean the tile thoroughly with rubbing alcohol to remove oils that repel markers. Place a small “X” with a non-permanent marker, then cover it with painter’s tape. This tape creates friction for the drill bit and catches ceramic dust. For curved surfaces like shower niches, use a plastic template cut from the fixture’s mounting plate—tape it directly to the tile for foolproof alignment.
How Painter’s Tape Stops Bit Skating on Glazed Surfaces
The glossy finish on tile acts like ice for drill bits. Painter’s tape provides just enough texture for the bit to grip during the critical starting phase. Press the tape firmly over your mark, then pierce it with a utility knife to expose the exact drilling point. Avoid masking tape—it leaves sticky residue that attracts dust. For dark tiles, use blue painter’s tape; its lighter color makes the mark more visible.
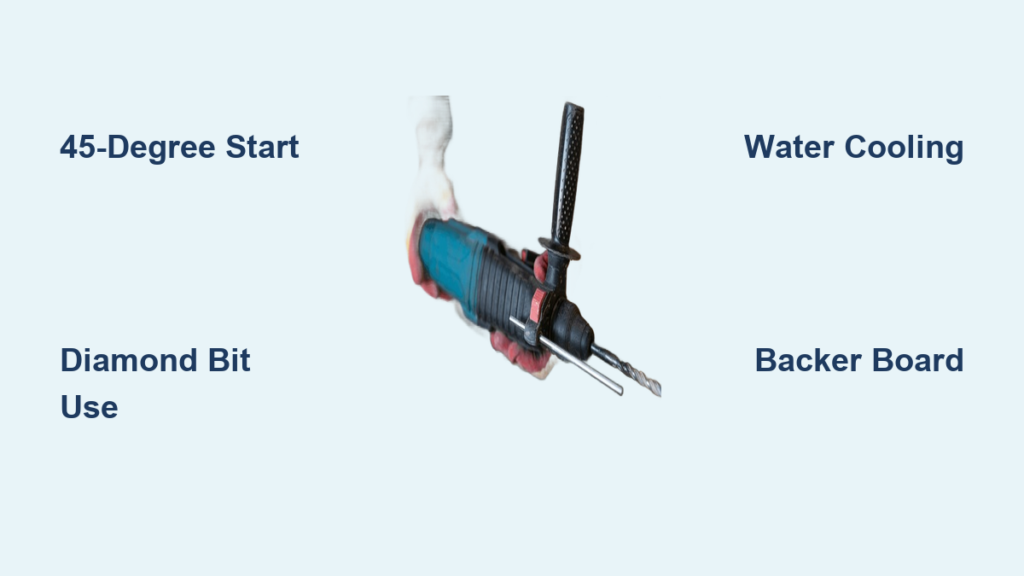
The 45-Degree Start Technique: Critical for Tile Drilling
Starting perpendicular to the tile is the #1 cause of skating and cracks. This technique exploits physics: a shallow angle creates immediate resistance against the bit’s rotation, forming a guiding groove. Without it, the bit ricochets off the smooth surface, often cracking the tile on impact.
Step-by-Step: Creating Your Starting Groove Without Cracks
- Tilt your drill to 45 degrees over the marked point. Apply feather-light pressure—just enough to keep contact.
- Pulse the trigger 3-4 times at lowest speed, creating a 1/16-inch deep groove. You’ll hear a high-pitched “singing” sound as the bit bites.
- Gradually straighten the drill to 90 degrees over 5-10 seconds while maintaining light pressure. Never jerk the motion—smooth transitions prevent stress cracks.
- Pause immediately if you feel vibration; reposition and restart the groove. For porcelain, this phase takes 2-3x longer than ceramic.
Drilling Through Ceramic Tile Without Damage
Ceramic tile’s softer body allows faster progress but demands pressure control. Drill at 800-1,000 RPM with consistent, pencil-press pressure—enough to see the bit advance slowly, but not so much that it smokes. Expect to drill through 1/4-inch ceramic tile in 20-40 seconds. If the bit stalls, reduce pressure; forcing it creates heat fractures.
Ideal Speed Settings for Ceramic Tile Drilling
Use your drill’s lowest torque setting to prevent sudden grabs. Listen for the bit’s rhythm: a steady “shhh” sound means proper speed, while screeching indicates overheating. Stop every 10 seconds to spray the hole with a water-dish soap mix (1 tsp soap per 8 oz water). This lubricant reduces dust by 70% and prevents glaze chipping at the hole’s edge.
Drilling Through Porcelain Tile: Overcoming Extreme Hardness

Porcelain’s density requires patience and perfect technique. Diamond bits will cut through, but only if you eliminate all variables that cause heat buildup. Drill at 400-600 RPM—half the speed used for ceramic—with pressure so light the bit barely advances. Expect 60-90 seconds per 1/4-inch of tile. Any faster, and micro-cracks radiate from the hole.
Why Porcelain Requires More Water and Less Pressure
Porcelain’s low porosity traps heat, making cooling critical. Keep a dedicated spray bottle filled with soapy water aimed directly at the drill point. Spray continuously, not just during pauses. If the water evaporates instantly, you’re drilling too fast. Porcelain often “pops” when the bit breaks through—ease pressure 20% at the 75% depth mark to prevent exit-side blowout.
Avoiding Backside Blowout When Drilling Tile

Blowout—when tile shatters on the exit side—ruins otherwise perfect holes. This happens when the bit exits into empty space, losing support. Always sandwich tile between your work surface and a sacrificial backer board.
Choosing the Right Backer Board for Clean Exit Holes
Use 3/4-inch softwood (like pine) or drywall under wall tiles. For floor tiles, clamp a scrap piece of the same tile underneath. The backer board must be flush with the tile’s back surface—gaps cause vibration and cracking. When drilling near edges, position the backer board so it supports the tile within 1 inch of the hole.
Fixing Common Tile Drilling Problems on the Spot
If your bit starts skating, stop immediately. Wipe the area clean, reapply painter’s tape, and restart the 45-degree groove. For existing cracks under 2 inches, mix epoxy with tile dust to fill the fracture before continuing. If the hole is misaligned by more than 1/8 inch, abandon it—cover with a decorative cap or switch fixtures.
What to Do When the Bit Skates Across Tile
This usually means insufficient starting groove depth. Create a deeper pilot dimple:
1. Unplug the drill and manually press the bit’s tip against the tape mark.
2. Tap gently with a hammer 3-4 times to make a 1/32-inch dent.
3. Restart drilling at 45 degrees with reduced speed. Never hammer while the drill is running—this shatters the tile.
Smoothing and Sealing Your Tile Hole After Drilling
Rough edges compromise both function and aesthetics. Wrap 220-grit sandpaper around a chopstick and rotate it in the hole for 10 seconds. For porcelain, use a carbide tile file to deburr edges without scratching. In wet areas like showers, apply a bead of clear silicone sealant around the hole’s perimeter after installing hardware—this prevents water from seeping behind the tile and causing mold.
How to Finish Edges for Wet Areas Like Showers
After sanding, wipe the hole with isopropyl alcohol to remove dust. Insert your anchor, then squeeze silicone onto a toothpick. Carefully trace the hole’s edge where it meets the tile surface, creating a waterproof barrier. Wipe excess immediately with a damp Q-tip. Let cure 24 hours before exposing to water.
Proven Tile Drilling Shortcuts for Faster Results
For large holes (like for plumbing), drill a pilot hole first with a 1/8-inch diamond bit. This guides the larger bit and reduces heat buildup. When mounting multiple fixtures, create a cardboard template with pre-drilled holes—align it with your marks and drill through the template holes. For tricky spots like near grout lines, use a self-centering drill guide clamped to the tile; these $15 tools eliminate human error.
Drilling into tile without cracks is 90% preparation and 10% execution. Master the 45-degree start, respect porcelain’s density with diamond bits and soapy water, and always support the exit side. If you follow just three rules—never start perpendicular, keep the bit cool, and use feather-light pressure—you’ll achieve professional results every time. For your next project, test your technique on a spare tile first; the confidence you gain will make even the hardest porcelain feel manageable. Remember: patience isn’t just a virtue in tile drilling—it’s the only thing standing between you and a costly mistake.


