

Your drill chuck won’t budge no matter how hard you twist? That frustrating moment when you’re ready to tackle a project but can’t even change bits wastes precious time and derails your workflow. Whether you’re a weekend warrior replacing a worn drill bit or a contractor mid-job, a seized chuck is a common headache caused by over-tightening, metal shavings, or corrosion. This guide delivers immediate solutions verified by professional technicians—no guesswork, just actionable steps to free your chuck in under 5 minutes. You’ll learn why standard methods fail, when to apply penetrating oil versus impact force, and crucial prevention habits to avoid future lockups.
Why Your Drill Chuck Won’t Budge (Over-Tightening, Debris & Corrosion)
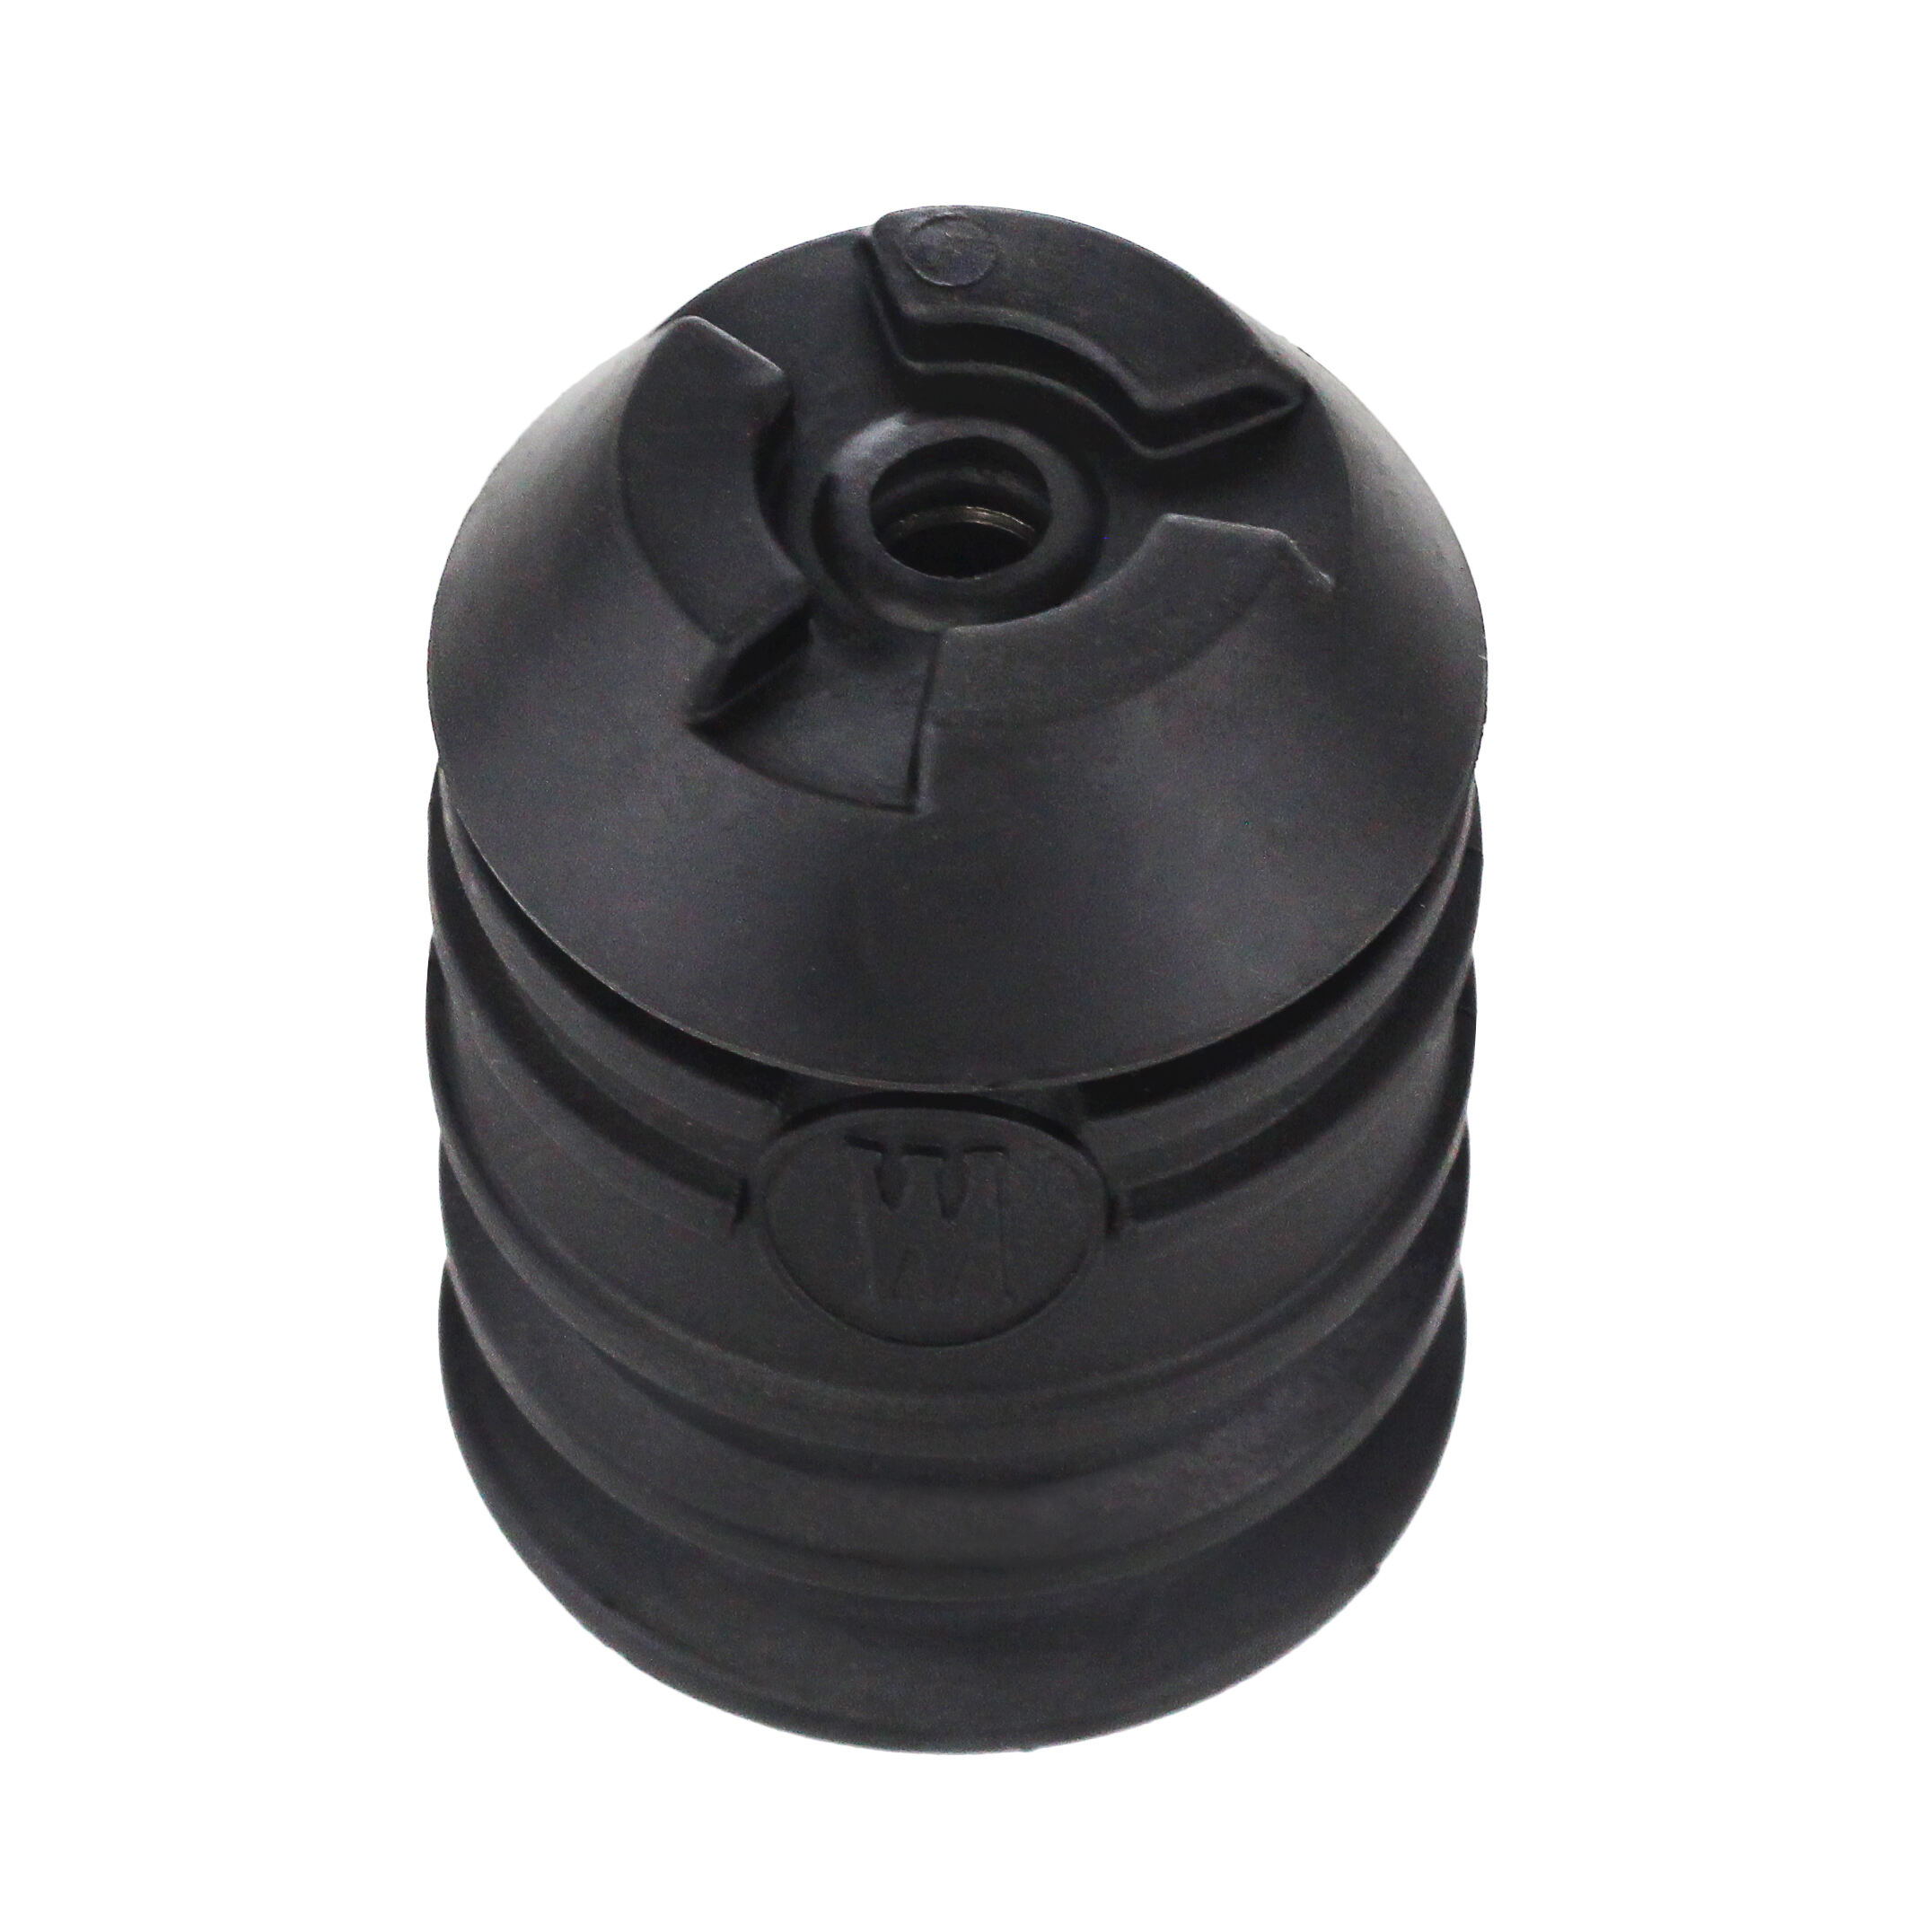
Three culprits consistently jam chucks: excessive tightening beyond hand-tight limits, accumulated metal shavings wedged in the jaws, and rust from moisture exposure. Keyless chucks often seize when users crank them with the drill’s motor instead of finishing by hand—a critical error that distorts the internal threads. Keyed chucks suffer when users force the key at an angle, stripping the gear teeth. You’ll recognize corrosion by a white, crusty residue near the spindle collar, while debris jams typically occur after drilling metal or masonry. Ignoring these issues risks permanent chuck damage, so address them immediately before attempting removal.
How to Diagnose Your Specific Stuck Chuck Problem
- Test for debris: Open the chuck jaws fully and inspect for visible metal shavings or wood fibers. Shine a flashlight inside—if you see buildup, skip power methods and clean first.
- Check for corrosion: Wipe the spindle collar with a cloth. Sticky residue or flaking metal indicates moisture damage requiring penetrating oil.
- Verify over-tightening: If the chuck spins freely but won’t open, you’ve likely distorted the jaw mechanism through excessive force.
Loosen a Keyless Chuck in 10 Seconds Using Reverse Drill Power
This is the fastest fix for 90% of stuck chucks when done correctly. Never skip the drill’s reverse function—it’s engineered specifically for chuck release. Forcing it manually risks stripping internal components.
Step-by-Step Power-Assist Technique
- Set the drill to reverse: Confirm the direction switch is fully in the counter-clockwise position (marked with a left-pointing arrow).
- Grip the chuck body: Place your non-dominant hand firmly on the lower stationary section (the part closest to the motor housing).
- Activate the trigger: With your dominant hand, gently pull the trigger while maintaining pressure on the chuck body. The chuck should break free within 2-3 seconds.
Pro Tip: If the chuck slips, wrap a rubber band around the upper collar for extra grip. Never use pliers directly on the chuck—they’ll scratch the finish and create future sticking points.
Why This Fails (And How to Fix It)
If the chuck doesn’t release, your drill’s torque isn’t engaging the chuck mechanism. This happens when:
– You’re gripping the rotating upper section instead of the stationary lower body
– The chuck is corroded internally (proceed to penetrating oil methods)
– You’re accidentally using forward rotation (double-check the direction switch)
Hand-Tightening Method: Upper/Lower Grip for Stubborn Chucks
When power methods fail, this manual technique exploits the chuck’s dual-section design. It’s ideal for precision drills where impact force could damage delicate gears.
Execute the Upper/Lower Grip Correctly
- Anchor the lower section: Press the drill body against your workbench and grip the lower chuck collar with your non-dominant hand.
- Rotate the upper collar: Place your dominant hand on the knurled upper ring and turn counter-clockwise with steady pressure—not jerking motions.
- Apply progressive force: Start with finger pressure, then gradually add palm strength if needed. The chuck should release within 15 seconds.
Critical Mistake to Avoid: Never clamp the entire chuck in a vise—the uneven pressure warps the jaw alignment, causing future bit wobble. If you need extra leverage, wrap a leather strap around the lower section for grip instead.
How to Free a Stuck Keyed Chuck Without Damaging the Teeth

Forged steel keyed chucks resist power methods but suffer when users force mismatched keys. Stripped gear teeth render the chuck useless, so precision matters.
Safe Keyed Chuck Release Protocol
- Verify key compatibility: Match the key’s hex size to the chuck’s holes (e.g., 1/4″ key for 3/8″ chucks). Forcing a smaller key cracks the gear.
- Insert fully and square: Push the key all the way in until it seats flush—partial insertion causes slippage.
- Apply steady counter-clockwise pressure: Rotate the key in smooth, continuous motion. If resistance exceeds hand strength, stop immediately and use penetrating oil.
When Keys Slip: Gear Teeth Salvage Technique
If the key spins in the hole without turning the chuck:
– Tap a rubber mallet tangentially against the key’s handle to jostle debris
– Apply PB Blaster into the gear housing and wait 20 minutes
– Reinsert the key and use a pipe wrench on the key shaft (protect with cloth) for controlled torque
Drill Chuck Won’t Release Bit? 3 Quick Fixes for Jammed Bits
A spinning chuck that won’t eject bits means debris is jamming the jaws—a frequent issue after drilling steel. Forcing bits out with pliers damages the shank.
Bit Release Emergency Protocol
- Clear debris first: Use compressed air or a dental pick to remove metal shavings from jaw grooves. Blow air through the chuck while rotating it.
- Apply controlled vibration: Hold the drill vertically and tap the chuck collar with a rubber mallet while rotating it counter-clockwise.
- Use the drill’s ejection system: For chucks with push-button release, press the button while rotating the collar slowly.
Warning: Never hammer directly on drill bits—this bends the shank and causes dangerous wobble during operation. If the bit remains stuck, soak the chuck in penetrating oil overnight before retrying.
Removing a Seized Drill Chuck: Step-by-Step Removal Guide
When all else fails, complete chuck removal is necessary. This advanced method works for chucks fused to the spindle by corrosion.
Full Chuck Disassembly Sequence
- Expose the retaining screw: Open the jaws fully to reveal the reverse-threaded screw at the spindle base.
- Loosen the screw: Insert a flat-head screwdriver and turn clockwise (opposite of standard screws). For stubborn screws, tap the screwdriver handle with a mallet first.
- Unscrew the chuck: Insert a 3/8″ Allen key into the jaws, lock it in place, then strike the key counter-clockwise with a mallet. The chuck will unscrew from the spindle.
Pro Insight: If the chuck won’t budge after screw removal, apply heat to the chuck body (not the motor!) with a heat gun at 250°F for 30 seconds. The metal expansion breaks the corrosion bond.
Prevent Stuck Chucks: 4 Maintenance Habits for Smooth Operation
Prevention takes 30 seconds after each use but saves hours of troubleshooting. Professional shops enforce these non-negotiable habits:
Daily Chuck Care Checklist
- Wipe threads after use: Remove metal dust from the spindle collar with a microfiber cloth
- Apply light lubricant: A single drop of machine oil on spindle threads prevents galling
- Never motor-tighten: Finish chuck tightening by hand—your palm pressure is the perfect torque limiter
- Store bits properly: Keep spares in a dry container; moisture accelerates corrosion
Maintenance Schedule: For weekly users, disassemble and clean the chuck monthly. For contractors, perform this quarterly—remove the retaining screw, blow out debris with compressed air, and inspect jaw springs for wear.
When to Call a Pro: Signs Your Drill Chuck Needs Replacement
Some damage can’t be fixed. Replace the chuck immediately if you notice:
– Visible cracks in the chuck body
– Less than 3/4″ of bit shank gripping surface
– Persistent wobble after cleaning (runout exceeding 0.002″)
– Stripped internal threads that won’t accept a new screw
Attempting repairs on these chucks risks catastrophic failure during use—flying metal shards can cause serious injury. For drills under $100, replacement is often more cost-effective than professional repair. High-end drills (DeWalt XR, Milwaukee M18) warrant specialist servicing; their precision chucks require calibrated torque tools unavailable to consumers.
Final Tip: Always carry a chuck key in your tool belt—many modern chucks combine keyless speed with keyed precision. This dual-system approach prevents 95% of stuck chuck scenarios by eliminating over-tightening. By implementing these methods, you’ll spend less time fighting your tools and more time getting work done. Remember: a well-maintained chuck spins freely with finger pressure alone—anything requiring excessive force is already on the path to failure.


