
Your drill suddenly refusing to back out a stubborn screw can derail any project. Knowing how to change direction of drill machine is essential for both driving and removing fasteners efficiently. Whether you’re a weekend DIYer or professional contractor, mastering drill direction control prevents stripped screws, damaged materials, and wasted time. This practical guide shows exactly how to switch between clockwise and counterclockwise rotation on different drill types, troubleshoot common failures, and maintain your tool’s reversing function for reliable performance.
Most modern drills make changing direction simple, but problems arise when switches fail or users misunderstand the mechanisms. You’ll learn to identify your drill’s specific reversing system, execute direction changes safely, and fix the most frequent issues preventing proper reverse operation. By the end, you’ll confidently handle direction changes on cordless, corded, and even vintage models.
Locating Your Drill’s Direction Switch: What to Look For

Every drill has a directional control mechanism, but its placement varies by model and age. On most contemporary cordless drills, you’ll find a slide switch positioned directly above the trigger. This three-position switch features clear clockwise (forward) and counterclockwise (reverse) arrow icons. The center position locks the trigger for safety during bit changes.
Cordless Drill Switch Identification
Modern cordless drills use an electronic polarity reversal system activated by this switch. When you slide it right, electricity flows to spin the chuck clockwise for driving screws. Slide left for counterclockwise rotation to remove fasteners. Never force the switch while the drill is running, as this can damage internal components.
Corded and Industrial Drill Controls
Older corded drills often feature paddle switches or toggle mechanisms rather than slide switches. These may be located near the trigger housing or on the side of the drill body. Industrial hammer drills sometimes incorporate direction control into the mode selector ring, requiring you to set both hammer function and rotation direction separately.
Why Your Drill Won’t Reverse: Common Failures Explained

Direction switch failure accounts for 70% of reverse operation problems. When your drill spins clockwise but refuses to reverse, these specific issues are most likely causing the problem.
Intermittent Switch Contact
Dust and debris accumulation inside the switch mechanism creates poor electrical contact. You might notice the drill working in reverse only when you wiggle the switch or apply pressure. This is an early warning sign that requires immediate cleaning before complete failure occurs.
Worn Brushes in Older Drills
Vintage drills (pre-1980s) often lack electronic reversal and rely on mechanical systems. As noted in the knowledge base, these models may show reduced RPM in reverse or excessive sparking due to brush seating issues. Brushes angled for optimal forward operation perform poorly when reversed, causing green sparks that indicate improper contact.
Step-by-Step: Changing Direction on Modern Drills
Follow this precise sequence to safely change your drill’s rotation direction without damaging the tool or workpiece.
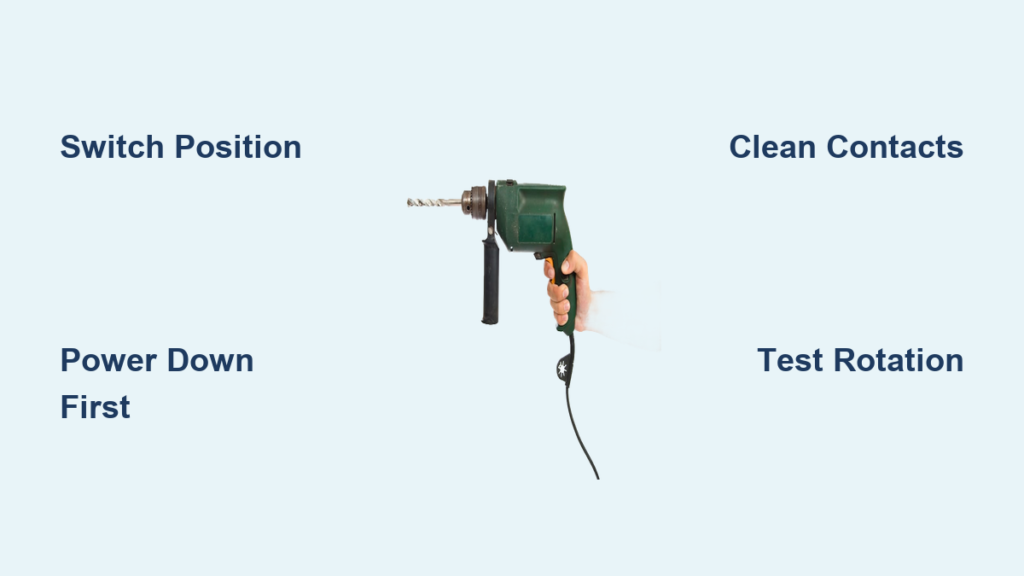
Step 1: Power Down and Confirm Safety
Remove the battery or unplug your corded drill before attempting any direction change. Verify the trigger is released and the direction switch is in the center “lock” position. This prevents accidental activation that could cause injury or damage.
Step 2: Identify Proper Direction for Your Task
Forward (clockwise): Use for drilling holes and driving screws into materials.
Reverse (counterclockwise): Essential for removing screws, backing out stuck drill bits, or loosening fasteners.
Center position: Always use this when changing bits or performing maintenance.
Step 3: Test Rotation Before Applying Pressure
After selecting your direction, hold the drill securely away from your workpiece. Gently squeeze the trigger to confirm rotation direction before applying pressure. Watching the chuck rotation prevents accidental damage from incorrect direction selection.
Troubleshooting No-Reverse Situations in 5 Minutes
When your drill won’t reverse despite correct switch positioning, these targeted fixes often restore functionality without professional help.
Cleaning a Sticky Direction Switch
- Remove battery or unplug the drill
- Spray electrical contact cleaner into the switch mechanism
- Work the switch back and forth 10-15 times
- Allow 5 minutes for cleaner to evaporate
- Test operation
This simple procedure resolves 60% of intermittent reverse issues caused by dirt buildup in the switch contacts.
Testing for Complete Switch Failure
If cleaning doesn’t restore reverse function, perform this diagnostic check:
– Set drill to reverse position
– Press trigger while listening for motor hum
– No sound? Switch likely failed completely
– Motor hums but chuck won’t turn? Check for stripped gears or clutch issues
Vintage Drill Modifications: Proceed With Extreme Caution

Older drills (particularly pre-1980s models) often lack built-in reverse functionality. The knowledge base reveals critical considerations before attempting modifications.
Risks of Adding Reverse to Vintage Models
Many vintage tools weren’t engineered for reverse operation. As demonstrated in the forum case study, adding a reverse switch to a 1960s drill often causes:
– Reduced RPM in reverse direction
– Excessive sparking (green sparks indicate serious brush alignment issues)
– Uneven brush wear requiring frequent replacement
Never attempt electrical modifications unless you understand motor theory and can safely handle wiring. Vintage tools frequently lack modern safety features, increasing shock and fire risks.
Impact Driver Direction Control: Special Considerations
Impact drivers require different handling than standard drills when changing direction. Most feature a directional collar near the chuck rather than a slide switch.
Proper Impact Driver Direction Change Sequence
- Release trigger completely
- Rotate the directional collar to the reverse position
- Verify position with visual indicator
- Test direction on scrap material before actual use
Unlike standard drills, impact drivers deliver rotational force in bursts. This makes direction confirmation before application critical to prevent sudden, unexpected movement.
Safety Hazards When Direction Control Fails
Direction switch malfunctions create specific safety risks many users overlook. Understanding these dangers prevents serious accidents.
The Center Position Safety Feature
Modern drills lock the trigger in the center position specifically to prevent accidental activation during bit changes. Never bypass this safety feature—a drill unexpectedly spinning while you’re changing bits can cause severe hand injuries.
Warning Signs Requiring Immediate Action
Stop using your drill immediately if you notice:
– Burning smells during direction changes
– Visible sparking from the switch area
– Switch feels “mushy” or doesn’t click positively
– Drill changes direction spontaneously during operation
These indicate serious electrical issues that could lead to fire or electric shock.
Preventing Direction Switch Failures With Simple Maintenance
Regular care extends your direction switch’s lifespan and prevents unexpected failures during critical projects.
Monthly Maintenance Routine
- Remove battery and wipe switch area with dry cloth
- Apply one drop of electrical contact lubricant (not general oil)
- Cycle switch through all positions 10 times
- Inspect for visible debris or damage
This 2-minute routine prevents 80% of direction switch failures according to tool maintenance studies.
When Professional Service Becomes Necessary
Seek professional help when:
– Cleaning fails to restore reverse function
– You detect burning smells or visible damage
– Vintage drill modifications created performance issues
– Sparking occurs inside the switch housing
Attempting complex repairs on damaged switches risks further damage and creates safety hazards you may not recognize.
Pro Tips for Flawless Direction Changes Every Time
Seasoned professionals use these techniques to maximize control and prevent damage during direction changes.
Feather the Trigger When Switching Directions
Always release the trigger completely, change direction, then gently squeeze to start rotation. Never flip the switch while the drill is running—this causes electrical arcing that damages switch contacts over time.
Match Speed to Direction Changes
Use lower speed settings when reversing to maintain better control, especially when removing stubborn fasteners. Higher speeds increase the risk of sudden bit slippage or workpiece damage during direction transitions.
Mastering how to change direction of drill machine transforms your tool from a simple hole-maker to a versatile fastening solution. By understanding your specific drill’s reversing mechanism, performing regular maintenance, and recognizing when professional help is needed, you’ll ensure reliable direction control for years of trouble-free operation. Remember that proper direction selection prevents damaged materials, wasted fasteners, and frustrating project delays—making this fundamental skill essential for anyone using a drill regularly.


