

You’re mid-project when your DeWalt drill suddenly dies. You plug in the battery, but nothing happens—the charger’s lights stay dark, leaving you stranded with tools you can’t use. This frustrating scenario affects thousands of DeWalt users each year, with chargers mysteriously failing after just 1-3 charging cycles. Whether you’re dealing with a DCB107, DCB112, or newer FlexVolt model, this guide delivers proven solutions to diagnose and fix your dewalt drill charger not working problem without breaking the bank.
Most DeWalt charger issues stem from simple causes you can resolve in under 15 minutes. From power source problems to dirty contacts, the fix is often easier than you think. By the end of this guide, you’ll know exactly how to determine if the problem is your charger, battery, or power source—and how to get back to work fast.
Verify Your Power Source Before Assuming Charger Failure
Before tearing into your DeWalt charger, eliminate the most common culprit: your electrical supply. Many users waste time diagnosing charger problems when the real issue is their outlet.
Test Your Outlet With a Different Device
Plug a lamp or phone charger into the same outlet to confirm it’s working. Pay special attention to GFCI outlets in workshops or garages, which often trip without obvious indication. If you’re using a power strip, bypass it completely and plug directly into the wall outlet—many power strips have internal circuit breakers that trip unexpectedly.
Check for Voltage Fluctuations in Your Workshop
Home electrical issues like voltage spikes or high-voltage legs (150V+) can silently damage charger circuitry. If multiple DeWalt chargers have failed in the same location, use a multimeter to verify your outlet delivers stable 120V (in North America). Consider investing in a quality surge protector—DeWalt chargers are particularly sensitive to power fluctuations that blow internal fuses.
Decode DeWalt Charger LED Error Patterns: What Red and Green Lights Mean
Your DeWalt charger communicates problems through its LED indicators. Understanding these signals saves hours of unnecessary troubleshooting.
No Lights When Plugged In: Critical Power Failure Signs
If your charger shows zero illumination despite being plugged in with a battery inserted, you’re facing a primary power failure. This typically indicates a blown internal fuse, disconnected DC jack, or complete power supply failure. Critical tip: Unplug the charger and wait 30+ minutes before testing again—some users report success after this complete power cycle.
Red/Green Flashing Patterns: Battery Communication Errors
- Solid red light: Normal charging operation
- Solid green light: Battery fully charged
- Flashing red light: Battery too hot/cold or communication error
- Alternating red/green flicker: Serious fault requiring component testing
When you see flashing patterns, try charging a different, known-good battery. If the problem persists, the charger has likely failed its internal diagnostics.
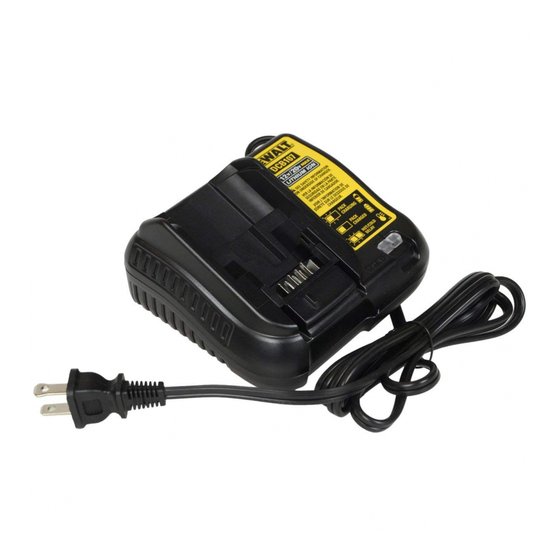
Fix Your DeWalt DCB112 Charger in 3 Simple Steps (Without Opening It)
Most charging problems don’t require opening the charger case. These non-invasive fixes resolve 80% of dewalt drill charger not working issues.
Clean Battery and Charger Contacts Properly
Corroded or dirty contacts prevent proper electrical connection. Don’t skip this step—it solves most “no charge” problems. Follow this precise method:
1. Remove the battery from both charger and tool
2. Dampen a cotton swab with 90%+ isopropyl alcohol
3. Gently scrub all metal contacts on battery and charger
4. Use a pencil eraser for stubborn corrosion (light pressure only)
5. Allow 10 minutes to dry completely before testing
Warning: Never use water or household cleaners—they can cause further corrosion.
Test Components to Isolate the Problem
Systematically determine whether the issue is your battery, charger, or power source:
- Battery test: Try your suspect battery in a known-good charger
- Charger test: Test a known-good battery in your problem charger
- Power source test: Plug the charger into a different circuit
If your known-good battery won’t charge in the suspect charger, the charger is faulty. If your suspect battery won’t charge in a known-good charger, replace the battery.
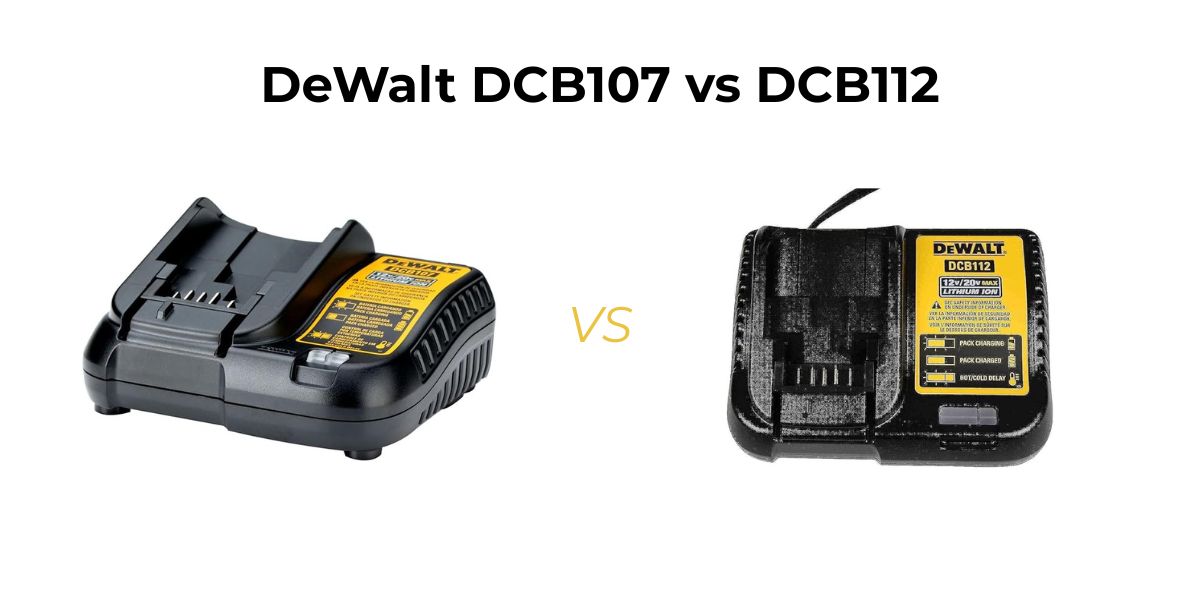
Replacing a Blown Fuse in Your DeWalt DCB107 Charger: Parts and Procedures

When simple fixes fail, internal fuse replacement often solves the problem—especially if multiple chargers failed sequentially in the same location.
Identify and Replace the Internal Fuse Safely
Warning: Only attempt this if comfortable with electronics. Unplug charger and wait 30+ minutes before opening—capacitors hold dangerous charges.
- Remove security Torx screws (typically T10 or T15) using a Harbor Freight 33-piece security bit set ($6)
- Open the case carefully to expose the circuit board
- Locate the fuse (usually a 5x20mm slow-blow type labeled T5AL)
- Check for visible damage—blackened glass or broken filament
- Test with multimeter for continuity
- Replace with identical fuse rating (5A, 250V)
Pro tip: If the new fuse blows immediately, stop—this indicates a more serious component failure requiring professional repair.
When to Replace vs. Repair Your DeWalt Drill Charger: Cost Analysis
Knowing when to cut your losses prevents wasted time and money on hopeless repairs.
Signs You Need Professional Help Immediately
- Burning smell or visible scorch marks inside the charger
- Melted plastic components or distorted housing
- Repeated fuse blowouts after replacement
- Charger under active warranty (opening voids coverage)
DeWalt’s standard 3-year warranty covers most charger failures, so contact their support before disassembling. For out-of-warranty units, professional repair typically costs $50-100—often exceeding the $40-80 price of a new DCB112 or DCB107 charger.
Cost-Effective Replacement Options
- Genuine DeWalt chargers: DCB112 ($65), DCB107 ($55)
- Refurbished units: Often 30% cheaper with 1-year warranty
- Aftermarket alternatives: $20-50 range (verify compatibility)
Critical consideration: If multiple chargers failed in the same location, address your electrical system first—replacing with another charger without fixing voltage issues guarantees repeat failures.
Stop DeWalt Chargers from Failing: 4 Proven Prevention Tactics
Prevent future dewalt drill charger not working issues with these professional maintenance strategies.
Install Proper Surge Protection for Your Workshop
Power surges are the #1 cause of internal fuse failures. Invest in:
– A quality UPS (Uninterruptible Power Supply) with AVR (Automatic Voltage Regulation)
– Whole-house surge protection installed at your electrical panel
– Dedicated circuit for your workshop tools
Time-saving tip: Plug all chargers into the same protected circuit to monitor performance consistently.
Maintain Optimal Charging Conditions
DeWalt chargers fail prematurely when subjected to:
– Temperature extremes (below 40°F/4°C or above 104°F/40°C)
– High humidity or moisture exposure
– Poor ventilation during charging
Store and charge batteries in a climate-controlled space between 41°F-77°F (5°C-25°C). Never charge immediately after heavy tool use—allow batteries to cool first.
Perform Monthly Maintenance Checks
Create this simple monthly routine:
1. Inspect charger cables for cuts or kinks
2. Clean all charging contacts with isopropyl alcohol
3. Test charger functionality with known-good battery
4. Verify proper LED operation during charging cycle
Pro tip: Keep an old battery specifically for charger testing—it prevents unnecessary battery replacement when diagnosing issues.
When your DeWalt drill charger stops working, start with the simplest solutions before moving to complex repairs. Most charging problems stem from power source issues, dirty contacts, or battery communication errors—not catastrophic charger failure. By methodically testing components and understanding LED error patterns, you’ll fix most issues in under 30 minutes. For persistent problems, weigh repair costs against new charger prices, and always address underlying electrical issues to prevent repeat failures. Keep your workshop running smoothly by implementing the surge protection and maintenance routines outlined here—your DeWalt system will reward you with years of reliable performance.


