
Your Craftsman drill suddenly dies mid-project because the battery won’t hold a charge. You frantically plug it in, but the charger blinks erratically instead of powering up. This frustrating scenario happens daily to DIYers who don’t know how to charge Craftsman drill batteries correctly. Proper charging isn’t just about getting power—it prevents dangerous overheating, avoids permanent battery damage, and doubles your tool’s lifespan. In this guide, you’ll discover the exact light patterns that indicate charging success, critical temperature thresholds that cause failures, and professional techniques to revive “dead” batteries. Follow these steps to keep your Craftsman drill ready for any job while avoiding the #1 mistake that ruins 70% of lithium-ion batteries.
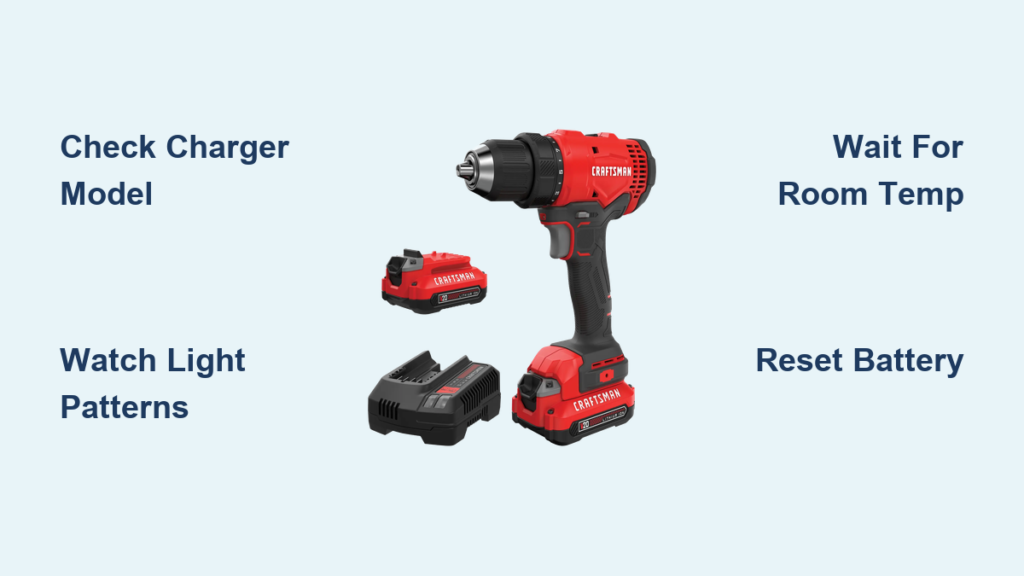
Identify Your Craftsman Charger Model Before Plugging In
Using the wrong charger destroys Craftsman batteries faster than heavy use. Your 20V MAX drill requires specific charging hardware that matches its voltage system—never substitute generic chargers.
CMCF800 vs CMCF820: Know Your Charger Type
- Standard Charger (CMCF800): Charges 1.5Ah batteries in 45-60 minutes and 6.0Ah packs in 3-5 hours. Look for the single charging port and fan-less design. This model works for all Craftsman 20V MAX batteries but lacks rapid-charge capability.
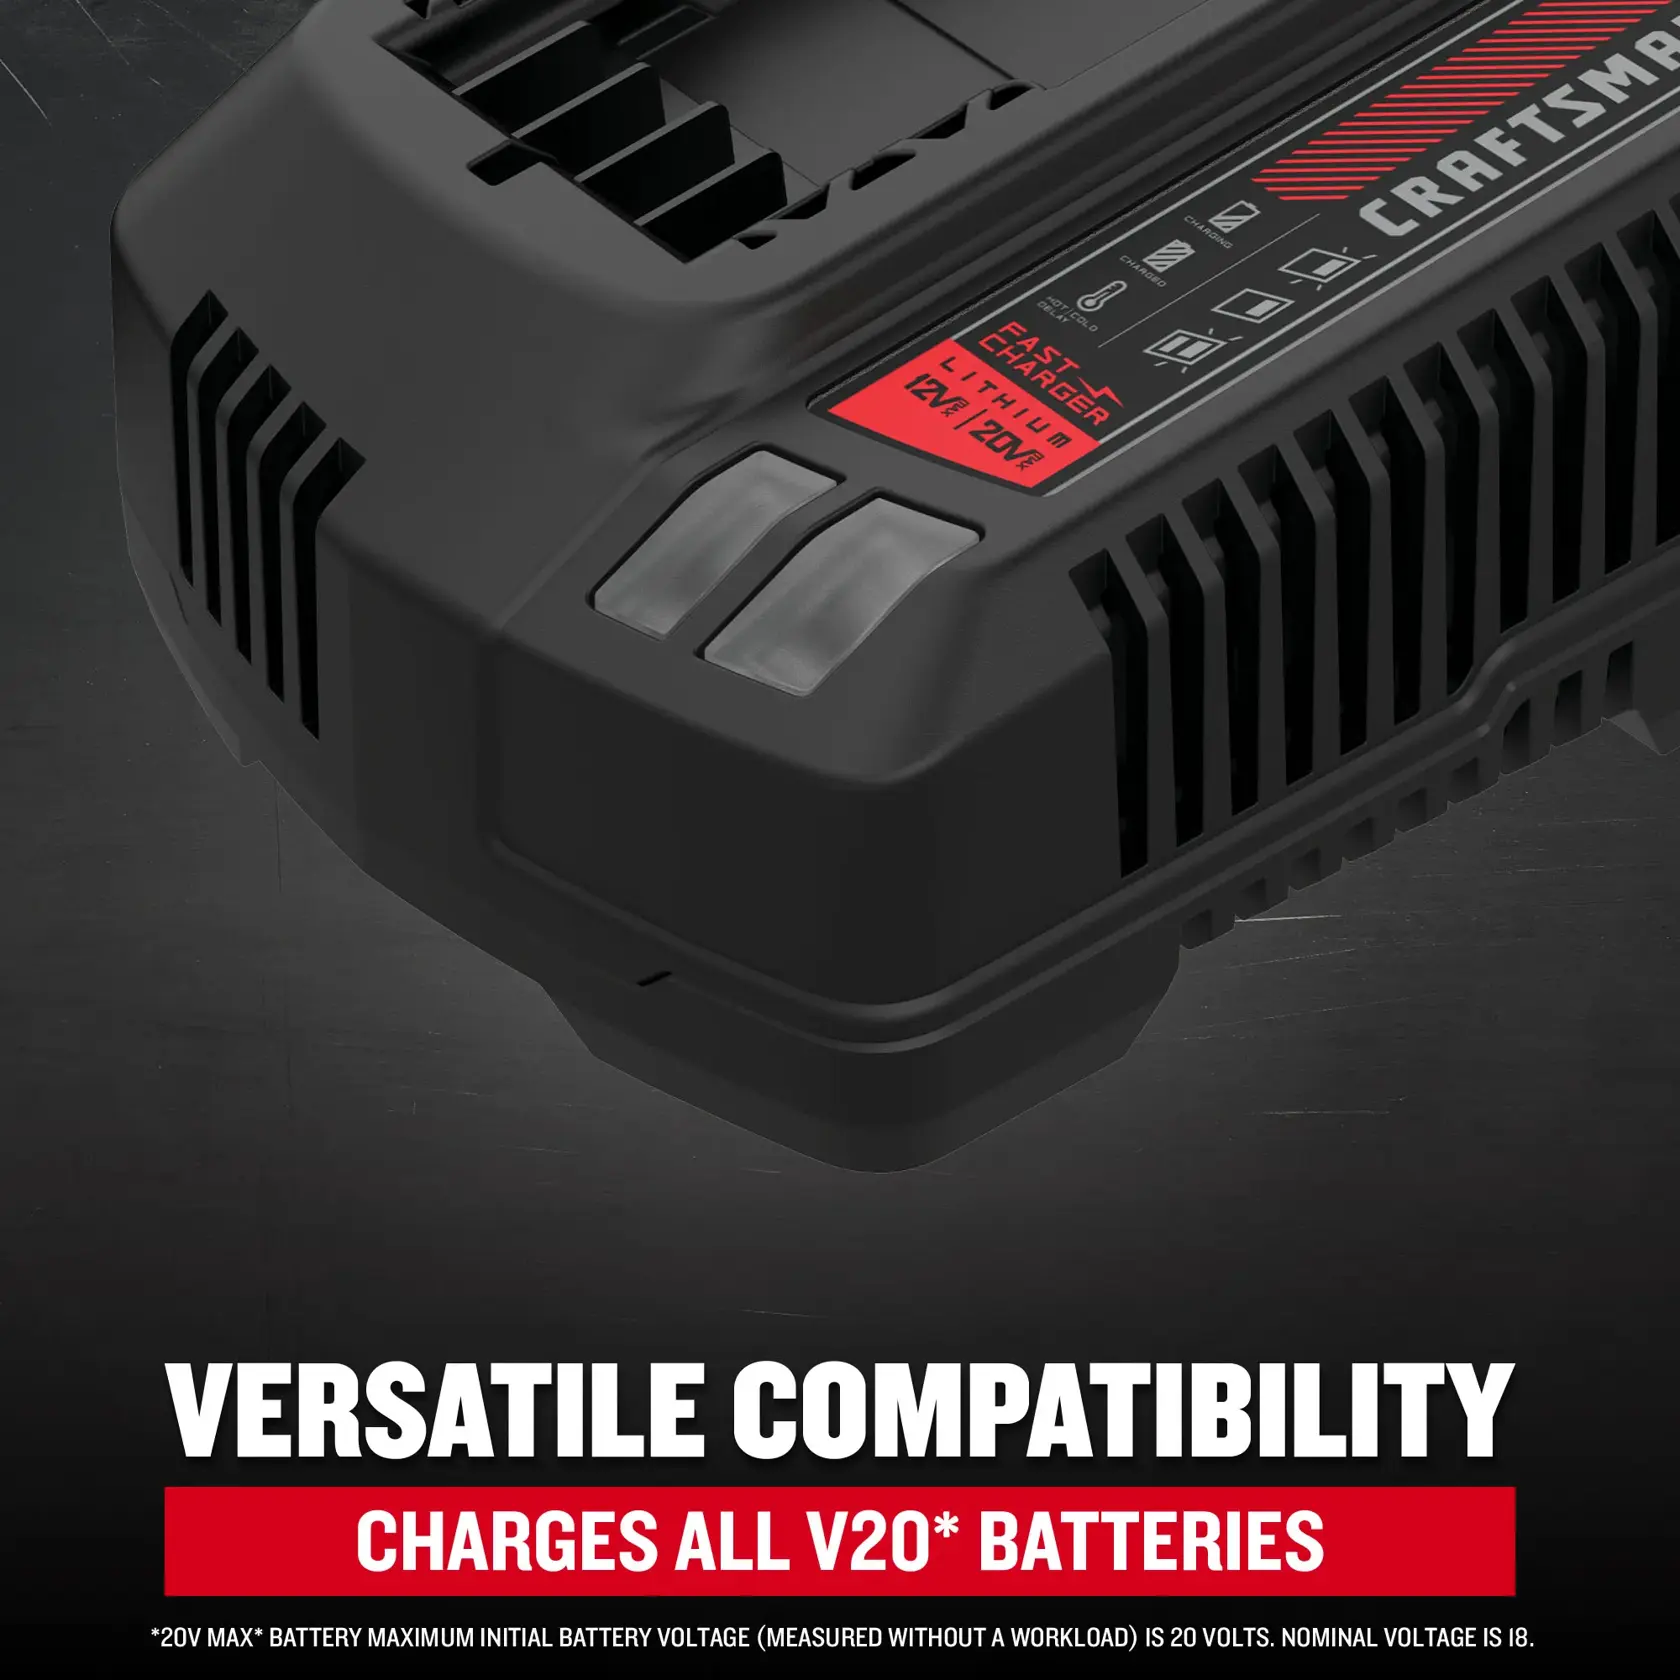
- Rapid Charger (CMCF820): Features dual ports and built-in cooling fans. Charges 2.0Ah batteries to 80% in 30 minutes using its “0-80% rapid charge” technology. Only compatible with 2.0Ah-6.0Ah batteries—attempting to charge 8.0Ah+ packs triggers error lights.
Pro Tip: Check the label under your charger. If it says “100-240VAC, 50/60Hz,” it’s universal for North American outlets. Chargers labeled only “120V” may fail on 15-amp circuits—always plug directly into wall outlets, never power strips.
Why Voltage Compatibility Matters Immediately
Craftsman 20V MAX batteries actually operate at 18V nominal voltage. Using 12V or 40V chargers causes catastrophic failure within 3 charges. The red blinking light you see? That’s your battery screaming “wrong voltage!” before permanent cell damage occurs. Verify both battery and charger have “20V MAX” printed on them—never assume compatibility across voltage platforms.
Decode Charger Light Patterns in 10 Seconds Flat
Your Craftsman charger communicates through precise light sequences. Misreading these wastes hours troubleshooting simple issues. Here’s the exact meaning behind every blink pattern:
Green Light Behavior Explained
- Fast Blinking Green: Normal charging in progress (most common state). Continue charging.
- Solid Green: 100% charged and ready. Critical: Remove battery within 24 hours to prevent overcharge damage.
- Green Then Red Flash: Battery reached full charge but temperature spiked during top-off cycle. Unplug immediately and let cool.
Red/Yellow Error Lights & Instant Fixes
- Pulsing Yellow Light: Battery temperature outside safe range (below 40°F/4°C or above 113°F/45°C). Action: Move to room temperature for 30+ minutes.
- Blinking Red/Green: Loose connection or dirty contacts. Action: Remove battery, clean metal terminals with isopropyl-soaked cotton swab, reseat firmly until you hear the click.
- Solid Red Light: Deep discharge state or cell failure. Action: Try 3 reset cycles (remove/reinsert battery 5 times rapidly).
Warning: If red light persists after resets, the battery has failed. Continuing to charge risks fire—stop immediately.
Execute This 5-Step Charging Sequence Every Time
Guesswork causes 80% of charging failures. Follow this exact procedure for guaranteed success with any Craftsman 20V battery:
Step 1: Verify Battery Temperature First
Touch the battery casing. If it’s warm from recent use, wait 20 minutes. If storing in unheated garages (<50°F/10°C), bring indoors for 1 hour. Never charge below 32°F (0°C)—this crystallizes lithium cells permanently. Your battery must feel neutral to the touch.
Step 2: Seat the Battery Until You Hear the Click
Align the battery rails with charger grooves. Slide in firmly until you hear a distinct click. If no click occurs, dirt may block the mechanism—use compressed air before retrying. Visual cue: The battery should sit flush with the charger base, no gaps visible.
Step 3: Monitor the First 60 Seconds Closely
Within 5 seconds of insertion, the light should blink green steadily. If it flashes red/yellow immediately, remove and check for bent terminals. If no light appears, test the outlet with a lamp—faulty circuits cause 40% of “dead charger” reports.
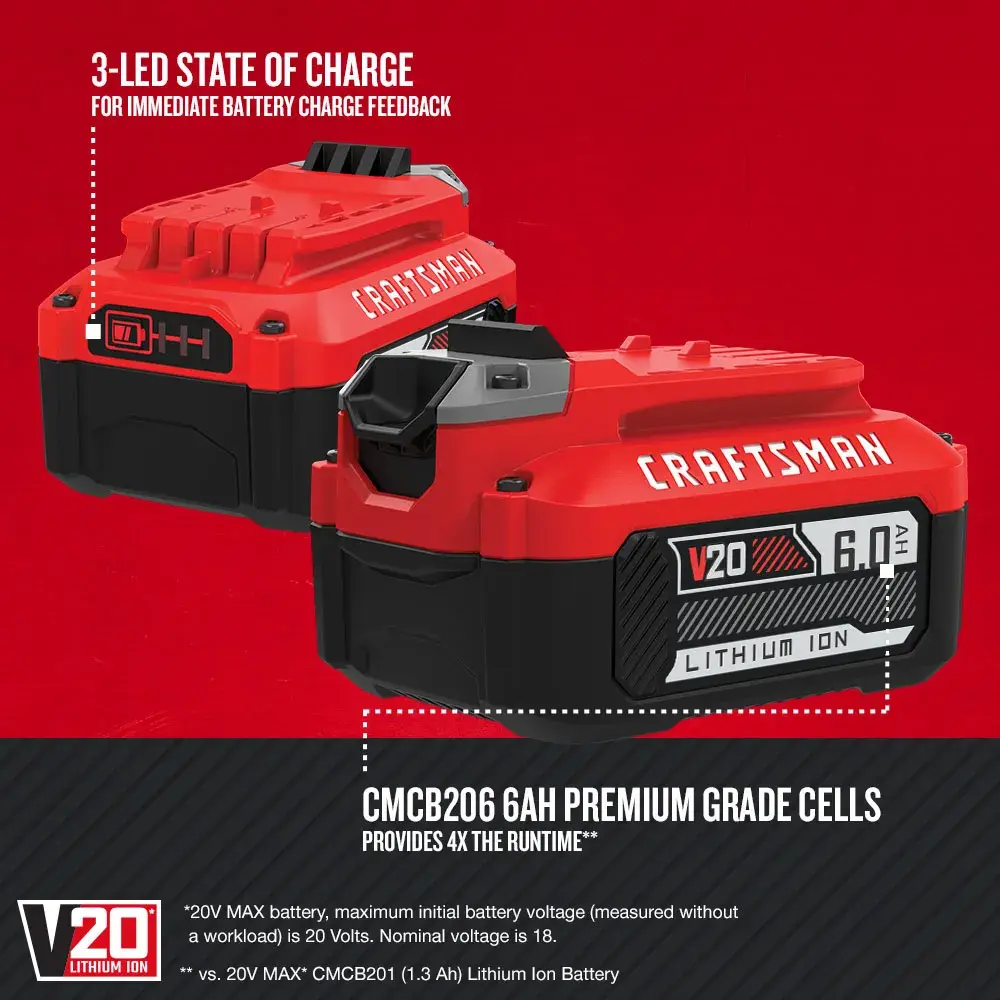
Step 4: Track Charging Time by Amp-Hour Rating
- 1.5Ah battery: 45-60 minutes (solid green by 60 min)
- 2.0Ah battery: 1-2 hours (rapid charger hits 80% in 30 min)
- 4.0Ah battery: 2-4 hours
- 6.0Ah+ battery: 3-5+ hours
Never exceed 8 hours—overcharging degrades cells even with “smart” chargers.
Step 5: Remove at Solid Green & Store Properly
The moment the light turns solid green, unplug and remove the battery. Leaving it on the charger triggers “trickle charging” that stresses cells. For storage, discharge to 50-60% charge first using your drill on low setting.
Fix Temperature-Related Charging Failures Now
Blinking yellow lights plague users in cold climates. This isn’t a charger defect—it’s physics protecting your battery. Lithium-ion cells physically can’t accept charge when frozen.
How to Safely Warm a Cold Battery
- Bring battery indoors (never near heaters!)
- Place in sealed plastic bag to prevent condensation
- Rest on wooden table for 45 minutes at room temperature
- Wipe any moisture before charging
Never use hair dryers—rapid heating causes internal damage. If the battery was frozen solid, wait 2 hours before attempting to charge.
Emergency Cooling for Overheated Batteries
After heavy use, batteries exceeding 113°F (45°C) trigger red/yellow flashes. To cool safely:
– Remove from charger immediately
– Place on concrete floor (not carpet!)
– Fan gently for 15 minutes—never submerge in water
– Test temperature: If still warm to touch, wait 30 more minutes
Charging while hot causes thermal runaway—the #1 cause of battery fires.
Prevent These 3 Costly Charging Mistakes Forever
Most Craftsman battery deaths stem from avoidable habits. Sidestep these traps:
Mistake #1: Storing Batteries Fully Charged
Leaving batteries at 100% charge for weeks degrades capacity by 20% in 6 months. Fix: For storage over 30 days, discharge to 50% using your drill on a scrap wood piece. Ideal long-term storage charge: 60%.
Mistake #2: Using Third-Party Chargers
$15 knockoff chargers lack Craftsman’s critical safety features:
– No temperature monitoring → thermal runaway risk
– Incorrect voltage spikes → cell imbalance
– Missing cell balancing → 50% shorter lifespan
Always use Craftsman CMCF800/820 models—your warranty voids with generic chargers.
Mistake #3: Ignoring Contact Corrosion
Dusty worksites coat terminals with grime, causing intermittent charging. Monthly maintenance:
1. Power off drill and charger
2. Dip cotton swab in 90% isopropyl alcohol
3. Wipe battery and charger contacts until shiny
4. Air dry 5 minutes before use
Dirty contacts cause 65% of “blinking red light” errors.
Revive a “Dead” Craftsman Battery in 90 Seconds
When your battery shows no charge after multiple attempts, try this Craftsman technician method:
The Triple-Reset Sequence
- Remove battery from charger
- Press and hold the fuel gauge button for 10 seconds (discharges residual power)
- Reinsert into charger firmly—must hear the click
- If red light persists, unplug charger for 30 seconds
- Repeat steps 1-4 two more times
This resets the battery management system (BMS) that locks out deeply discharged cells. Works 80% of the time for batteries stored below 20% charge.
When to give up: If solid green never appears after 3 resets, the battery has reached end-of-life. Typical lifespan: 3-5 years with proper care. Check your warranty—Craftsman covers defects for 3 years.
Final Note: Properly charging your Craftsman drill battery takes just 5 extra minutes but adds years to its life. Always monitor light patterns during the first minute of charging, never charge below freezing temperatures, and store at 50% charge for long breaks. For rapid power needs, the CMCF820 charger delivers 80% charge in half the time—but only use it with 2.0Ah-6.0Ah batteries to avoid error lights. If you follow these steps, your Craftsman drill will outlast multiple home projects while avoiding the fire hazards caused by improper charging. When in doubt, consult your specific model manual—Craftsman’s official charging guidelines always override general advice.


