
Your Makita drill battery not charging is one of the most frustrating power tool failures—especially when you’re mid-project with work to finish. That sudden halt when your drill refuses to power up leaves you standing there holding an expensive paperweight. The good news? Most “dead” Makita batteries aren’t actually dead—they’re simply locked out by safety systems or suffering from easily fixable connection issues. In this guide, you’ll discover exactly why your Makita drill battery won’t charge and the precise steps to get it back in action.
When your Makita battery suddenly stops taking a charge, the culprit is usually the Battery Management System (BMS) locking out due to low voltage—not a permanent battery failure. Understanding this critical distinction saves you from prematurely replacing a perfectly salvageable battery pack. By following these diagnostic steps, you’ll systematically eliminate possible causes and identify the specific issue preventing your Makita drill battery from charging.
Why Your Makita Drill Battery Won’t Charge: Systematic Diagnosis
Before replacing your battery or charger, perform these critical checks that solve most Makita drill battery not charging issues. Start with the simplest possibilities that require no tools and take less than two minutes to verify.
Inspecting Battery and Charger Physical Condition
Examine your Makita battery for visible damage that could prevent charging. Look for case swelling, cracks, or leakage—these indicate serious damage requiring immediate replacement. Check the metal contact points on both the battery and charger for corrosion (green or white powdery buildup) or carbon scoring from arcing. A swollen battery is a major fire hazard and should never be charged under any circumstances.
Critical visual indicators:
– Swelling or bulging on the battery case
– Green/blue corrosion on metal terminals
– Scorch marks or melted plastic near contacts
– Dents or impact damage compromising case integrity
Verifying Power Source and Outlet Functionality
Don’t overlook the simplest possibility—your outlet might be the problem. Plug another device into the same outlet to confirm it’s working properly. Try your Makita charger in a different circuit to rule out tripped breakers or GFCI issues. Ensure the charger’s indicator light shows expected behavior when plugged in (typically a solid green “standby” light).
Decoding Makita Charger Light Patterns for Fault Diagnosis
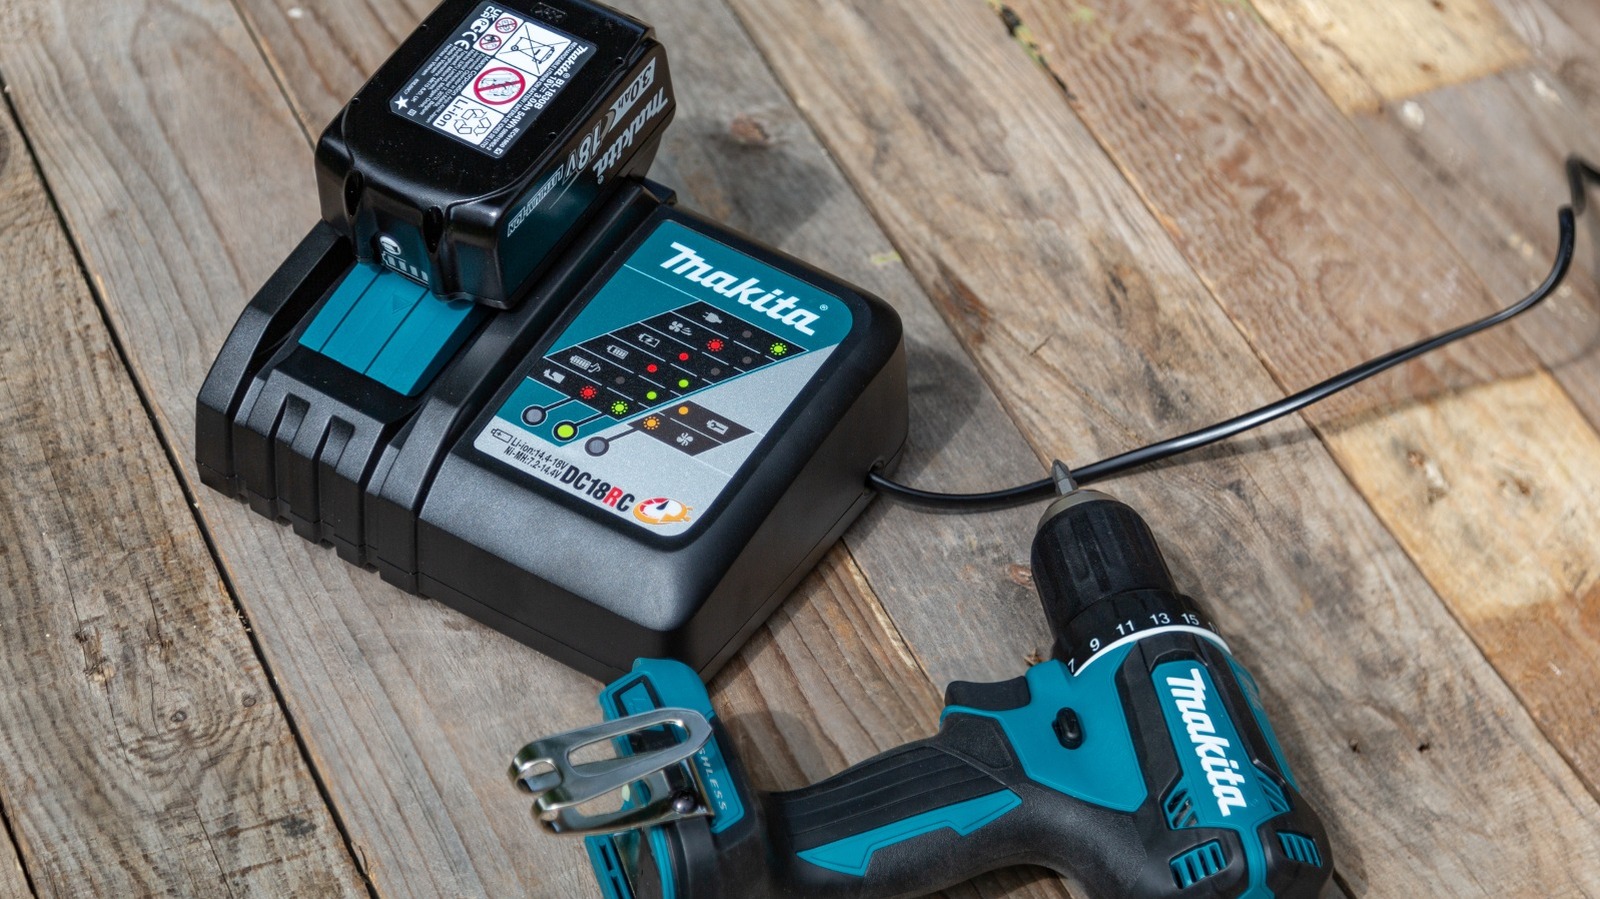
Your Makita charger’s LED indicators provide specific diagnostic information about why your Makita drill battery not charging. Learning these patterns eliminates guesswork and directs you to the precise problem area.
- Solid Red Light: Battery is actively charging normally
- Flashing Red Light: Error condition detected (most common indicator of charging failure)
- Flashing Green Light: Trickle charging phase (nearly full)
- Solid Green Light: Fully charged and ready for use
When your Makita drill battery not charging displays flashing red, the charger has detected one of several specific issues: critically low battery voltage, temperature extremes outside 41°F-104°F (5°C-40°C), or communication failure between the battery’s BMS and charger.
Testing Your Makita Battery Voltage with a Multimeter
Voltage testing provides definitive evidence of your battery’s condition. This three-step process reveals whether your Makita drill battery not charging is recoverable or needs replacement.
- Set your multimeter to DC Volts (20V or 200V range)
- Place red probe on positive terminal, black probe on negative terminal
- Compare reading to these critical thresholds:
– Healthy 18V battery: 18-21V when fully charged
– Nominal working range: 15-18V
– Critical low voltage: Below 12.5V triggers BMS lockout
If your multimeter shows less than 10-12V on an 18V Makita battery, the BMS has activated its low-voltage protection—a common reason for Makita drill battery not charging scenarios.
BMS Lockout: The #1 Reason Makita Batteries Refuse to Charge
The Battery Management System (BMS) inside your Makita battery automatically disconnects charging when cell voltage drops below 2.5-3.0V per cell (approximately 12.5V for 18V packs). This safety feature prevents dangerous charging attempts on depleted cells but causes your Makita drill battery not charging symptoms.
Why BMS lockout happens:
– Extended storage without maintenance charging
– Leaving battery fully depleted after use
– “Chip drain” from the BMS itself during storage
– Using incompatible or generic chargers
Performing a Safe BMS Reset on Your Makita Battery

This method safely resets the BMS without dangerous bypass procedures. Never attempt direct terminal connections—this bypasses critical safety features and risks fire or explosion.
- Remove the battery from your Makita drill
- Let the battery rest at room temperature for 30 minutes
- Plug the charger into a known-working outlet
- Insert the battery and immediately remove it after 5 seconds
- Repeat this insertion/removal cycle 3-5 times
- Leave the battery on the charger for a full cycle
This “pulse charging” technique often resets the BMS when your Makita drill battery not charging due to temporary lockout.
Cleaning Corroded Contacts on Makita Batteries and Chargers
Oxidation and carbon buildup create resistance that prevents proper charging. This simple cleaning process solves many Makita drill battery not charging issues caused by poor electrical contact.
Required materials:
– Isopropyl alcohol (90%+ concentration)
– Cotton swabs or soft-bristled toothbrush
– Lint-free cloth
Cleaning procedure:
1. Power off and unplug the charger
2. Dip cotton swab in isopropyl alcohol
3. Gently scrub all metal contact points on battery and charger
4. Use dry cloth to remove residue
5. Allow contacts to dry completely before attempting to charge
Pro tip: Apply a tiny amount of dielectric grease to cleaned contacts after drying to prevent future corrosion while maintaining conductivity.
Why Temperature Stops Your Makita Battery from Charging
Makita chargers automatically halt charging when batteries are outside safe temperature ranges—typically below 41°F (5°C) or above 104°F (40°C). This safety feature explains why your Makita drill battery not charging after working in extreme conditions.
Temperature recovery steps:
– For cold batteries: Bring indoors and allow 1-2 hours to reach room temperature
– For hot batteries: Let cool for 30 minutes after heavy use before charging
– Never charge a battery that’s hot to the touch from recent use
How to Test if Your Makita Charger Is Causing Charging Problems
Isolate whether your Makita drill battery not charging stems from the charger or battery with this verification process.
- Test your suspect battery on a known-working Makita charger
- Test a known-good battery on your suspect charger
- Try both batteries in a different electrical circuit
If the good battery charges properly on your charger, the problem lies with your original battery. If neither battery charges on your charger, the charger has failed and needs replacement.
Signs Your Makita Battery Is Beyond Repair and Needs Replacement
Certain conditions indicate your Makita drill battery not charging requires full replacement rather than repair.
Replace immediately if you observe:
– Visible swelling or bulging of the battery case
– Leaking electrolyte or chemical odor
– Scorch marks or melted plastic
– Physical damage from impact or crushing
Safety note: Never attempt to charge a swollen or damaged Makita battery—this creates serious fire and explosion risks. Take damaged batteries to certified recycling centers like Home Depot or Lowe’s for proper disposal.
3 Storage Habits That Prevent Makita Drill Battery Charging Issues
Prevent future Makita drill battery not charging problems with these professional storage practices.
- Store at 40-50% charge (3.8V per cell) rather than fully charged or depleted
- Check stored batteries quarterly and top up charge if needed
- Keep in climate-controlled environment between 50-77°F (10-25°C)
Pro tip: For professionals with multiple batteries, implement a rotation system where you always use the oldest charged battery first to prevent storage-related failures.
When Professional Repair Beats Replacement
Consider professional cell replacement if your Makita battery shows these signs:
– Consistent voltage below 15V when “fully charged”
– Rapid discharge during use (10-15% capacity remaining)
– Working charger indicates full charge but battery dies immediately
Many third-party services can replace individual cells for $50-80—significantly less than a new $100+ Makita battery. However, always prioritize safety over cost savings when dealing with lithium-ion batteries.
By following these specific diagnostic steps, you’ll solve most Makita drill battery not charging issues within minutes. Remember that the BMS lockout causes 70% of apparent “dead battery” scenarios—and is often recoverable with proper techniques. When in doubt about battery safety, consult an authorized Makita service center rather than risking dangerous repair attempts. Proper maintenance and storage habits will keep your Makita batteries charging reliably for years of trouble-free operation.


