
Your DeWalt drill suddenly refusing to grip a bit brings critical projects to a screeching halt. When the chuck spins freely without tightening or “just clicks” uselessly, even the most powerful 20V brushless model becomes a paperweight. This frustrating failure typically stems from internal wear, debris buildup, or clutch misconfiguration—but 90% of cases can be resolved without professional help. You’ll learn exactly why your DeWalt drill won’t tighten properly and gain step-by-step solutions from simple clutch adjustments to chuck replacement, saving you costly service fees and project delays.
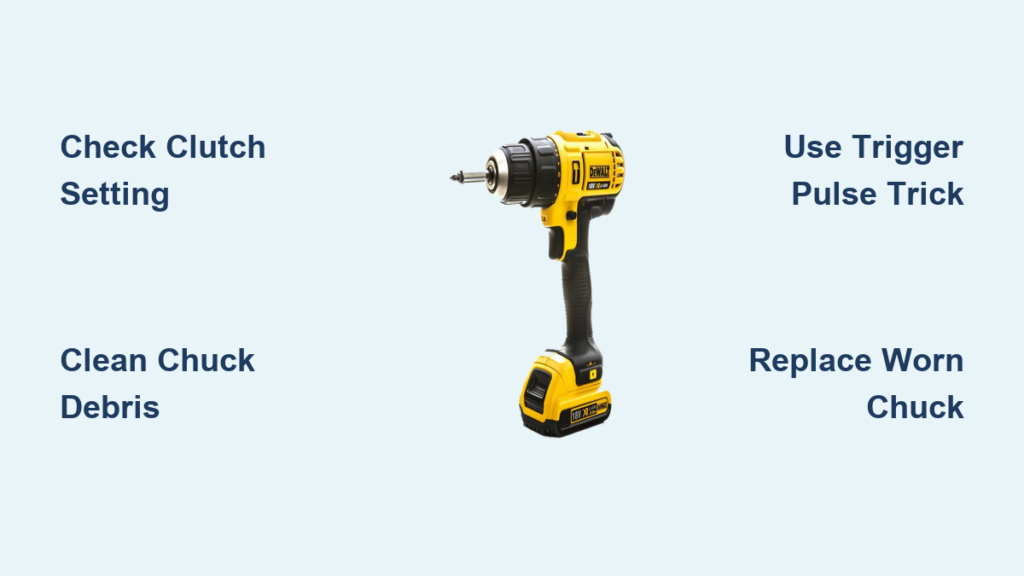
Why Your DeWalt Chuck Won’t Grip (5 Root Causes)
Understanding the exact failure mechanism determines your repair path. DeWalt’s keyless chucks fail in distinct patterns, each signaling specific internal issues.
Internal Jaw Wear from Over-Tightening
The most common culprit is worn internal teeth and bearings. When you consistently crank the chuck beyond hand-tight using pliers or excessive force, the precision-machined teeth flatten over time. This creates slippage where the chuck “clicks” but won’t cinch down—a telltale symptom of irreparable internal damage. You’ll notice reduced clamping force even when manually twisting the sleeve.
Debris Jamming the Mechanism
Wood shavings, metal filings, or compacted sawdust infiltrate the chuck’s moving parts during heavy use. This grit acts like sandpaper inside the mechanism, preventing jaws from closing fully. If your drill struggles after working with MDF or metal, inspect for debris buildup between the chuck sleeve and body. Shine a flashlight into open jaws—you’ll often see packed residue near the base.
Clutch Setting Misconfiguration
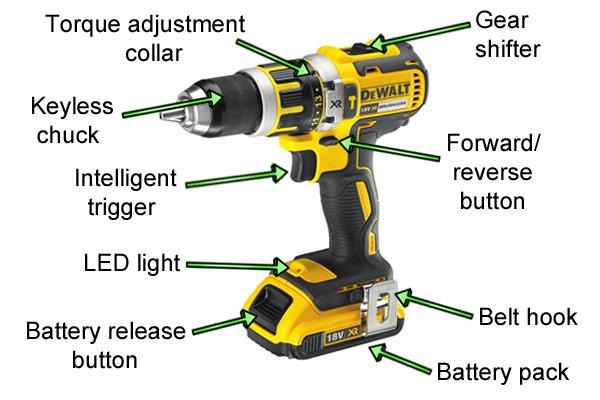
Many users unknowingly trigger this issue by leaving the clutch ring set for screwdriving. When the numbered collar (located behind the chuck) is set below “10” or on a screw icon, torque limits prevent full chuck engagement. Always verify the clutch is set to the drill bit symbol (maximum torque) before diagnosing mechanical failures.
First Response: Check the Clutch Setting Before Panicking
This 10-second check solves half of “won’t tighten” complaints. Don’t disassemble anything yet—your solution might be simpler than expected.
How to Verify Drill Mode vs. Screw Mode
Locate the rotating collar just behind the chuck. If numbered settings appear (1-20), rotate it until the drill bit icon aligns with the indicator mark. Critical detail: On DeWalt’s 20V MAX models, the drill icon sits opposite the screwdriver symbol. Never attempt chuck tightening when any numbered setting (1-15) is selected—these limit torque for driving screws and prevent full chuck engagement.
Test After Mode Adjustment
With the clutch set to drill mode:
1. Insert a hex bit shank directly into the chuck
2. Manually twist the chuck sleeve clockwise until snug
3. Pull the trigger at medium speed
If the chuck now grips firmly, debris or wear wasn’t the issue. Reset the clutch after each use to avoid future confusion.
The 5-Second Trigger Trick for a Clicking Chuck
DeWalt engineers recommend this field-tested method for chucks that spin freely without gripping. It re-engages jammed internal components through controlled shock.
Step-by-Step Execution
- Hold the chuck sleeve firmly with your non-dominant hand (use a rag for grip)
- With your dominant hand, rapidly squeeze and release the trigger 5-6 times in 2-second bursts
- Alternate between forward and reverse rotation during pulsing
The rapid torque reversals jolt misaligned jaws back into position. Pro tip: Wear safety glasses—loosened debris may eject during pulsing. If the chuck tightens after this, immediately clean and lubricate it to prevent recurrence.
Deep Cleaning Your DeWalt Chuck: Removing Built-Up Grime
Grit accumulation causes 30% of chuck failures. This comprehensive cleaning procedure restores smooth operation without disassembly.
Supplies You’ll Need
- Penetrating oil (PB Blaster or Liquid Wrench)
- Compressed air canister
- Microfiber cloth
- Safety glasses
Critical Cleaning Sequence
- Soak thoroughly: With jaws fully open, spray penetrating oil into all three jaw slots and around the chuck sleeve seam. Rotate the sleeve while spraying to coat all moving parts.
- Wait strategically: Let oil penetrate for 2+ hours (overnight for severe cases). This dissolves hardened resin and rust.
- Work the mechanism: Grip the sleeve with a cloth and twist open/close repeatedly. Simultaneously pulse the trigger in both directions—this drives oil past internal seals.
- Expel debris: Use compressed air (at 30° angle) to blast loosened particles. Never point air directly into jaws—this forces debris deeper.
- Final lubrication: Apply 2 drops of 3-in-1 oil to a cloth and wipe the sleeve exterior. Operate the chuck 10 times to distribute lubricant.
Freeing a Seized Chuck with Penetrating Oil and Force
When cleaning fails and the chuck remains frozen, apply controlled mechanical force. Warning: Skip this if your chuck has a plastic collar—force will crack it.
Safe Force Application Technique
- Wrap the chuck sleeve with a thick shop rag
- Position channel-lock pliers over the rag-covered sleeve
- Apply steady counter-clockwise pressure (to open) while tapping the pliers handle with a rubber mallet
- Alternate with clockwise tightening attempts to break corrosion bonds
Crucial safety note: Always wear impact-resistant gloves. If resistance suddenly releases, your hand could smash against the drill body. For rust-seized chucks, apply PB Blaster daily for 3 days before forcing—this penetrates 5x deeper than WD-40.
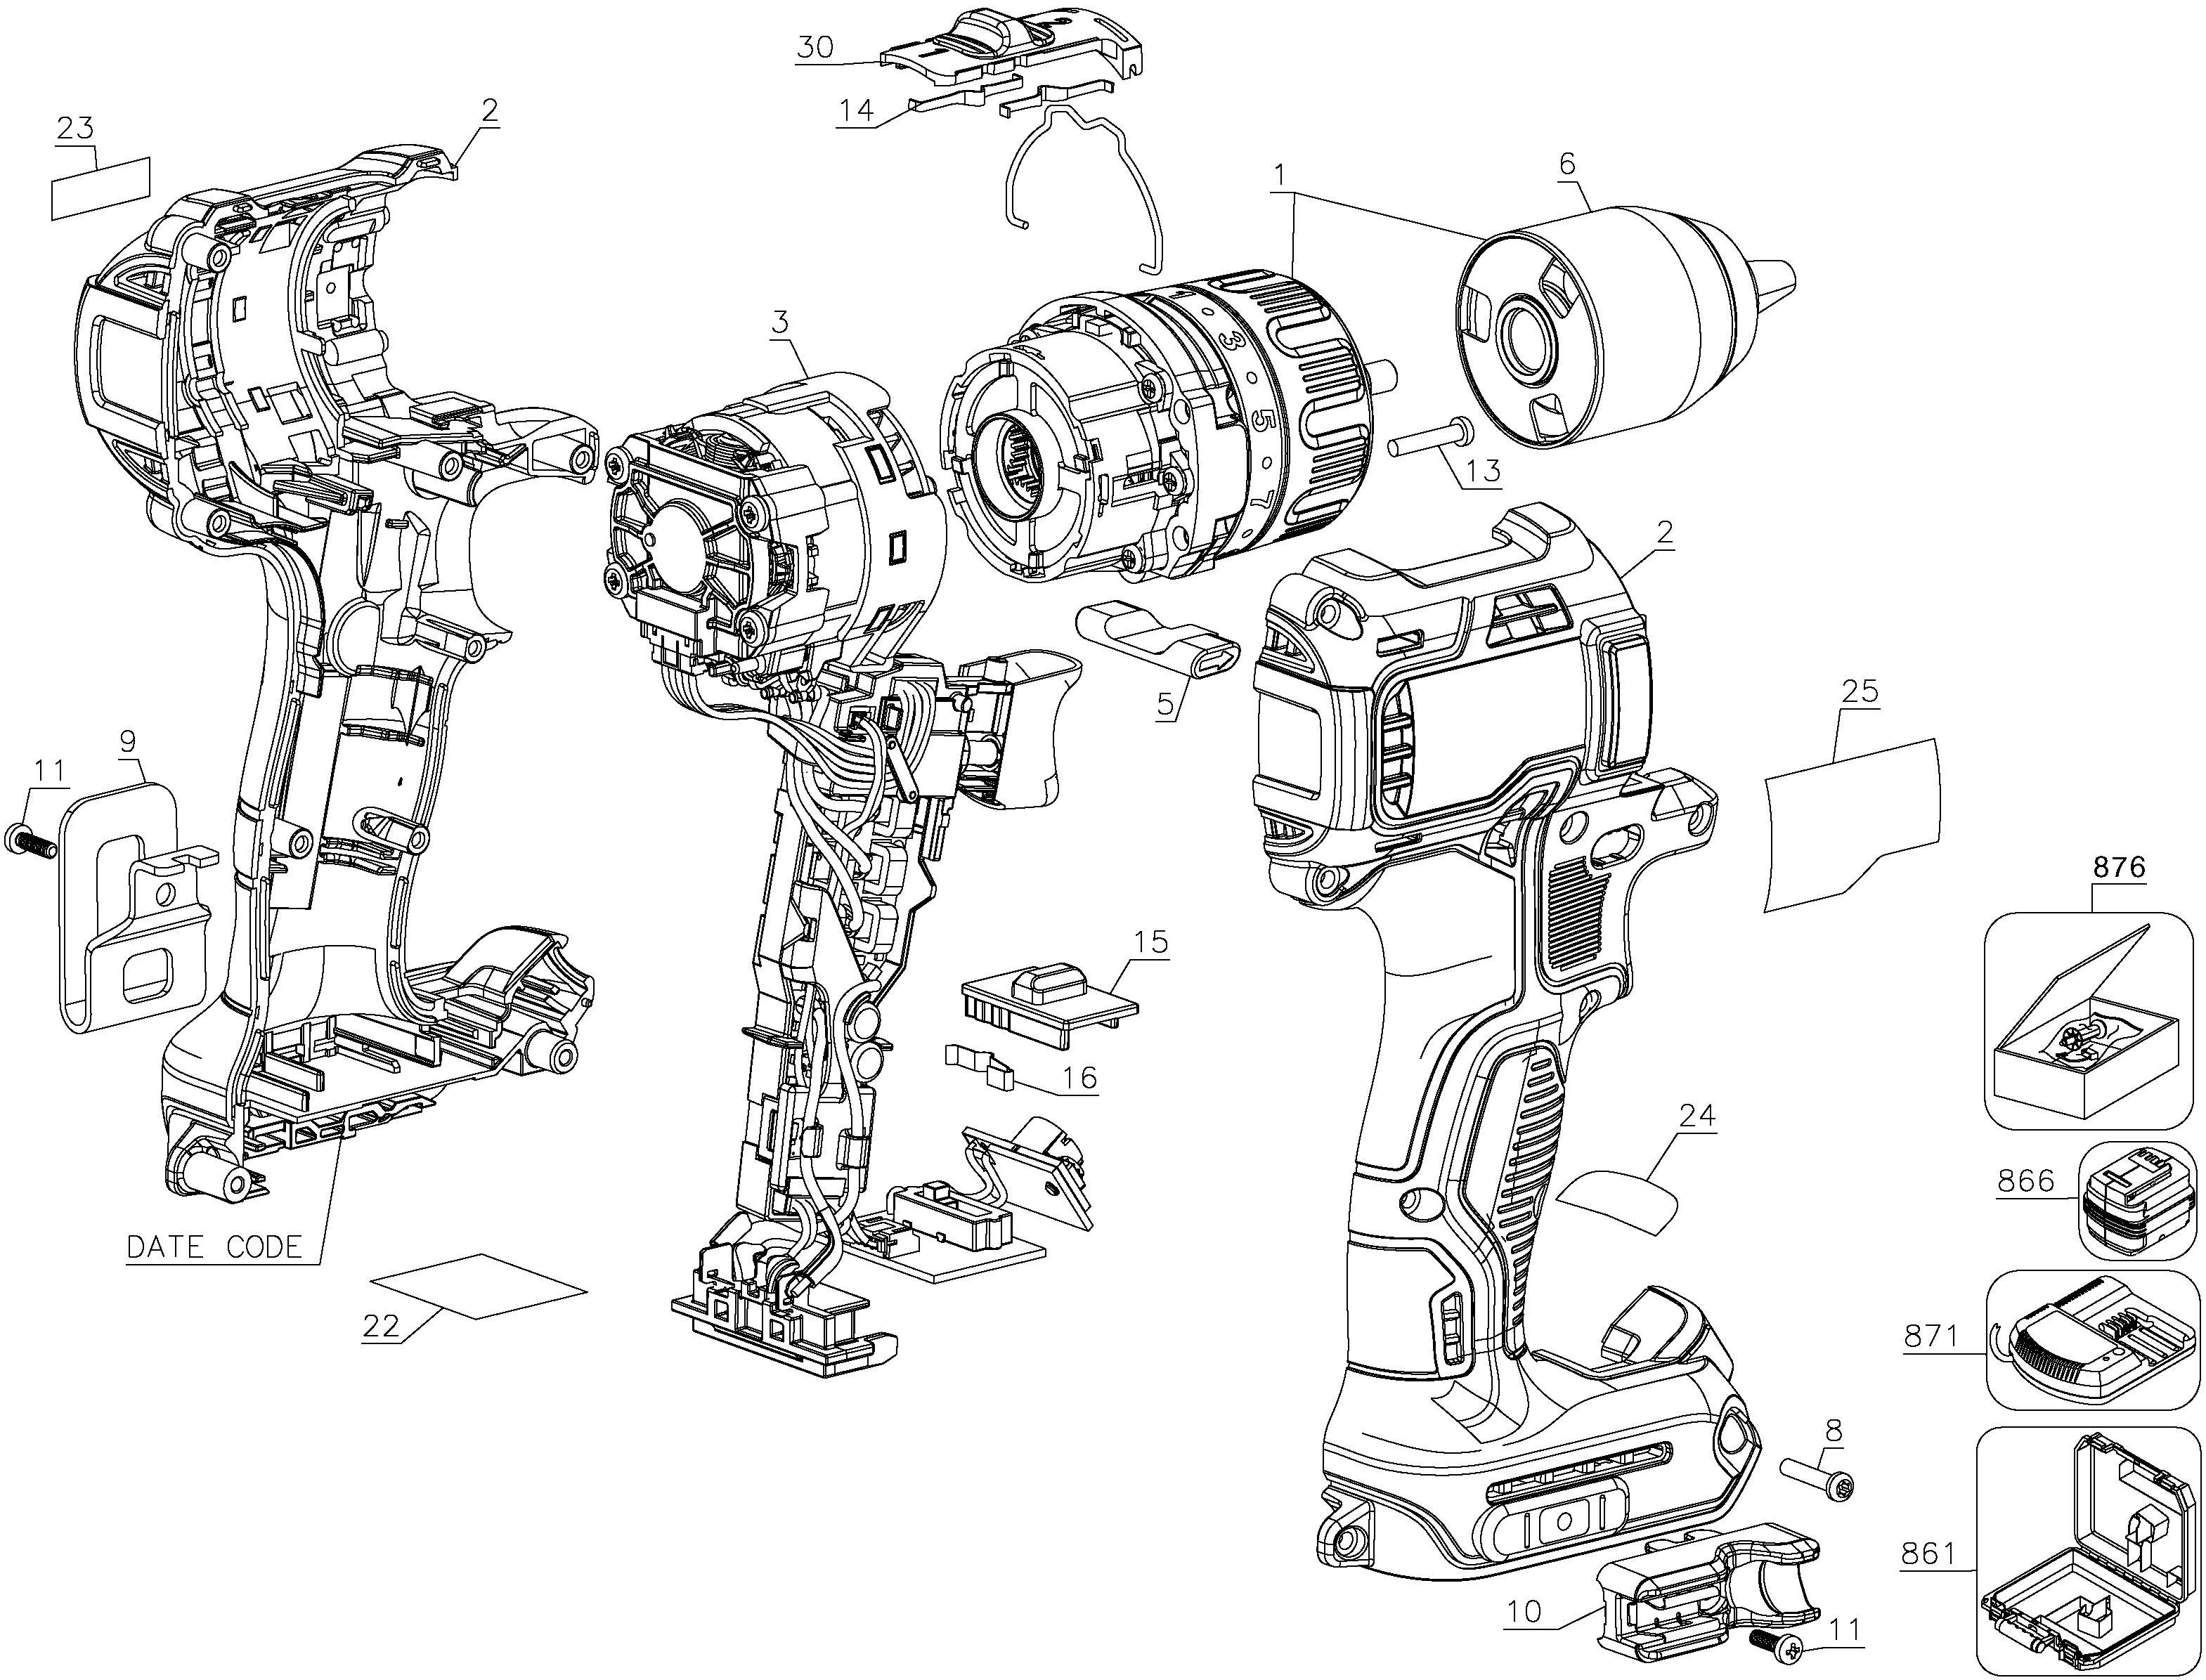
Step-by-Step: Removing a Stuck DeWalt Drill Chuck
When all else fails, chuck replacement becomes necessary. This proven method avoids spindle damage during removal.
Removing the Reverse-Threaded Screw
- Open jaws fully to expose the center screw
- Remember this critical detail: The retaining screw uses LEFT-HAND threads
- Insert a perfect-fitting Torx bit (T15 or T20) and turn CLOCKWISE to loosen
- If stripped, apply penetrating oil and wait 2 hours before retrying
Breaking the Chuck Free
- Insert a 5/16″ hex key deep into the chuck
- Tighten the chuck sleeve by hand until the key is firmly jammed
- Set drill to maximum torque and forward rotation
- Place drill vertically on workbench with key handle braced against a 2×4 block
- Short pulse only: Trigger 1-second bursts until chuck spins free (typically 2-3 pulses)
Visual cue: Watch for the chuck moving independently from the spindle—that’s your success signal.
Installing a Replacement Chuck Without Mistakes
OEM replacement chucks solve 95% of persistent failures. Follow these precision steps to avoid costly errors.
Correct Thread Engagement
- Hand-thread the new chuck onto the spindle (RIGHT-HAND threads)
- Insert a 3/8″ hex key and tighten the chuck sleeve
- Brace the key against a 2×4 block and pulse trigger in FORWARD direction
- Critical step: After removal, the faceplate screw now uses NORMAL threads. Tighten it COUNTER-CLOCKWISE
Pro tip: Test chuck tension before final screw tightening. Insert a bit and verify it holds at medium speed. Under-tightening causes slippage; over-tightening strips new threads.
4 Maintenance Habits to Avoid Chuck Failures for Good
Preventative care extends chuck life by 3x. Integrate these quick habits after every project.
Post-Use Air Blast Routine
Within 5 minutes of finishing work:
– Open chuck jaws fully
– Blast with compressed air at 45° angle for 10 seconds
– Wipe sleeve with dry microfiber cloth
This removes abrasive particles before they harden inside the mechanism.
Strategic Lubrication Schedule
Apply lubricant ONLY when:
– Jaws feel gritty during manual rotation
– After working with resinous woods or metal
– Every 50 hours of heavy use
Never over-lubricate—excess oil attracts more debris. One drop of 3-in-1 oil on the sleeve monthly is sufficient.
Correct Tightening Technique
Always follow this sequence:
1. Insert bit fully
2. Manually twist sleeve until “first resistance”
3. Use final trigger “click” to lock (never exceed 2 clicks)
Forcing beyond hand-tight causes 70% of premature wear.
Bit Maintenance Protocol
Wipe all bits with a dry rag before storage. Corrosion or burrs on shanks accelerate chuck wear. Store bits in a dedicated case—never loose in your toolbox where grit accumulates.
When to Call a DeWalt Repair Professional
Some failures require expert intervention. Seek professional help immediately if:
– Grinding noises persist after chuck removal (indicates gearbox damage)
– Spindle threads are visibly stripped or bent
– The motor spins but chuck doesn’t rotate (internal drive pin failure)
– You’ve stripped the reverse-threaded retaining screw
Authorized DeWalt service centers have torque-specified chuck installation tools that prevent spindle damage. For drills under warranty, never force disassembly—this voids coverage.
Final Note: A DeWalt drill that won’t tighten typically stems from preventable causes like debris buildup or clutch misconfiguration. By implementing these 12 solutions—from the 5-second trigger trick to proper chuck replacement—you’ll restore full functionality while avoiding costly repairs. Remember that consistent post-use cleaning and correct tightening technique prevent 80% of chuck failures. Keep this guide in your workshop for quick reference when your drill acts up, and you’ll never face a halted project again. For model-specific diagrams, always consult DeWalt’s official service manuals before disassembly.


