
Your drill bit snaps with a sickening ping, leaving a jagged metal fragment buried deep in your workpiece. This common nightmare halts projects dead in their tracks—whether you’re a weekend DIYer or a professional machinist. Knowing how to get broken drill bit out of hole isn’t just convenient; it saves costly materials and prevents hours of frustration. When that hardened steel shard jams in metal, wood, or plastic, standard extraction fails because drill bits are intentionally brittle to maintain cutting edges. But don’t abandon your project yet. This guide reveals field-tested techniques that actually work, starting with zero-cost methods you can try immediately and progressing to professional solutions. You’ll learn to assess break types, avoid dangerous mistakes, and choose the right extraction strategy—all while preserving your workpiece.
Why Your Drill Bit Broke and How to Assess the Damage
Before grabbing tools, diagnose why the bit failed and evaluate the break. Most breaks happen from excessive pressure on dull bits, drilling hardened materials without lubrication, or encountering hidden voids in metal. Critical visual checks determine your next move: Is the fragment protruding, flush with the surface, or buried below? Use a flashlight and magnifying glass to inspect the break angle—clean shear breaks (common in brittle cobalt bits) allow easier extraction than jagged fractures. Note the bit material: HSS (High-Speed Steel) bits shatter cleanly, while carbide-tipped bits require gentler handling. Crucially, identify your workpiece material—aluminum demands low-heat methods to avoid melting, while steel tolerates welding. If the hole is a through-hole (exiting the opposite side), you’ve got a major advantage: driving the fragment out with a punch often solves the problem instantly. Skip this assessment, and you risk turning a salvageable situation into a ruined workpiece.
Critical Safety Steps Before Attempting Removal
Never skip these non-negotiable precautions—metal fragments can cause permanent eye damage or lacerations. First, unplug your drill or remove the battery, then clamp the workpiece in a heavy-duty vise using non-marring jaws to prevent slippage. Required PPE includes ANSI-rated safety glasses (not sunglasses!), cut-resistant gloves, and hearing protection if using hammering tools. For welding methods, add a welding helmet and fire-resistant clothing. Most dangerous mistake: Using excessive force with pliers, which often shears off the visible fragment and buries it deeper. Instead, apply steady, controlled counter-clockwise pressure only after penetrating oil soaks in. If working with aluminum, place a copper heat sink behind the hole to prevent melting—this simple step avoids catastrophic warping. Always work in a well-ventilated area, especially when applying solvents or welding.
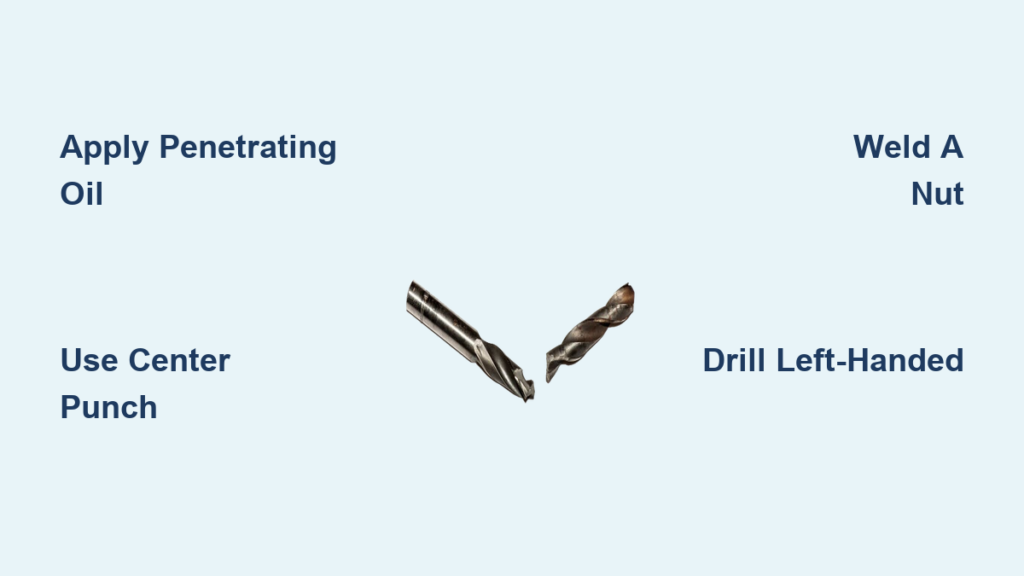
Step-by-Step: Applying Penetrating Oil for Maximum Effect
This 15-minute step makes or breaks extraction success. Skip it, and friction-welded metal bonds will resist all removal attempts. Use a high-quality penetrant like PB Blaster or a DIY mix of 50% acetone and 50% automatic transmission fluid. Apply liberally around the broken bit using a precision nozzle, then let it soak for 15 minutes minimum—do not rush this. For stubborn cases, gently heat the workpiece (not the bit!) with a heat gun to 150°F; thermal expansion opens microscopic gaps for oil penetration. Reapply oil twice during soaking. Pro tip: Tap the workpiece lightly with a hammer during soaking—the vibrations help oil migrate deeper. If the break is below surface level, use a syringe to inject oil directly into the gap. This step alone frees 30% of stuck bits by breaking the “cold weld” caused by drilling heat.
First Attempt: Simple Mechanical Extraction Without Tools
Try these zero-cost methods before investing in specialized tools. If even 1/16″ of the bit protrudes, grip it firmly with needle-nose vise-grips—never standard pliers, which slip easily. Apply gentle counter-clockwise rotation while wiggling side-to-side; this breaks the friction seal better than straight pulling. Critical technique: Rock the bit 5 degrees left/right repeatedly instead of continuous turning. For flush breaks, press a strong rare-earth magnet against the fragment—many HSS bits retain enough magnetism for this to work. If you see flute grooves, insert a stiff piano wire or straightened paperclip into one groove, then use pliers on the wire as a lever. Common failure point: Rushing this step. Spend 5 minutes applying patient, incremental force—if it doesn’t budge, move to next methods. These approaches succeed on 40% of shallow breaks with no risk to your workpiece.
Punch and Hammer Method: Shattering the Broken Bit Safely
Ideal for shallow breaks in hardened steel bits under 1/4″ diameter. Use a pinpoint center punch and 8oz ball-peen hammer—not a framing hammer, which delivers destructive force. Position the punch tip dead-center on the broken bit. Strike with controlled 3/4-force taps in a star pattern (center, then 4-5 points around the edge). Visual cue for success: Tiny metal shards appearing around the hole means the bit is fracturing. Continue until you hear a “crunch” sound indicating disintegration. For deeper breaks, switch to a star punch that wedges into flutes. Never do this: Hammering full-force—it smashes the punch into the workpiece. After shattering, remove debris with compressed air or a vacuum with a thin nozzle. Finish with a magnet to catch steel dust. This method works in 10 minutes and costs nothing but succeeds on brittle cobalt bits 70% of the time.
Welded Nut Technique: The Most Reliable Flush-Break Solution
The go-to solution for flush breaks in steel workpieces (85% success rate). Clean the area with acetone, then place a nut sized slightly larger than the broken bit over the fragment. Use a MIG welder on lowest setting (0.023″ wire) to weld through the nut’s center onto the bit—critical heat control: Weld in 2-second bursts to avoid melting the workpiece. Pro safety hack: Pack fire-resistant putty around the hole as a heat shield, or use a perforated steel barrier. Let the weld cool for 60 seconds (quenching weakens the bond), then grip the nut with a wrench and turn counter-clockwise. Why this works: Welding heat expands the bit, breaking the friction bond while the nut provides torque leverage. For aluminum workpieces, skip welding—use the left-handed drill method instead to avoid melting.
Using Left-Handed Drill Bits and Specialized Extractors

Your best bet when the bit is “stuck” not “jammed”. Start by center-punching the broken bit’s exact center—this prevents drill wandering. Use a cobalt left-handed drill bit 1/3 the diameter of the broken fragment. Key technique: Drill at 200-300 RPM with light pressure—the reverse rotation often “walks” the fragment out as you drill. If that fails, drill a pilot hole, then tap in a tap extractor (not a bolt easy-out) with a hammer. These hardened left-handed tools grip flutes, not the bit center. Critical warning: Never use extractors larger than 70% of the broken bit’s diameter—oversized tools expand the fragment, making it impossible to remove. This method takes 20 minutes but saves precision holes in critical components.
Advanced Tactics: When Standard Methods Fail
For deeply embedded bits in hardened steel. Try the wire extraction method: Insert two stiff wires into opposite flutes, clamp them to a metal rod, and rotate counter-clockwise. If fragments remain, use a Dremel with carbide burr to carefully mill a small flat spot on the bit for better punch contact. Last-resort option: EDM (Electrical Discharge Machining)—but this requires a $20,000 machine. Call a machine shop; they’ll remove it in 30 minutes for $50-100. Never attempt carbide end milling yourself unless you have a milling machine—handheld tools will ruin hole concentricity.
Salvaging the Workpiece: Drilling Out or Welding Solutions
When the hole is non-critical. Drill a new pilot hole 1/8″ away and reposition your project. For threaded holes, drill out the broken bit with a larger bit, then install a Helicoil insert. Pro machinist trick: For blind holes, weld the entire cavity shut with MIG, then grind flat and redrill—works perfectly on non-structural steel parts. This “nuclear option” takes 45 minutes but saves expensive castings.
Preventing Future Drill Bit Breakage: Pro Tips
Avoid this headache entirely with these habits. Always use cutting fluid on metal (3-in-1 oil works for DIYers), never water. “Peck drill” every 1/8″ in deep holes to clear chips. Match bit types to materials—never use wood bits on steel. Replace bits showing blue discoloration (overheating). Most overlooked tip: Reduce drill speed by 50% when bits exceed 1/4″ diameter—high RPM causes catastrophic failure. These steps prevent 90% of breaks.
Removing a broken drill bit demands patience, not force. Start with penetrating oil and simple mechanical methods before advancing to welding or specialized tools. Remember: If one technique isn’t working after 3 careful attempts, switch approaches—forcing it only buries the problem deeper. For high-value parts, consult a machinist; their EDM services often cost less than your time. By mastering these methods, you’ll transform a project-killing disaster into a 30-minute fix. Keep this guide handy, and that snapped bit won’t stop you—it’ll just be Tuesday.


