
Your ice auger struggling to chew through 12 inches of ice? Dull blades force you to wrestle with the handle while your fishing buddies are already setting lines. That frustrating vibration and smoke smell mean your blades are screaming for attention. Sharpening them isn’t just about saving money on replacements—it’s about transforming exhausting hole-making into smooth, efficient work that preserves your energy for the real prize: fish. This guide delivers the exact steps to revive your blades using proven techniques that top ice anglers rely on, cutting through common sharpening myths to give you reliable results every time you hit the ice.
Why Your Ice Auger Blades Won’t Cut Clean Holes
Dull blades create more than just extra work—they sabotage your entire fishing trip. When edges lose their bite, you waste precious daylight wrestling with the auger while ice builds up in the hole. Worse, uneven sharpening causes “walking,” where the auger jerks violently to one side as one blade bites harder than the other. This dangerous vibration strains your shoulders and can bend critical components like the gearbox or shaft. Ignoring blade maintenance also accelerates wear on expensive parts, turning a simple sharpening job into a costly repair. Don’t assume replacement is your only option; properly sharpened blades often outperform new ones by restoring the optimal cutting geometry.
How Dull Blades Damage Your Entire Ice Fishing Setup
Dull edges force you to apply excessive downward pressure, transferring destructive stress through the entire auger system. This strains the transmission, overheats the motor (in gas models), and can warp the blade mounting brackets. You’ll notice telltale signs like smoke from friction, uneven ice shavings instead of clean curls, and that dreaded “binding” sensation where the auger suddenly stops mid-drill. Most anglers replace blades prematurely without realizing professional-level sharpening can restore like-new performance—often for less than the cost of a single replacement blade set.
Required Tools for Ice Auger Blade Sharpening

Skipping proper tools guarantees frustration and inconsistent results. Investing in these essentials ensures precise angles and a razor edge that stays sharp through thick ice.
Must-Have Sharpening Stones and Lubricants
- Coarse Stone (400-600 grit): For repairing chips or rebuilding severely damaged edges—use only when blades have visible nicks.
- Medium Stone (800-1200 grit): Your workhorse for routine sharpening; removes coarse scratches while establishing a clean bevel.
- Fine Stone (2000+ grit) or Leather Strop: Creates the final polished edge; strops with honing compound deliver unmatched sharpness.
- Honing Oil or Water: Prevents stone glazing and carries away metal particles—never dry-sharpen.
Critical Angle Control Tools
- Angle Cube or Digital Protractor: Verifies your sharpening angle within 0.5 degrees—critical for preventing “walking.”
- Sharpening Guide or Honing Jig: Holds blades at a consistent angle (non-negotiable for beginners).
- Sharpie Permanent Marker: Enables the “marker test” to instantly reveal angle errors.
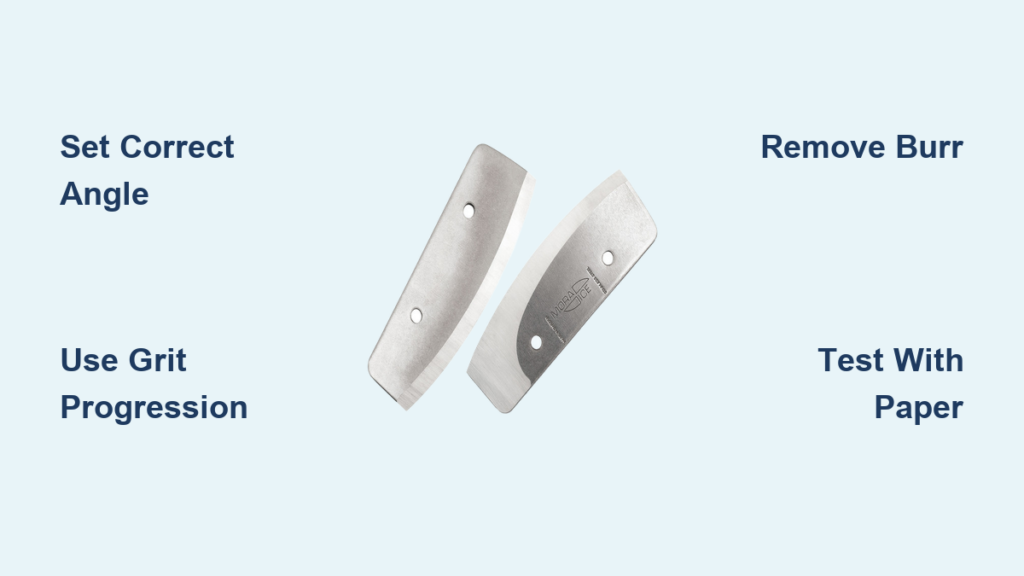
How to Set the Perfect Sharpening Angle for Ice Auger Blades

Factory angles aren’t sacred—they’re often suboptimal for real-world ice conditions. While manufacturers typically use 25-30 degrees, adjusting to 35-45 degrees creates a more durable edge that resists chipping in hard, abrasive ice. The key is matching angles exactly between both blades to prevent uneven cutting.
Why Angle Consistency Prevents “Walking” Augers
Walking occurs when one blade has a 30-degree angle while the other measures 35 degrees—creating unequal bite forces. This imbalance makes the auger lurch sideways, straining your body and equipment. To avoid this:
1. Mark both blades with Sharpie along the entire bevel
2. Test angles with your digital protractor
3. Adjust until both read within 1 degree of each other
4. Lock your sharpening jig to this verified angle
The Marker Test: Your #1 Angle Verification Tool
Color the entire bevel with a Sharpie before sharpening. After 2-3 strokes on the stone:
– Marker fully removed? Your angle matches the existing bevel
– Marker only partially gone? Adjust angle until color disappears evenly
– Marker untouched? Your angle is too steep—lower the blade toward the stone
This instant visual feedback eliminates guesswork and ensures perfect consistency.
Step-by-Step Ice Auger Blade Sharpening Process
Blade Cleaning and Damage Assessment
Remove all ice buildup, sap, and rust with acetone on a rag—grease masks nicks and prevents proper sharpening. Inspect under bright light for:
– Minor nicks (<1/16″ deep): Fixable with coarse stone
– Rolled edges: Appear shiny and bent—refine with medium stone
– Deep chips or cracks: Requires professional repair or replacement
Critical: Never sharpen a bent blade—straighten it first using a vise and hammer, or replace it.
Coarse Stone Sharpening (For Damaged Blades Only)
- Set jig to 35-degree angle (ideal starting point for most ice)
- Apply light pressure—let the stone’s grit do the work
- Use long, smooth strokes from heel to tip
- Stop when you feel a consistent burr along the entire edge
- Flip blade and repeat on opposite side until burr transfers
Pro Tip: Alternate sides every 10 strokes to maintain symmetry. If the burr doesn’t form after 15 strokes, increase angle by 2 degrees.
Medium and Fine Stone Refinement
- Progress to 800-1200 grit stone at same angle
- Use same stroke pattern with lighter pressure
- Continue until coarse scratches disappear
- Finish with 2000+ grit stone or leather strop
- Strop with honing compound using edge-leading strokes
Time Saver: Skip coarse stone for routine maintenance—medium grit handles 90% of sharpening needs.
Burr Removal: The Make-or-Break Step
A wire burr left on the edge makes blades feel sharp briefly before failing. To remove it:
1. Lay blade flat on strop (no angle)
2. Make 5-10 gentle edge-trailing passes
3. Flip and repeat on opposite side
4. Test with fingernail—no “catch” should be felt
Warning: Skipping this step causes blades to dull within minutes on hard ice.
Testing Your Sharpened Ice Auger Blades
Don’t trust the ice with untested blades. Verify sharpness with these field-proven methods:
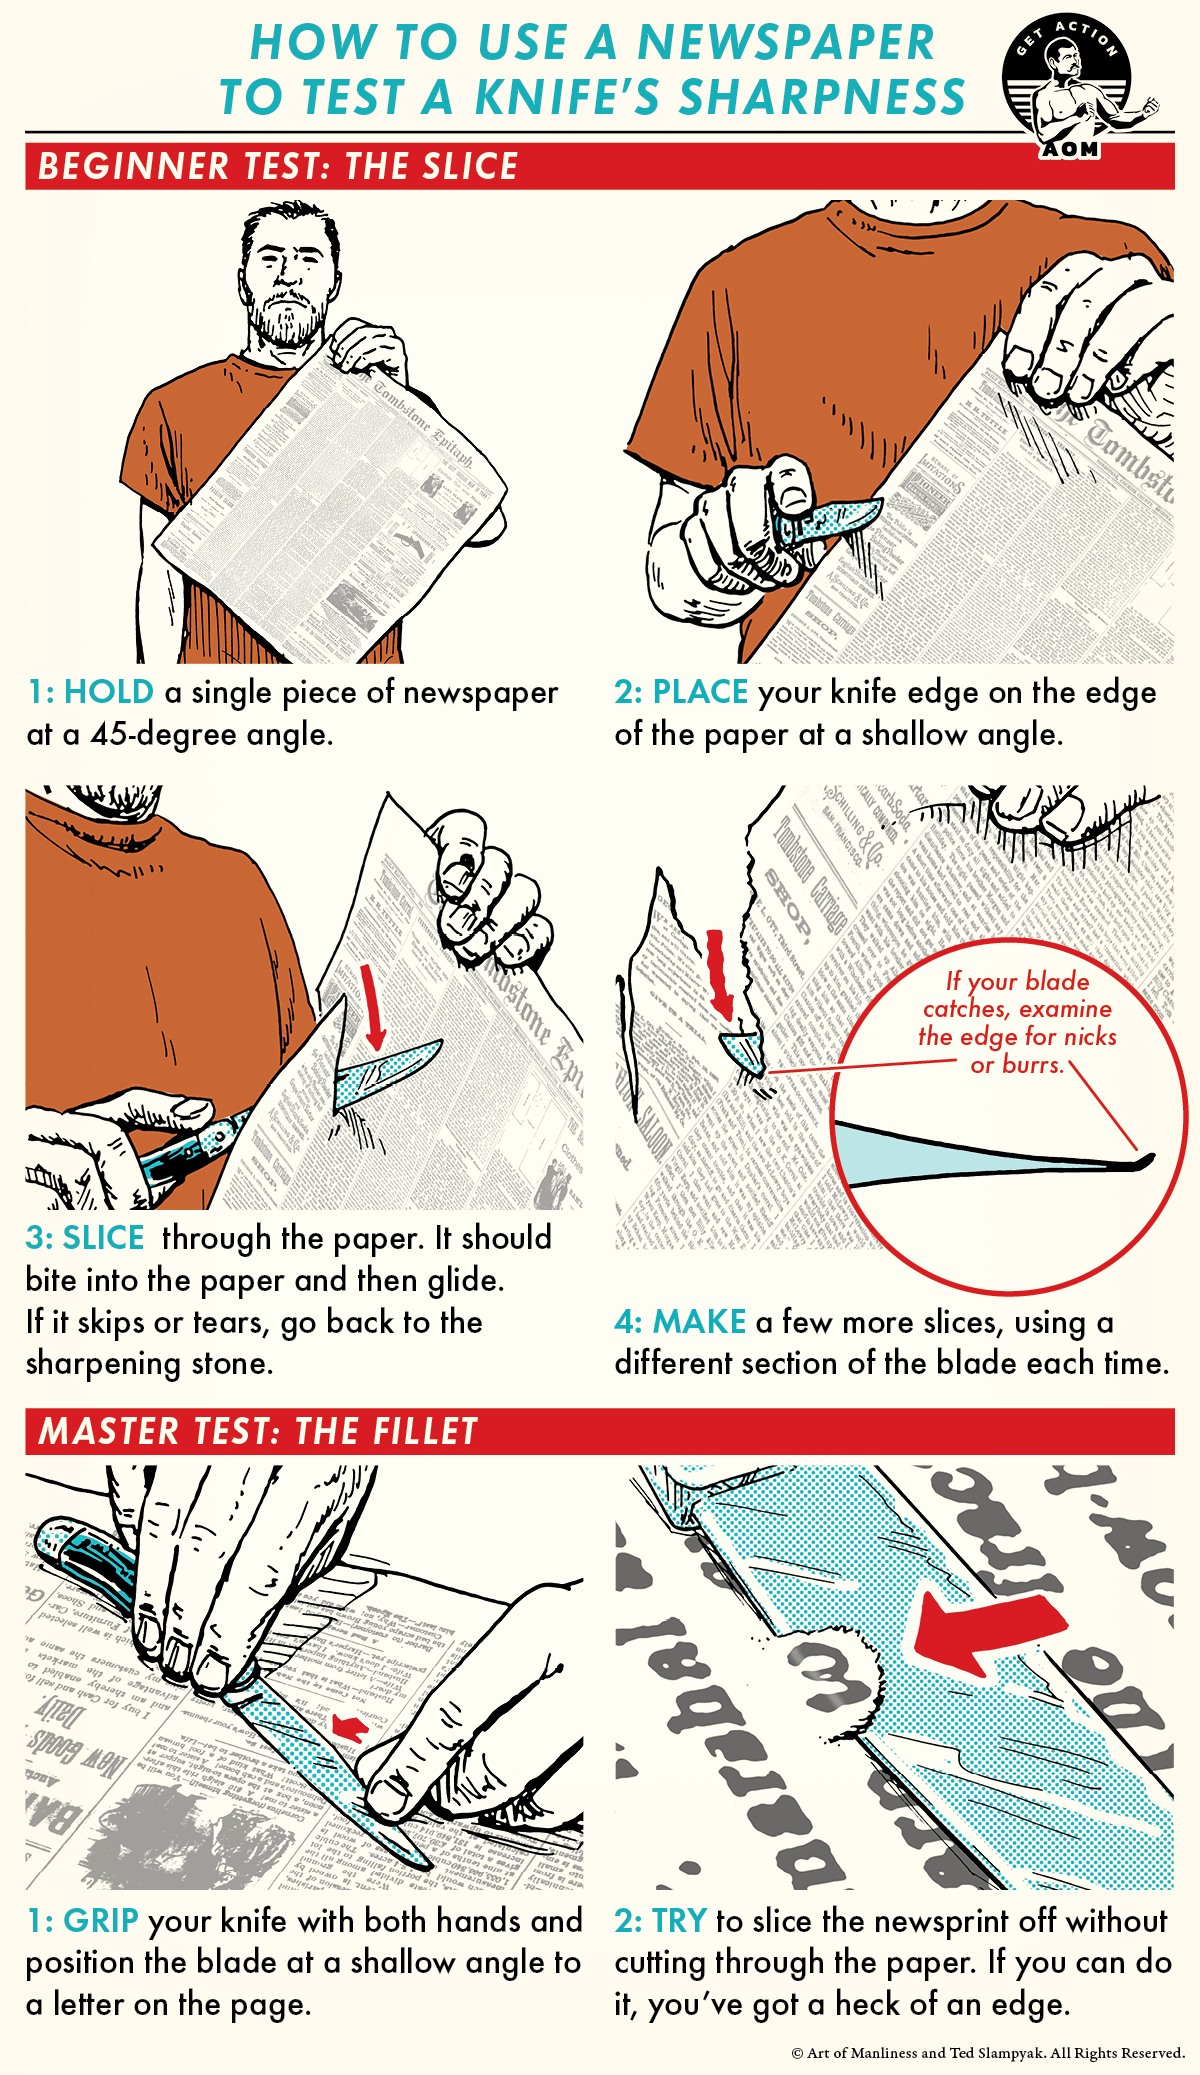
The Paper Test (Instant Validation)
Hold a sheet of printer paper vertically. A properly sharpened blade will:
– Slice cleanly downward without tearing
– Require no downward pressure
– Cut through multiple sheets effortlessly
Visual Light Reflection Check
Hold blade edge toward a bright light:
– Dull edge: Shows continuous silver reflection
– Sharp edge: Appears matte black with no light reflection
– Problem spot: Visible “flashes” indicate uneven sharpening
The Arm Hair Test (Professional Standard)
Gently draw the edge across fine arm hair:
– Sharp: Cuts cleanly with zero pressure
– Dull: Pushes hairs aside or requires force
– Danger zone: If it snags hairs, burr remains—re-strop immediately
Critical Mistakes That Ruin Ice Auger Blades
Uneven Pressure Creates “Walking” Augers
Applying more force on one section of the blade creates uneven bevels. Fix this by:
– Using finger guides along the blade spine
– Counting strokes per section (e.g., 5 at heel, 5 at center, 5 at tip)
– Verifying angle with marker test after every 5 strokes
Skipping Grit Progression Wastes Time
Jumping from 400 to 3000 grit leaves deep scratches that compromise edge durability. Always follow this sequence:
1. Coarse (only for damaged blades)
2. Medium (essential for smooth transition)
3. Fine (non-negotiable for ice-cutting performance)
Ignoring Symmetry Between Blades
Even 2-degree differences between blades cause violent walking. After sharpening:
1. Measure both angles with digital protractor
2. Re-sharpen the steeper blade to match the shallower one
3. Confirm identical burr formation on both
Pro Maintenance Tips for Long-Lasting Sharpness
Post-Fishing Honing Routine
After every trip:
1. Wipe blades clean with dry cloth
2. Apply 5-10 edge-leading strokes on leather strop
3. Coat with corrosion inhibitor (never oil—attracts ice)
This 60-second habit extends time between full sharpenings by 300%.
Storage Secrets That Prevent Dulling
Store blades with:
– Cardboard spacers between cutting edges
– Silica gel packs in the case to fight moisture
– Blade guards that don’t compress the edge
Never store blades loose in a tackle box where they contact metal objects.
When to Replace vs. Sharpen
Sharpen until:
– Blades measure <1/8″ thick at cutting edge
– You’ve removed >1/16″ of metal depth
– Chipping occurs despite proper angles
Replacement becomes cost-effective after 5-7 sharpenings for most augers.
Sharp ice auger blades transform exhausting labor into effortless hole-making, giving you more fishing time and less physical strain. By mastering these precise sharpening techniques—especially the critical angle consistency and burr removal—you’ll eliminate dangerous “walking” and extend your auger’s lifespan. Remember: test blades with the paper method before heading out, and implement the 60-second post-trip strop to maintain that factory-fresh edge. Your arms (and your catch count) will thank you when you’re drilling clean holes while others struggle with dull blades. Now grab your stones and sharpen—tomorrow’s trophy fish awaits.


