
You’re halfway through hanging that heavy shelf when your Makita drill suddenly slips bits like a broken jaw. The chuck’s worn out, stripped, or just won’t grip anymore—and replacing it feels intimidating. But here’s the truth: changing a chuck on a Makita drill is a 20-minute DIY fix if you know the critical difference between threaded and tapered spindles. Most DIYers fail because they don’t realize Makita uses two completely different attachment systems. Forcing the wrong method cracks spindles or strips screws permanently. This guide cuts through the confusion with exact steps for your specific model, proven safety hacks, and the one shock technique that breaks stubborn chucks loose without special tools. Skip the $75 service center fee—we’ll get you drilling again today.
Spot Your Makita Chuck Type in 10 Seconds (Threaded vs. Tapered)
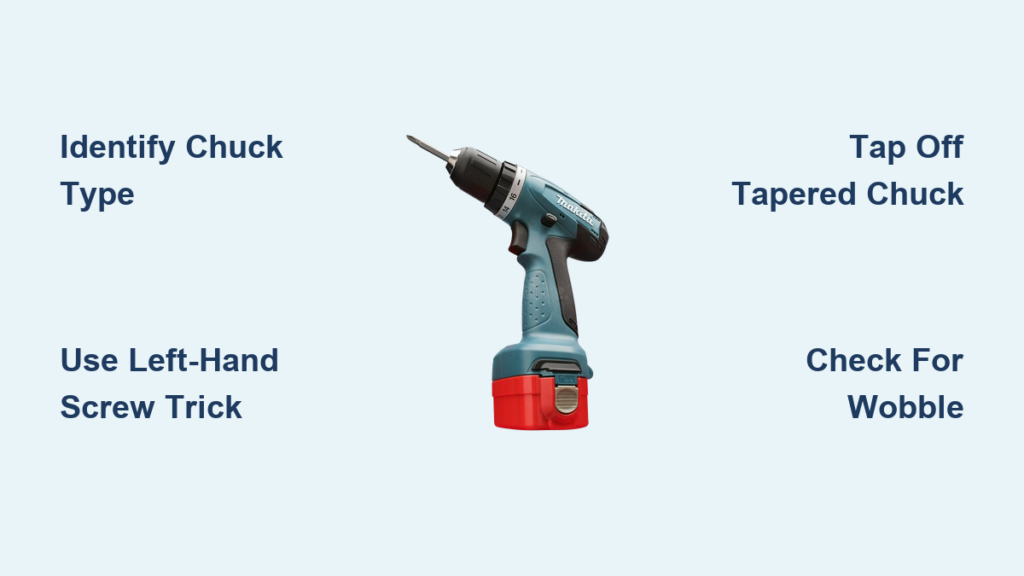
Your drill’s survival depends on identifying this first. Open the chuck jaws fully with a flashlight. If you see a small screw deep inside the chuck throat (often Phillips or Torx), you have a threaded spindle with left-hand retaining screw. This covers 80% of Makita drills like the popular HP457, DHP484, and 2477DBVR models. If the spindle looks smooth with no screw—just a tapered metal shaft pressing into the chuck—you have a tapered spindle type, common on compact brushless models like the XFD15 and XPH14. Mixing up these methods destroys your drill. Threaded chucks unscrew; tapered chucks tap off. No exceptions.
Why That Internal Screw Turns Backwards (Critical First Step)
Here’s where 90% of DIYers break their drills: the retaining screw uses left-hand threads. Normal screws loosen counter-clockwise? Not this one. To remove it, you must turn clockwise (as if tightening a standard screw). Grab a #3 or #4 Phillips impact driver bit—never a regular screwdriver. Insert it firmly into the screw head, then brace the drill body against your workbench. With one hand holding the drill steady, strike the impact driver’s end sharply downward with a hammer while turning clockwise. If the screw spins without loosening, it’s stripped—stop immediately. Apply penetrating oil (50/50 acetone and automatic transmission fluid) overnight, then try again with a fresh bit. Forcing it now ruins the screw head permanently.
When the Screw Won’t Budge: 3 Last Resorts
- Hammer-Driven Impact Trick: Place the drill on its side with the chuck hanging off the workbench edge. Insert the impact driver bit, then strike the driver’s end parallel to the screw axis (not downward). The hammer’s shock breaks thread locker without twisting force.
- Heat the Chuck Body: Warm the chuck (not the spindle!) with a heat gun for 60 seconds. Metal expansion loosens the screw. Wear gloves—chucks get hot fast.
- Screw Extractor Kit: Drill a small pilot hole into the stripped screw head, then use a left-hand extractor bit. Only attempt this if you have drill-press-level precision.
Critical Safety Prep: Skip This and Break Your Drill
Removing the battery isn’t enough. One accidental trigger pull during chuck removal can shear spindle threads instantly. For cordless drills, press the trigger after battery removal to drain residual capacitor charge. For corded models, cut the plug’s prongs with wire cutters—yes, really—to eliminate temptation. Secure your workspace: Clamp the drill body in a vise lined with soft wood (never bare metal), with the chuck hanging freely. Wear ANSI-rated safety glasses—metal shards from stripped screws fly sideways at 50+ mph. Most importantly: never use a pipe extension (“cheater bar”) on tools. That extra leverage cracks Makita’s aluminum gear housings like eggshells. If you can’t break a chuck loose with hand force, it’s time for professional help.
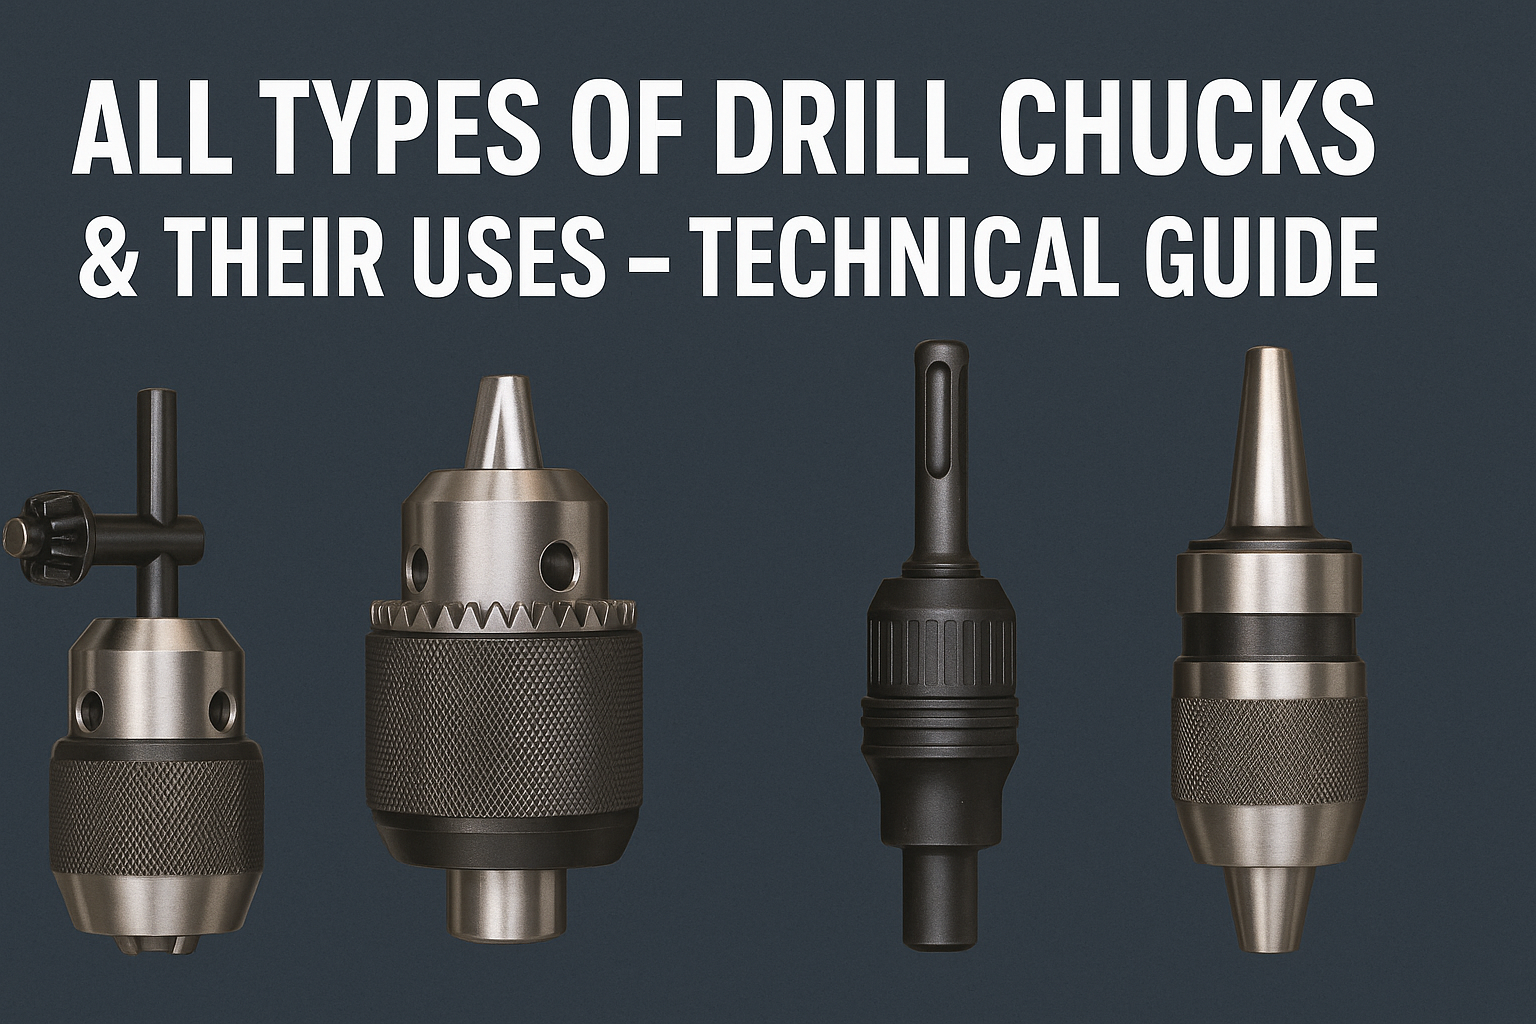
Exact Tools Required: From 10mm Hex Key to Gear Puller
- For Threaded Chucks: 10mm hex key (not Allen wrench!), #3 Phillips impact driver bit, hammer, blue Loctite 243, soft-jaw vise
- For Tapered Chucks: 2-jaw gear puller (3/8″ capacity), brass punch, rubber mallet, heat gun
- Both Types: Flashlight, penetrating oil, work gloves, torque specs chart (keep torque under 35 ft-lbs)
Remove Threaded Chuck: Clockwise Turns Loosen the Screw?!
With the retaining screw out, you’re halfway there. Insert the 10mm hex key into the chuck and tighten the jaws fully—this is your leverage point. Position the drill so the hex key handle points horizontally. Brace the hex key against the drill’s footplate (the flat metal section near the motor), not the chuck itself. Now, place the drill’s footplate firmly against a 2×4 block on your workbench. With one hand stabilizing the drill body, strike the hex key handle sharply clockwise with a hammer. One solid hit usually breaks the spindle’s thread locker. If it doesn’t budge, tighten the chuck jaws slightly tighter on the hex key and repeat. Never twist the chuck by hand—that just re-tightens it. Once loose, unscrew the chuck counter-clockwise by hand. If it sticks halfway, tap the chuck’s outer collar upward with a rubber mallet while rotating.
Install New Threaded Chuck Without Stripping Threads
Thread damage is the #1 failure point here. Clean the spindle threads with a brass brush—no steel wire! Apply one drop of blue Loctite 243 to the spindle (not the chuck). Screw the new chuck on by hand until it stops. Now, replicate the removal method in reverse: Insert the hex key, brace against the footplate, and strike counter-clockwise to tighten. Stop after 2-3 light hammer taps—over-torquing cracks chuck housings. Reinstall the retaining screw with Loctite, turning counter-clockwise to tighten (remember: left-hand threads!). Test grip by clamping a 3/8″ bit and trying to twist it by hand—it shouldn’t budge.
Tap-Off Tapered Chucks Without Damaging the Spindle
No screws? No problem—but no brute force either. Tapered spindles (like on Makita XPH12Z) rely on precise friction fits. Never strike the spindle directly—it ruins the taper. Instead, place a brass punch against the chuck’s base collar at a 45-degree angle. Tap firmly with a hammer, moving around the chuck every 2-3 strikes. The angled blows create upward vibration to break the taper seal. If it resists, apply heat to the chuck body (150°F max) for 90 seconds while tapping. For stubborn cases, use a 2-jaw puller: Hook the jaws behind the chuck flange, center the screw against the spindle end, and turn slowly until the chuck pops free. If you hear a “ping” sound, it’s releasing—stop immediately to avoid launching the chuck.
Install Tapered Chuck: The One Mistake That Causes Wobble
Dirt is the enemy here. Wipe the spindle taper with isopropyl alcohol—oil prevents seating. Align the chuck’s keyway with the spindle’s flat spot (it only fits one way). Place a wood block against the chuck’s rear and tap straight on with a rubber mallet. Tap 4-6 times around the perimeter, not just one spot. The chuck should seat flush against the drill body with zero gaps. If it wobbles, disassemble and clean both surfaces again—microscopic debris causes runout. Never hammer the chuck onto a dirty spindle; you’ll embed grit that ruins the fit permanently.
Why Your New Chuck Wobbles (And How to Fix It)

Post-installation wobble means misalignment. For threaded chucks, recheck the retaining screw torque—loose screws cause 70% of wobble. For tapered types, disassemble and inspect the spindle taper under bright light. If you see pitting or galling, the spindle is damaged—replace it. Test runout by inserting a 1/4″ hex bit and spinning the chuck by hand. Wobble over 0.015″ requires professional re-machining. Don’t ignore this: even slight wobble shreds drill bits and overheats motors within minutes.
Final Test: Don’t Plug In Until You Do This
- Dry Spin: Hold the drill sideways and trigger it at lowest speed for 10 seconds. Listen for grinding.
- Chuck Key Test: Insert the chuck key and rotate slowly. All three jaws should move smoothly in sync.
- Load Test: Clamp a 3/8″ masonry bit and drill into softwood. If the bit slips, the chuck isn’t tight enough—repeat final tightening.
Emergency Fixes for Stuck Screws and Frozen Chucks
That frozen chuck won’t wait for special tools. For stripped screws: Dab super glue on a sacrificial Phillips bit, jam it into the screw head, and wait 10 minutes. Strike with an impact driver—it often grips enough for removal. For corroded spindles: Soak the chuck-spindle seam overnight with PB Blaster, then apply heat while tapping the chuck collar with a dead-blow hammer. If the chuck spins freely but won’t unscrew, it’s cross-threaded—stop immediately. Forcing it will destroy the spindle. At this point, take it to a Makita service center; the $50 fee beats a $150 spindle replacement.
Pro Tip: Always carry blue Loctite 243 in your drill bag. Reapply it during chuck changes to prevent future loosening—but never use red Loctite; it requires 500°F heat to remove. After installation, run the drill for 30 seconds at medium speed to cure the thread locker fully. If your chuck still slips bits, check for worn jaw teeth—a worn chuck costs less than $20 but ruins expensive bits fast. For model-specific torque specs, search “[Your Makita Model] service manual PDF”—Makita publishes these free online. Now grab that hex key and reclaim your drill—no more excuses for half-finished projects.


